Bondo is a brand of body filler, but it's also the generic term for plastic filler that, when uttered, makes many car guys cringe. Anyone restoring an old car knows what it's like to start working on it and find salves of the stuff on damaged bodywork, troweled there by a previous body "sculptor" to get a car straight quickly. Well, it is time to set those nightmares aside. Using body filler isn't as evil as you might think. Properly used, Bondo is a great thing (and usually mandatory) when finishing sheetmetal.
Jeff at Lloyd's Auto Restorations in Bartow, Florida, showed us the basics on using body filler to even out areas on a body panel before priming and painting. Check out the photos and see. Using the stuff isn't hard, and the results speak for themselves.
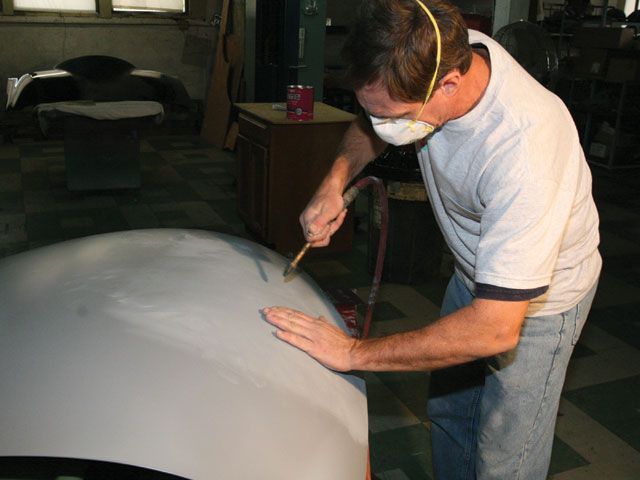
The first step is to prep the surface.
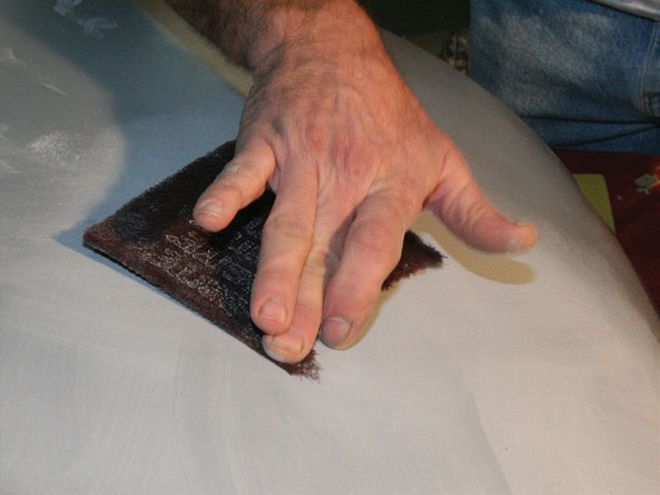
Here Jeff uses a red Scotch-Brite pad (about the equivalent of 220-grit sandpaper) to scuff the surface of the primered metal so the filler will adhere properly. Jeff prefers Scotch-Brite because it roughs-up the surface without removing a significant amount of primer. We're filling a trunk handle and lock hole he welded up. The welding-in of metal distorted the area enough that a high-build filler-primer wouldn't do the job in two or three coats.

After the area had been scuffed by Jeff, the next thing he did was blew off all the sanding dust so the surface would be nice and clean for the filler to adhere to.
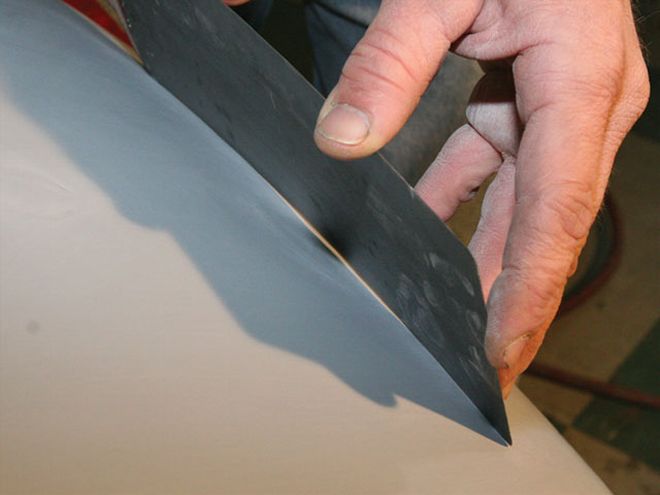
Before applying any filler, Jeff used a piece of spring steel to get an idea how much he'd need for the job. Here you can see the gap between the body panel and the piece of spring steel. This gap is the amount of filler that'll be required to bring the area even with the rest of the panel's surface. It's better to not use more filler than necessary, as you'll just be giving yourself more work later on.
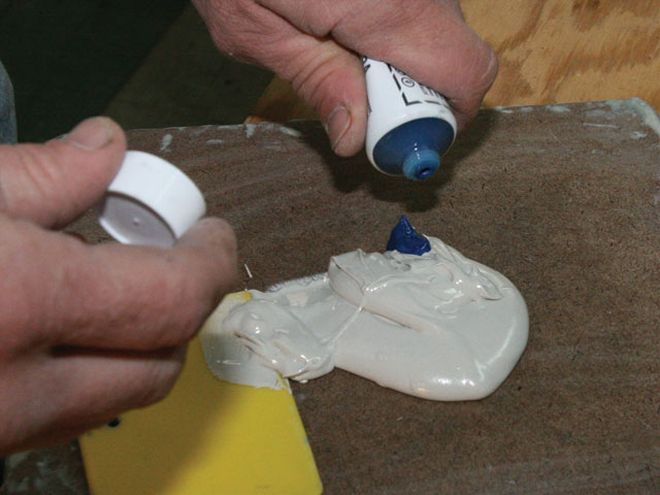
While you don't want to keep going back and forth mixing batches of filler (this increases the risk that you'll have different hardnesses of filler next to each other, which can lead to extra sanding issues), you also don't want to mix too much filler to throw away. Also, the more you have on your palette, the more you'll be tempted to use on the body panel. All it takes is a small amount of hardener to be mixed with filler material. Unfortunately, there's not any specific measurement of how much, so if you're in doubt, read the product instructions or ask a body pro for some advice.
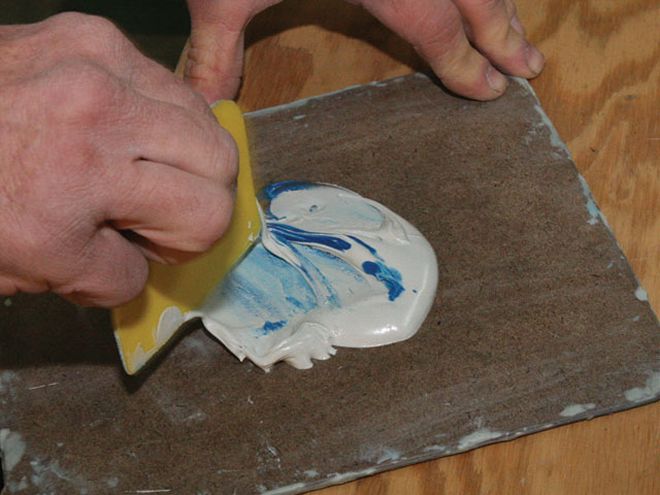
Once you've applied the right amount of hardener, make sure you mix it thoroughly with the filler. As you stir them, it should all be one uniform color. If you see any errant shades of color, keep mixing!
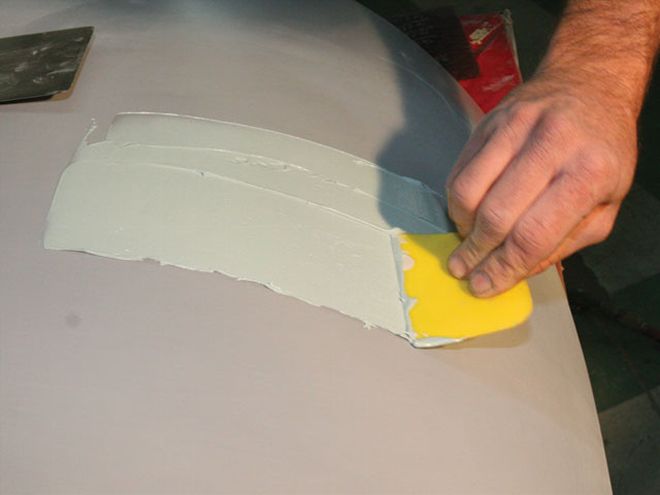
Using a plastic squeegee, apply the mixed filler to the area needing it. This is the part where you dance the fine line between not enough and too much.
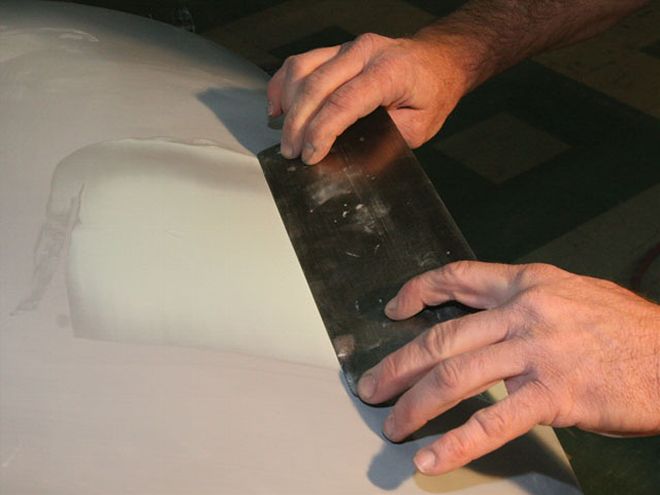
After applying the filler, Jeff used the spring steel again to even out the surface and remove excess.
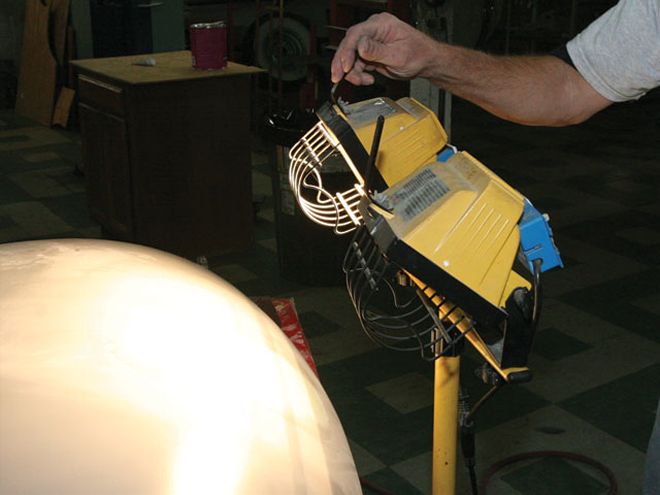
Usually Jeff just lets the panel sit outside in the sun for the filler to cure. While one panel is hardening, he'll apply filler to another, and when he's finished with that one, the other will be ready for sanding. But in this case, cold temps in the area meant the heat lamp had to be brought out to help the curing process. Usually this takes about 10-15 minutes.
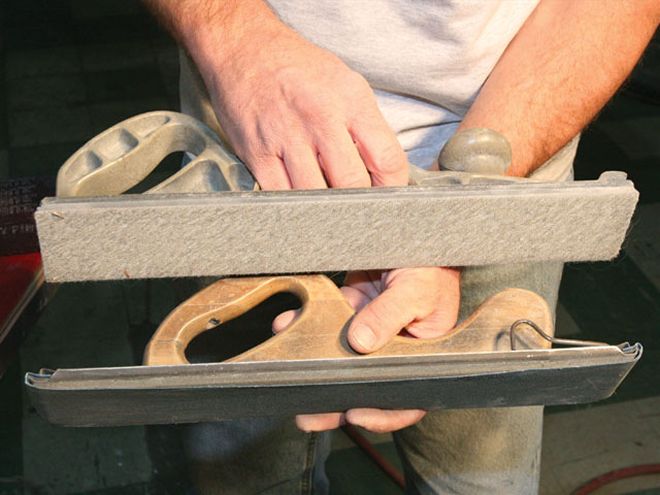
You have two basic types of sanding boards to use for this part of the process. One the sandpaper sticks to, the other is clamped on. Is one better than the other? That all depends on preference.
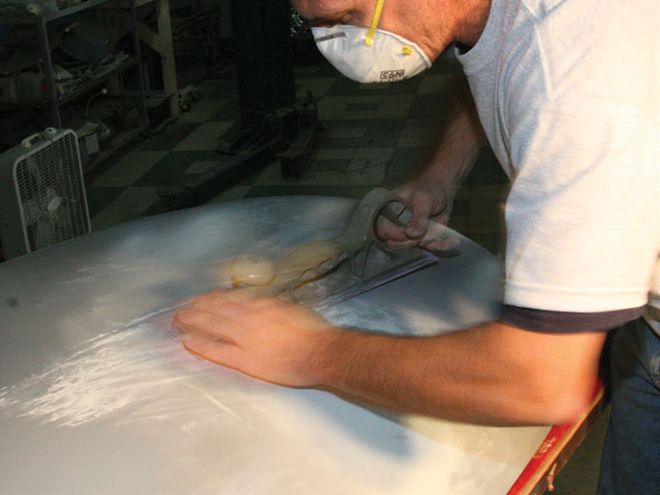
Jeff used his hand to see if the filler was cured enough. Filler that's ready to be sanded will have a nonstick feel to it, like running your palm across the wall in your house. Because Jeff felt a bit of tackiness in the filler, he used a rag with some lacquer thinner on it to wipe the sticky residue off and help dry it down. Trying to sand on filler like this would be the same as trying to sand a block of cheese.
After the filler was ready, Jeff lightly sanded over the area to get an idea if he'd used enough.
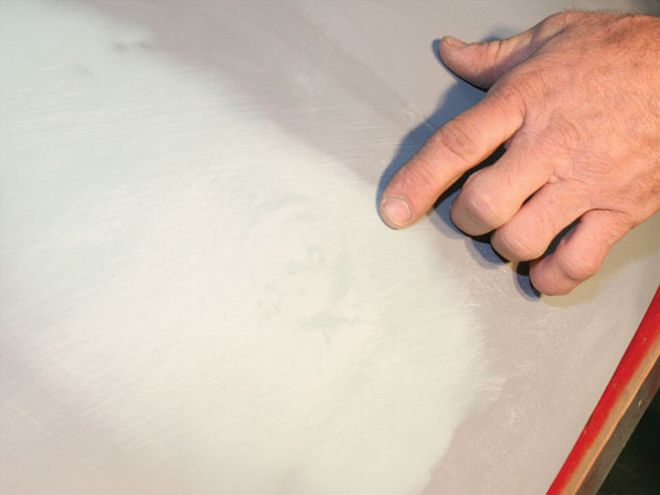
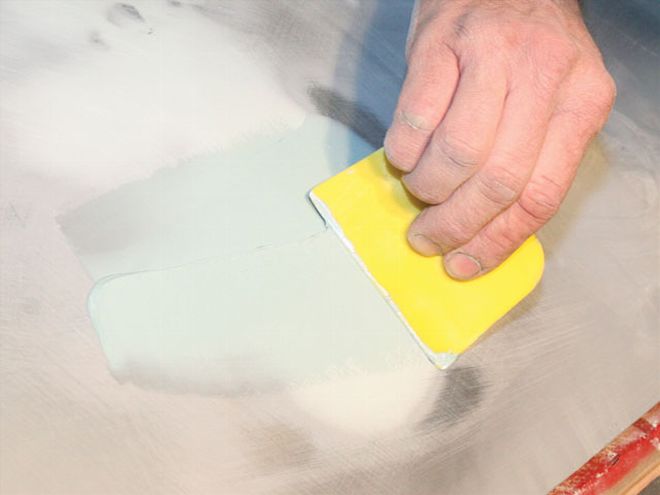
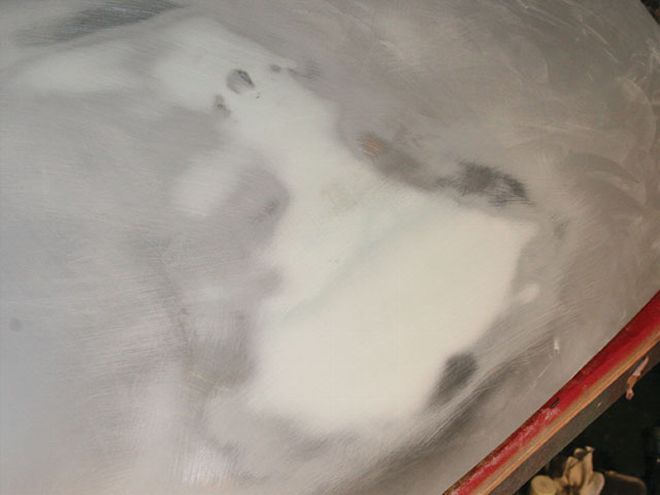
See the darker-colored areas? That's where low spots in the surface still exist, requiring more filler. So it's back to the mixing board for a bit more. Even though you want to get the amount right the first time, it's better to have to apply a little more filler than sand off a large amount to get a surface even.
With the proper amount of filler applied and dry, Jeff lightly sanded the area again to check for other low spots.
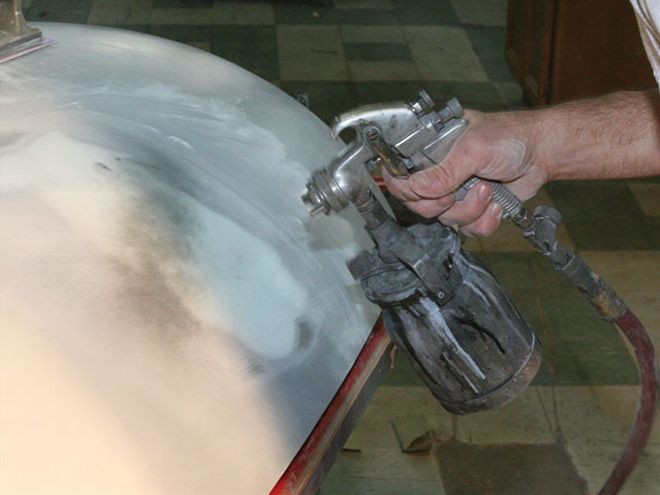
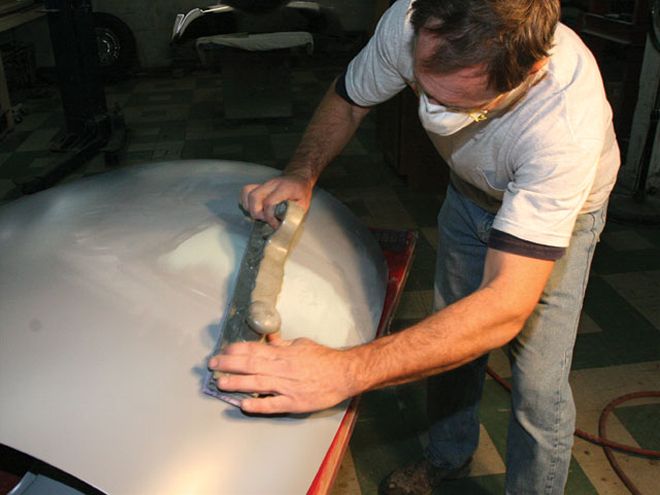
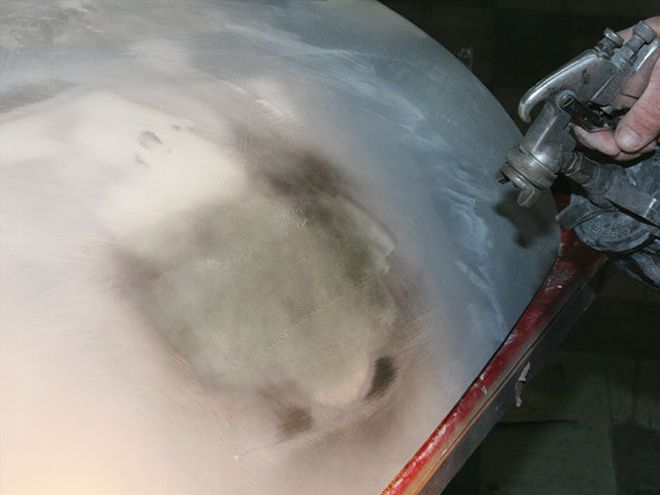
Once the area was free of low spots and ready for sanding, Jeff applied a guidecoat to the filler so he could see the high and low spots while sanding and measuring his progress. This is important, because without a guidecoat, you increase the chances of sanding unnecessarily in an area and creating more work for yourself.
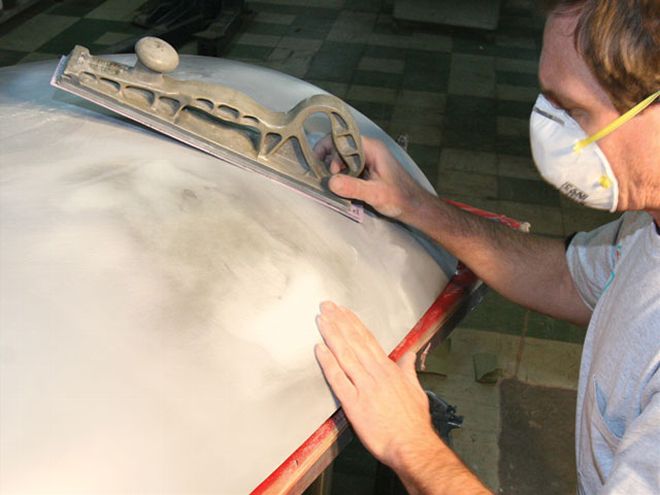
Sand and check, sand and check. When sanding filler, you always want to check and see how even the surface is after you sand an area. This gives you an idea where you need to pay more attention and which areas that are just right.
After a good amount of sanding, the center area of the panel still showed a low spot, so Jeff mixed up some more filler to even the area with the rest of the decklid. On this application of filler, Jeff just applied it locally to the area that needed it. Using the trusty piece of spring steel Jeff evened out the filler to match roughly with the panel's surface. Here you can see how Jeff applied the filler in a different direction from the first two applications to help even out the specific area, and so he didn't have to go back and sand it again.
Another guidecoat went over the fresh but cured Bondo, again to track the sanding work and know where any high or low spots might be.
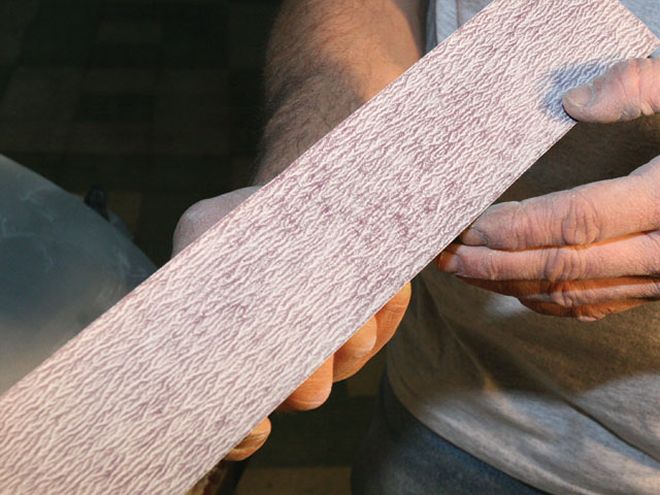
When sanding filler, always keep an eye on how dull your sandpaper is getting. When the paper gets dull, it won't sand any longer and you'll be working for nothing. If you're in doubt, throw a fresh piece of paper on the sanding board.
With everything level and sanded, here's how the finished area looked. No more dark leopard spots. If you see some areas where sanding has gone down to bare metal, that's okay. It'll all be covered up when the high-build filler primer is sprayed on the panel. The high-build filler primer will also handle filling in any of the fine scratches left by the sanding process.
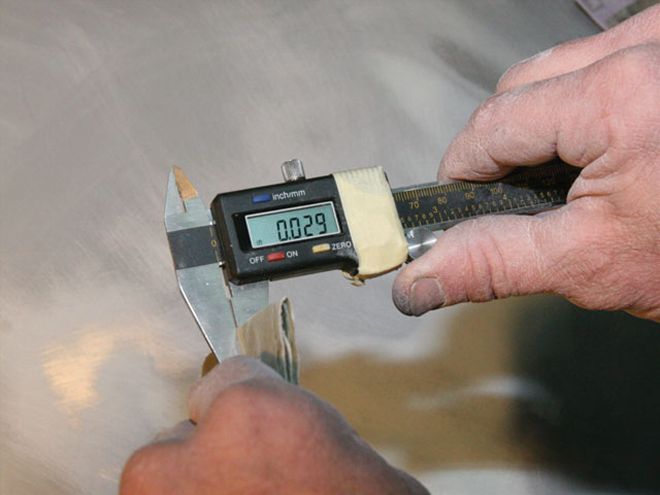
To get an idea how much filler was used to even out this area of the decklid, Jeff got out a pair of calipers and some paper to illustrate the air gap between the spring steel and repair area of the panel before being filled. After the three applications of filler, Jeff figures there is the equivalent of about six layers of paper on the panel, about 0.029 inch thick total. That's just right when it comes to the amount of filler you should use and how the metalwork should be finished.
Click here for exclusive video showing how to use body filler