After toiling away for months, it's hard not to start rushing to finish things up after painting your project. Problem is, after that last coat of clear has been applied, there are a few more steps you need to take so your pristine new paint job can stay that way for as long as possible. While you could just take the buffer to the car for a finish that'll look good from 20 feet away, properly finishing your paint job after clearcoating will mean the difference between a good paint job and a great paint job.
The first thing you'll need to do after you're finished applying the clearcoat (and letting it cure properly) is color-sanding. Color-sanding is where you're smoothing out the clearcoat so when it's time to buff the paint, you get the most mirror-like finish possible. While none of this is hard to do, it does require a fair amount of time, and plenty of patience.
To find out the correct way to color-sand a clearcoated paint finish, we visited Lloyd's Auto Restorations in Bartow, Florida, for a simple demo of the proper steps and techniques to color-sanding. The father and son team of Lloyd and Jeff Brekke have been restoring and rebuilding cars for more than 30 years.
You'll need to have the proper supplies like a bucket of clean water handy (doesn't matter if it's hot or cold, but a drop of dishwashing soap helps lubricate the sanding surface), 600-grit sandpaper, and a sanding block and/or pad. The reason Jeff uses 600-grit over 1,500 or 1,200 for the first sanding is to better remove the orange peel or textured surface that's the result of multiple coats of clear that have been sprayed. The more coats of clear you spray, the more orange peel tends to build up. Starting with too fine a paper will not cut off the high points but rather round them over.
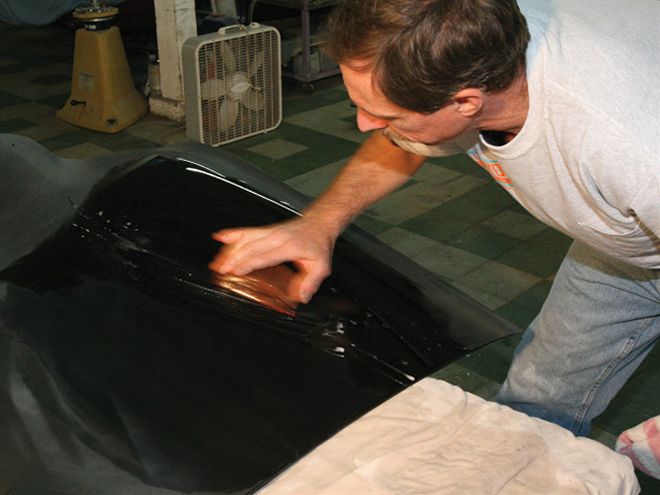
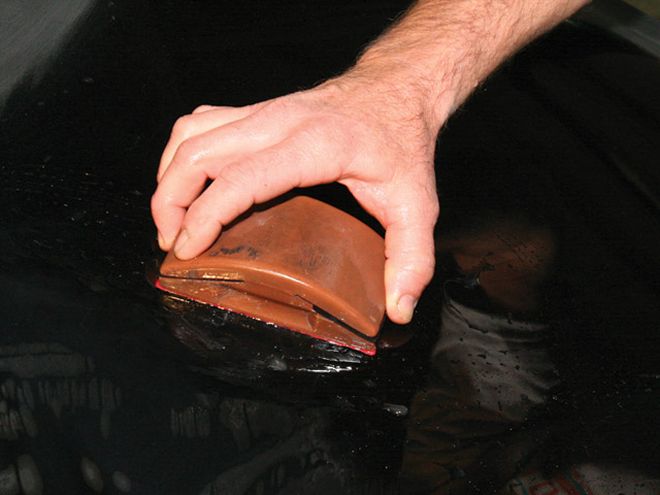
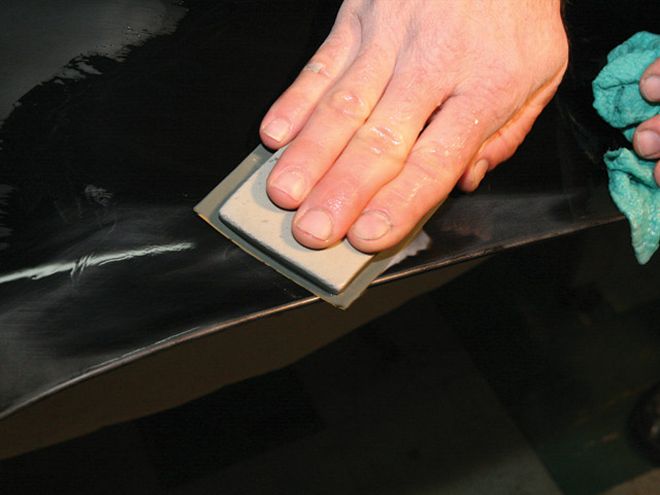
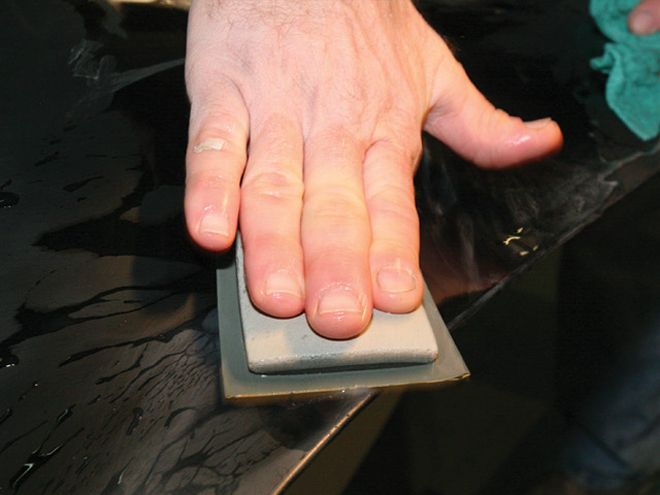
For curvy surfaces on body panels, Jeff likes to use a rubber sanding pad because it better conforms to the shape of the panel's surface, ensuring even sanding and preventing you from creating grooves from the edges of the paper or a block.
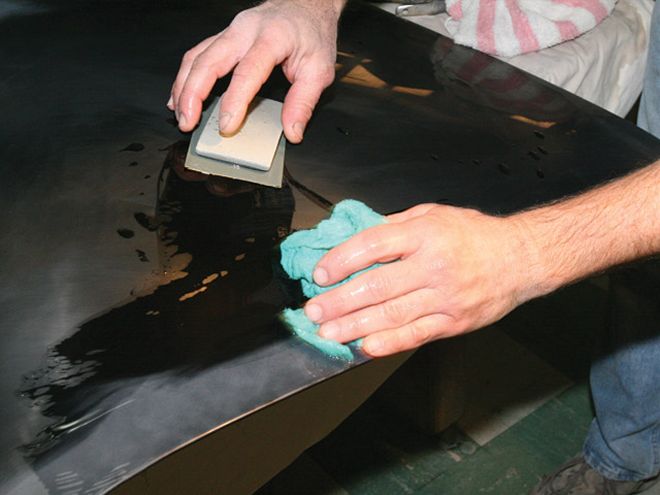
On flat surfaces, Jeff uses a standard sanding block. He sands in various directions to make sure he sands evenly and reduces the risk of sanding too much in one spot of the clearcoat. This step requires you only dip the block in water and use a wet rag to keep the surface lightly wet, not saturated like in future steps.
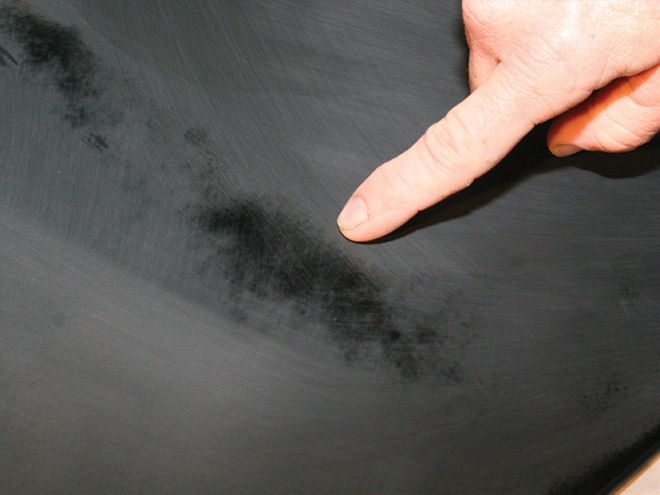
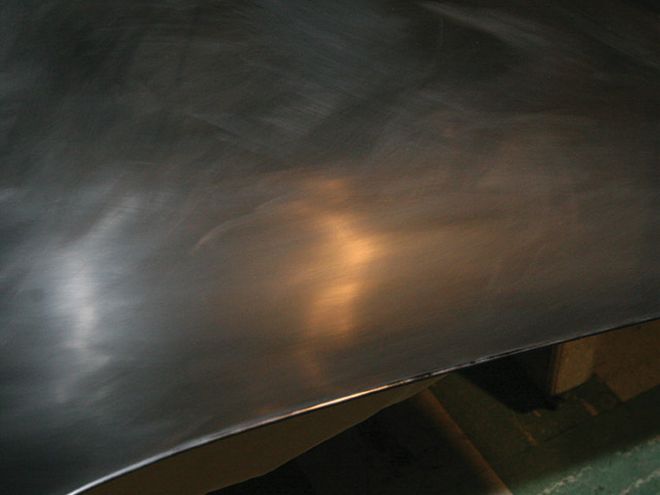
After sanding an area, wipe it down with a clean, dry towel to check for high spots. Use an air nozzle to help dry if necessary. After the surface is dry, if you have high spots, which show as the dull areas and low spots which show as the darker or unsanded areas, this is what they'll look like. You need to sand with the 600-grit wet until all the spots like these are gone.
Repeat the sanding and drying process often to check your progress so as not to remove any more clear than necessary. While color-sanding involves a fair amount of labor, the most important thing is patience. Making sure you've sanded the clearcoat evenly in step one goes a long way toward making sure your paint will look its best after buffing. And don't even think about using a power sander.
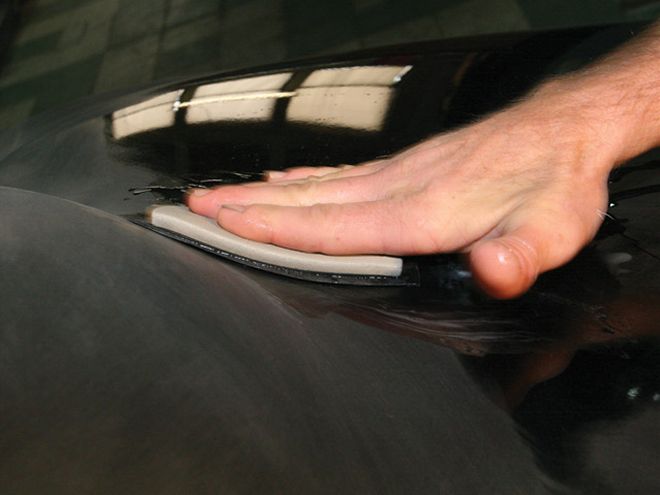
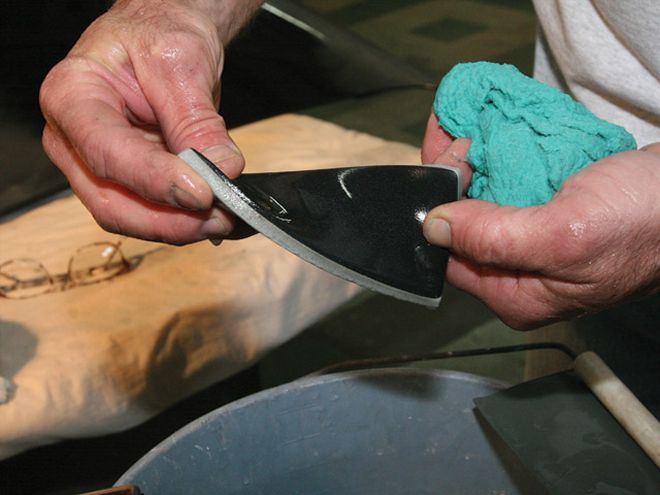
Here's a great example of where the sanding pad is very useful. On curves in the panel like this, the pad will keep the sandpaper evenly on the panel's surface so you don't risk digging into the clearcoat and sanding through to the base/colorcoat.
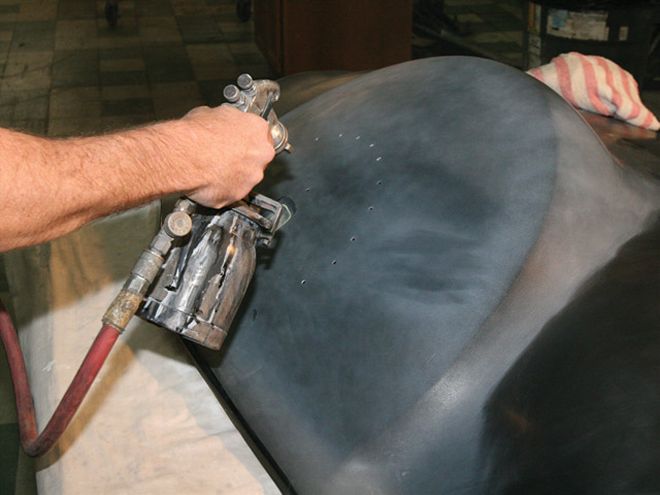
The guidecoat is nothing more than an over-reduced, noncatalyzed primer or nonmetallic base color to help show the scratches left from step one (600-grit wet-sanding) and fill them in to make them more visible for the next step.
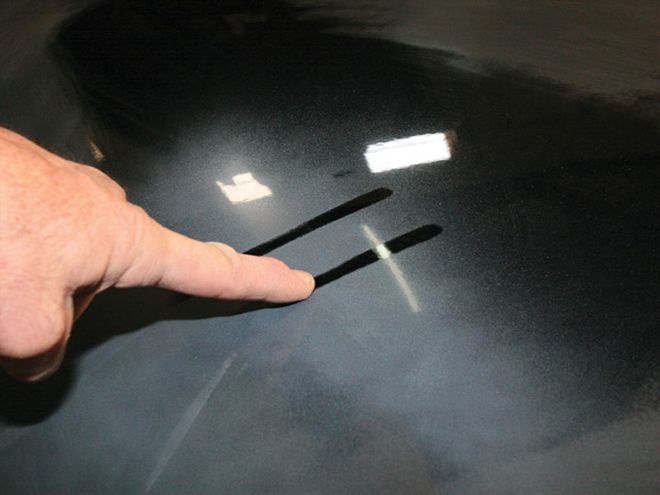
A guidecoat should be applied very lightly. If you're wondering how lightly, Jeff demonstrates here. Our test panel was sprayed so lightly that Jeff can wipe off the dry guidecoat with his fingers in an area that was not sanded.
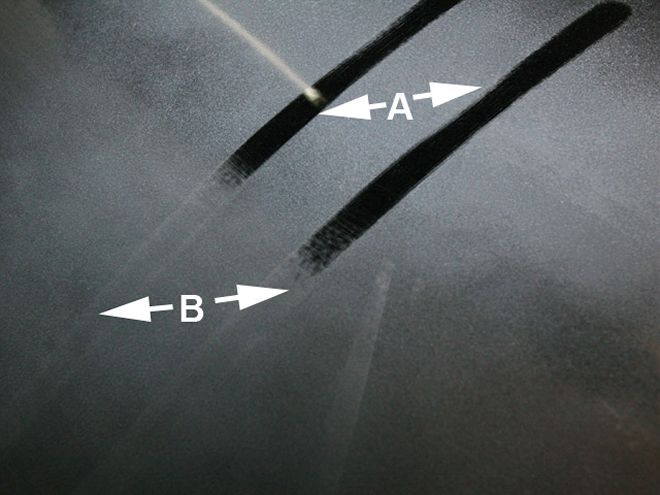
This picture shows the difference between an unsanded surface (arrow A) and a surface that was sanded with 600-grit paper after the guidecoat was applied. You can see where the sanded surface (the part of the two stripes that isn't clear, arrow B) retains the guidecoat. Filling in these scratches allows them to be visible in the next step. This is why it's not a good idea to use guidecoat for the first sanding in 600-grit, it will plug the sandpaper before removing any clear.
With the guidecoat properly applied, it's time for the next step in our color-sanding process.
Using 2,000-grit paper, wet-sand the whole surface you just applied the guidecoat to. Why a 2,000-grit paper? Jeff says the 2,000 removes the 600 scratches just fine and leaves a finer scratch to buff after color-sanding is done, which requires less buffing in the end. Always keep the surface wet and have good lighting when doing the final sanding process, it makes the scratches easier to see so you know when you've sanded enough.
Beware of edges. For curvy areas near edges use the sanding pad and sand alternating strokes both parallel and 45 degrees with the edges. This will help prevent you from removing too much edge and sanding through the clearcoat and even basecoat on the panel.
Here's how the 2000-grit sanded surface looks wet...
...compared with the same surface dry. See how the scratches/low spots are easier to see in the wet photo compared with the dry photo?
Here you can see how the sanding pad keeps the paper from digging into the edge of the decklid we were using for our demo. If you sand too far into one of these edges, you can end up with little or no protection on your basecoat, which'll invite fading, peeling and rust later on in the car's life.

Another advantage to using the sanding pad in this area is being able to sand slight curved areas. In this photo you can see the unsanded area near the edge because the rigid sanding block couldn't keep the paper mated to this part of the panel's surface.
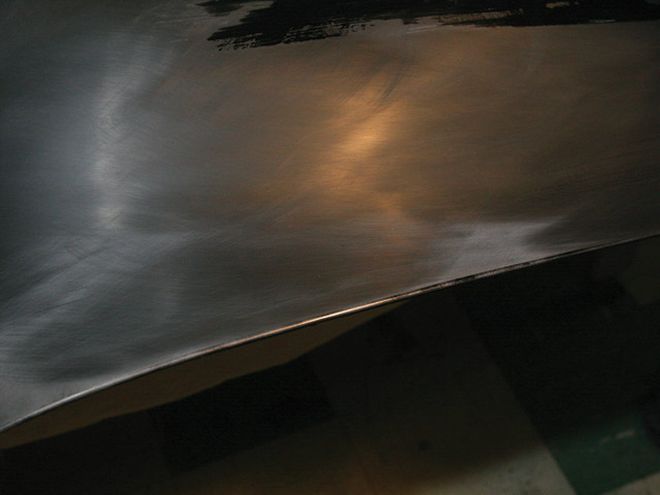
Here's what the properly sanded surface will look like after, wet-sanding with 2,000-grit sandpaper. This surface, once cleaned with some soapy water will be ready for finish-buffing with a variable-speed buffer.
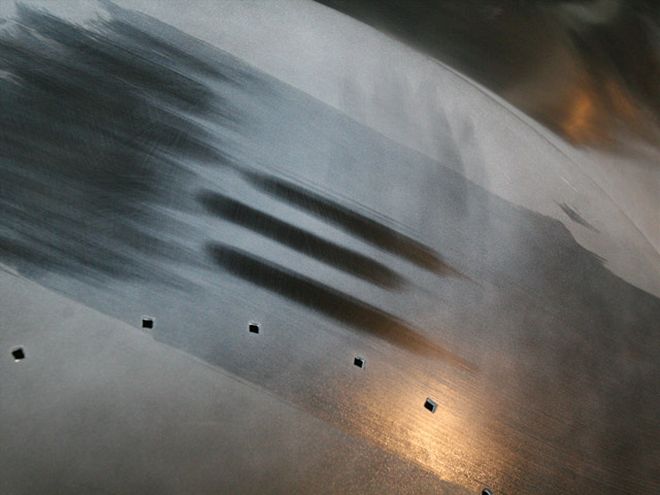
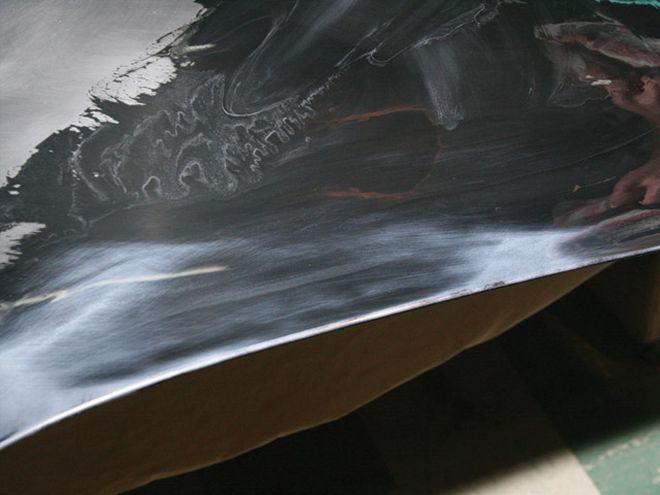
In case anyone asks why, here's an example of what happens if you don't use some sort of sanding block or pad. Here Jeff took a sheet of sandpaper, and using his fingers ran it over the painted surface. The three dark areas are where the paper was sanding, while the lighter areas are where the paper never removed the guidecoat. Sanding this way increases the risk of creating highs and lows in the clearcoat surface.
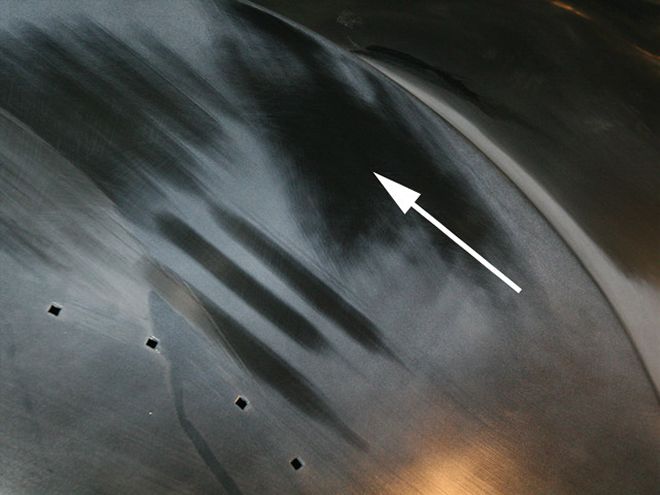
To contrast, here Jeff used the sanding pad (arrow). You can see where the sanding pad more evenly kept the sandpaper in contact with the painted surface, ensuring even sanding.