Sewing up Steel
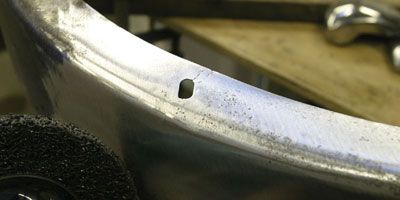
Though less common than your average ding or dent, tears or cracks in steel do happen, and putting the two sides back together correctly is a little more complicated than just a quick weld. When metal is torn or cracked, it's typically the result of some sort of fatigue or impact trauma, which always results in stretching and deformation. To erase the tear in the metal we'll need to not only bring the two edges back together, but also massage the steel back into its original form. For a quick tutorial on this we again tapped metal shaper Ken Sakamoto at Sunchaser Tools in Pasadena, California. Ken has a unique approach that relies on a tiny torch and his Friction System of metalworking. Depending on the cause of the tear in the sheetmetal, there could be a great deal of hammer-and-dolly work necessary to get it back to the point where the two sides will meet again. For simplicity's sake, we'll work with a basic tear around a mounting hole on a Model A fender caused by metal fatigue.
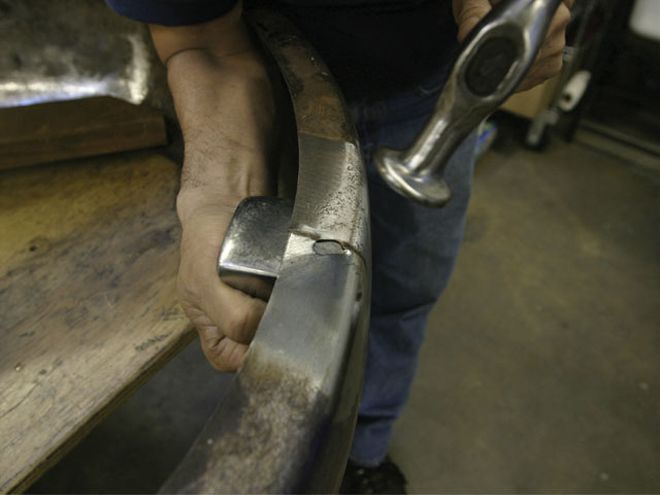
Ken began by cleaning the paint and rust off with a stripping wheel to prepare the area. To flatten out the twist in the steel and bring the edges level with each other, Ken used a general purpose body dolly and body hammer.
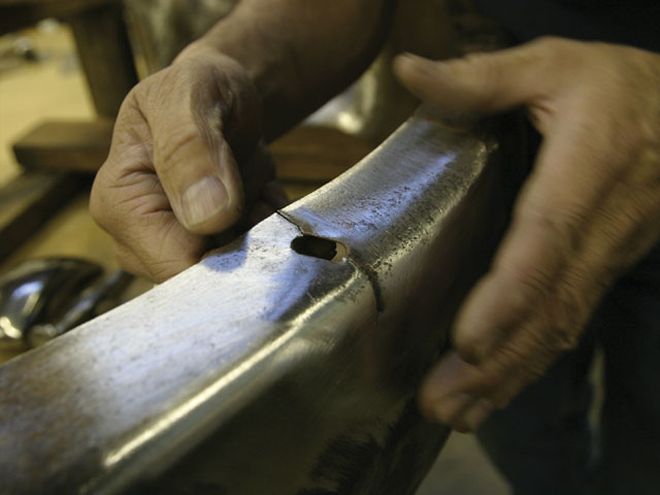
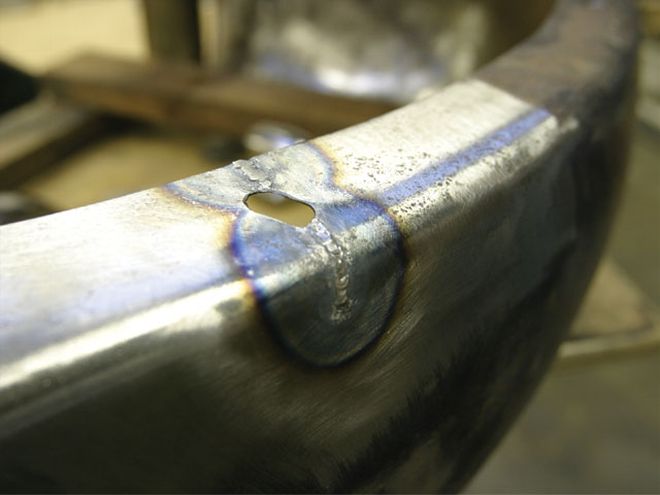
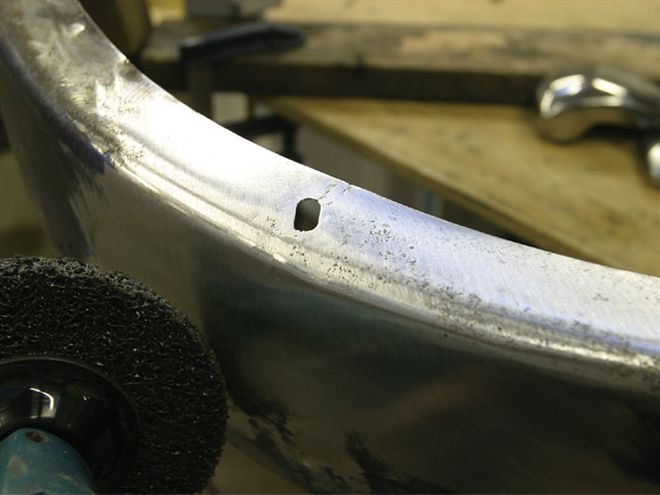
Ken worked the area until it looked like this. The edges of the split were matched up, but there was still a significant amount of stretching and warpage in the metal from the tear.
To prevent the crack from spider-webbing any further even after the repair, Ken drilled a 1/8-inch hole at the very end of the split.
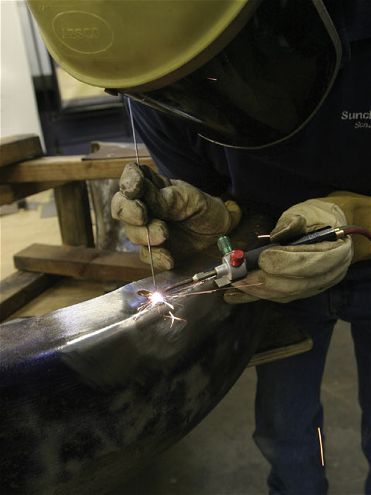
Rather than using a MIG or TIG system, Ken prefers this tiny jeweler's acetylene torch to gas-weld sheetmetal patches. The torch's size makes it easy to maneuver, plus in Ken's words, "It doesn't put instant heat into the steel like a MIG welder." The torch and stand are available on Sunchaser's Web site. When working with cracks, first tack the ends of the split to anchor the steel where you want it to stay and then fill the rest.
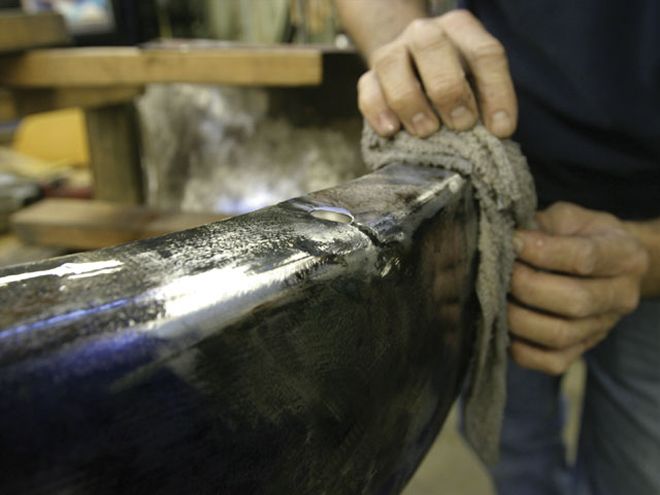
All filled in, it should look like this. The split was repaired, but then we had to remove the stitching without leaving a scar.
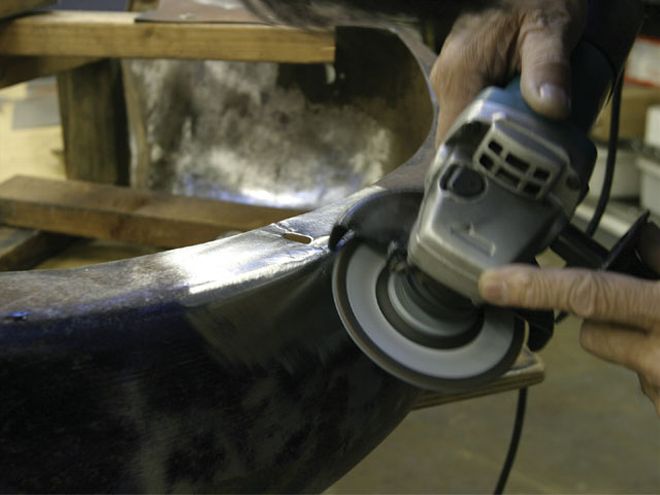
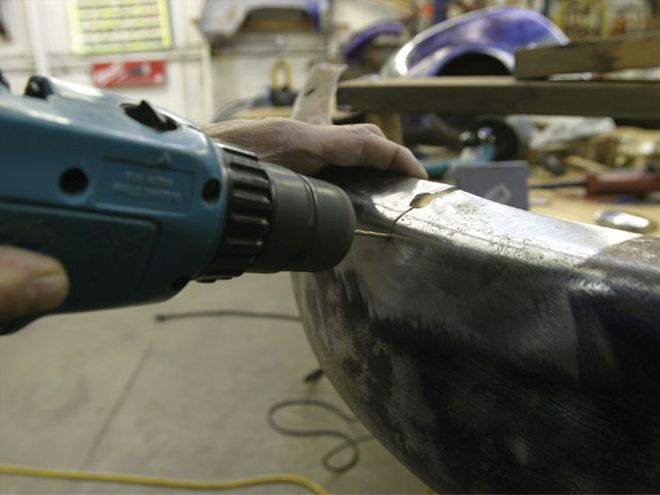
The jeweler's torch doesn't leave a tall weld, but Ken first used a flapper-style sanding wheel on a standard 4-inch Makita angle grinder to flatten it down.
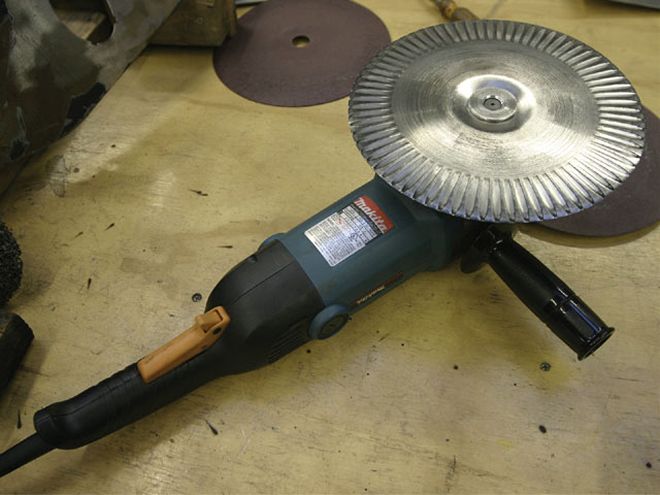
Next it's time to take the warp out of the steel with Sunchaser's friction metal-shrinking disc that comes in the Friction System kit.
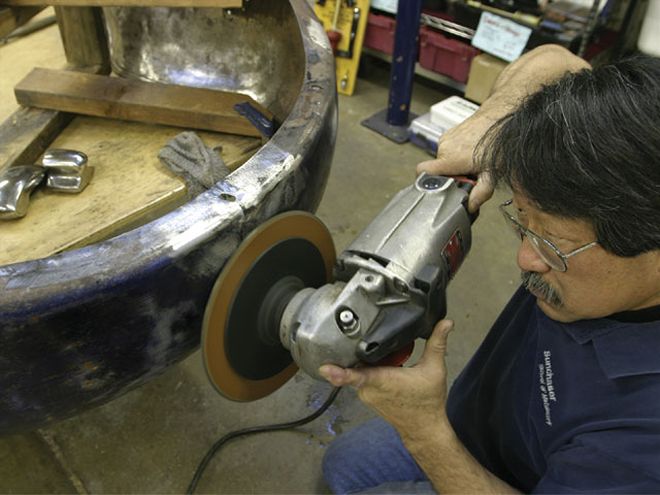
Ken worked the disc back and forth across the welded area with a 15-amp Milwaukee angle grinder at 6,000 rpm to heat the metal, pinpointing precisely where he wants the deformed metal to shrink.
Just as with the dented fender, Ken only uses the disc for a few seconds before stopping and wiping the area with a damp rag and allowing it to cool down to roughly ambient temperature.
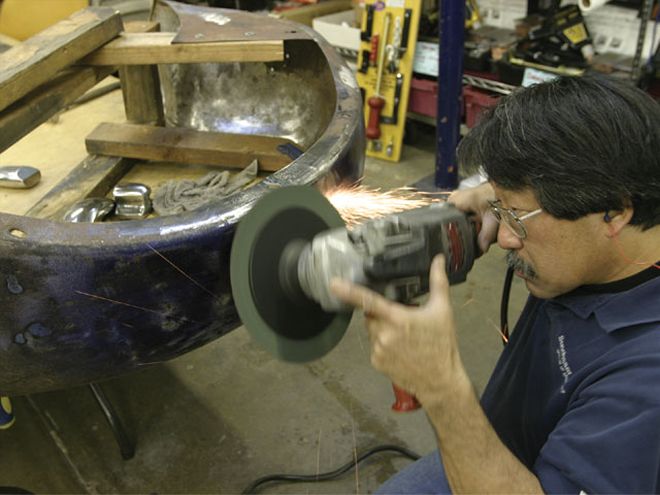
After a couple of sessions with the shrinking disc and allowing the area to cool in between, Ken switches over to a 100-grit sanding disc for a few brief passes.
Lastly, it's back to the abrasive stripping wheel to smooth the finish. After just a few rubs, this is what we're left with: a repaired fender returned to original shape with no low spots that's ready for primer and blocking.