
Last month we explained how to properly remove a quarter-panel so that as much of the original factory look as possible could be preserved. In fact, when this work is done correctly, no one should be able to tell that the quarter was ever replaced. No telltale scars should show. Not only that, but the new panel should survive at least as long as the original.
As you saw last month, removing the cancerous part always uncovers more areas that need proper treatment. There's hidden rust, dirt, debris, and old undercoating that needs attended to. You do not want these things to contaminate all your hard work and cause the body to reject your new panel. Take the time and spend the effort to treat these areas, and you should never have to be concerned about a relapse again.
No two cars were assembled exactly the same. In fact, the same car is not the same from one side to the other. Everything wasn't intended to be perfect, it just had to be within an acceptable tolerance. Now if you add thirty or so years of usage and maybe even a bump or two, you can see why no car is going to be perfectly "square."
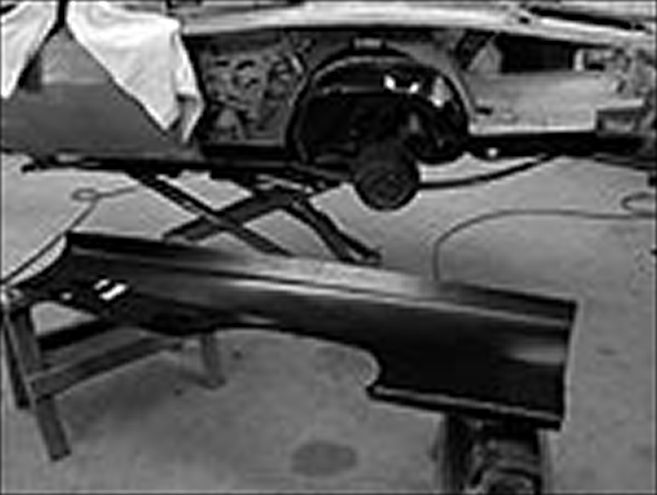
The reason we are reminding you of these things is that even when using quality reproduction panels, each panel must be custom-fitted to each car. Prep work is never fun or glamorous, and it sometimes doesn't look like you are really accomplishing anything. It can be dirty, dusty, tedious, and time consuming, but if you don't get this part right, those things that you are covering up will begin to grow again, eventually causing future problems by reinfecting the new parts you've labored so hard to replace. So, don't be in a hurry to slap that new panel on. Invest the effort now, and you'll be rewarded for many years to come.