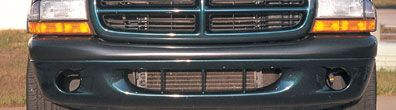
 Here's the starting point. We'd installed another front fascia once before, and it had already contained fog lamps. We removed that fascia, however, and never got the lights back in. For a real racy look, the fog-lamp holes would be great to run brake cooling air ducts from. The flap hanging under the bumper fastens to the radiator crossmember with plastic push fasteners. To remove the bumper, it must be unfastened.
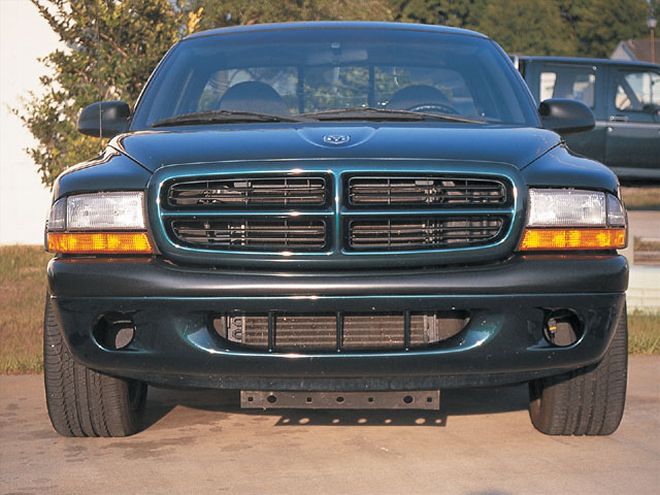
Finally, there is a reasonable number of aftermarket accessories available for our '97-and-later Dodge Dakota trucks, but one of the first on the scene to supply customizers with dress-up parts was Stillen. Among its offerings was a urethane front fascia/bumper cover.
Stillen's piece fits over the truck's stock bumper/front valance assembly, covering them both and giving the front of the truck a cleaner look by visually replacing two components (a black bumper top and body-colored lower valance) with a single piece.
The standard practice is to paint the Stillen cover body color and install it on the truck. One thing that escapes most owners, however, is the spoilers molded into the edges of the cover in the lower valance area. Painted flat black, these spoilers have the look and feel of chin spoilers from the musclecar era. (Wouldn't they look right with a Shaker hood? Hmmm...)
Installation is easy-apply the supplied double-sided adhesive tape to the top of the bumper and a few other areas, install the Stillen cover, and secure it with four supplied sheetmetal screws. It will take you longer to have the part painted than to actually install it. The cover installs with the front bumper and fascia on the truck, but we chose to remove them during the installation. The main reason was for photography purposes, but it was also a little easier to make sure our fitment was right. The stock bumper/fascia removes with eight 18mm bolts and is easy to remove and reinstall. We don't think it really added any time to the installation, and it did make things easier to line up. Additionally, we spent less time on our back under the nose of the truck and didn't scrape our knuckles on the radiator through the fascia's lower grille opening. Even with removing the bumper, the whole procedure takes about 45 minutes-it's that quick.
The adhesive tape and sheetmetal screws are supplied with the kit, but we managed to lose them between getting the cover painted and getting it on the truck. We found some tape and had some leftover sheetmetal screws from the factory R/T flares we installed last month. It actually worked out well, because we installed two extra screws in the cover to make sure it wouldn't flap in the wind.