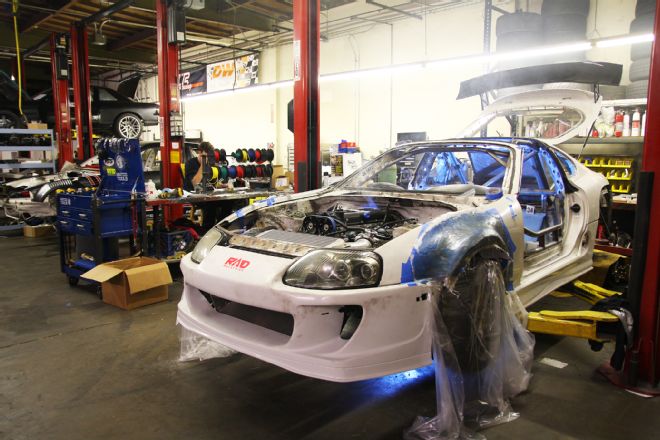
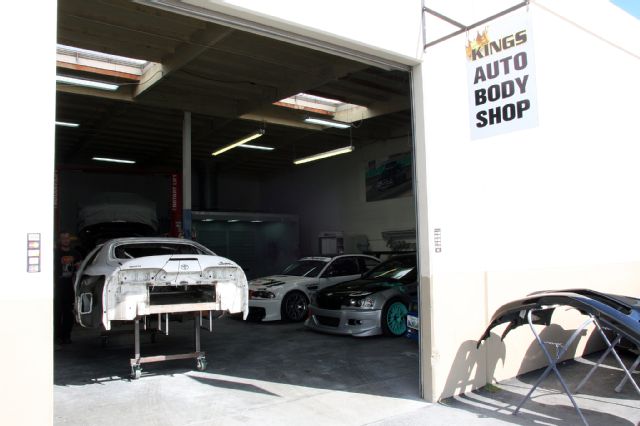
Fabricator and driver Dan Burkett reached another milestone in the build of his 1995 Toyota Supra for the 2015 Formula D Pro 2 season. After weeks of late nights and hard work sorting out the assembly, he turned the car over to the shop handling paint, Kings Auto Body in Huntington Beach, Calif. A little ironically, it meant taking a step back by basically stripping the Mark IV of most of the work Burkett's team has done up to this point.
Formula D Pro 2 Supra Build - Part 1
In this installment we look at the days leading up to that handover, as the crew buttons up several odds and ends. Burkett also walks us through the installation of the ACT racing clutch and flywheel - impressive bits of over-engineered drive-train technology.
Formula D Pro 2 Supra Build - Part 2
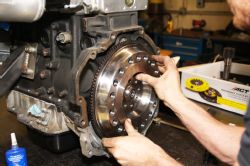
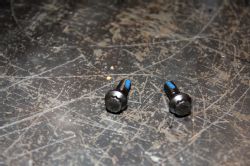
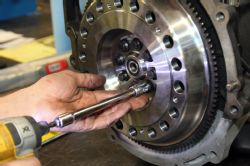
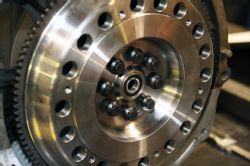
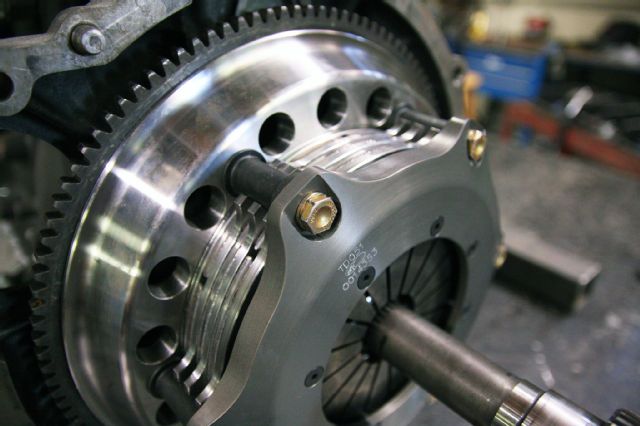
The ACT flywheel is CNC machined from a single piece of steel billet and designed for the stresses of high horsepower and competitive drifting. It's fastened to the crankshaft end via bolts torqued to 75 lb.-ft. each and each given a dab of blue thread locker near the tip of the threads and Toyota-brand sealer closer to the head of the fastener.
10 Keys to Building a Competitive Drift Car
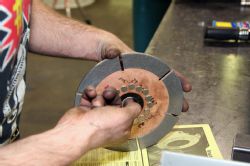
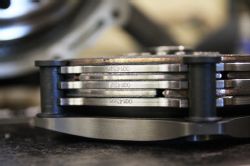
 | Clutch Pack Detail
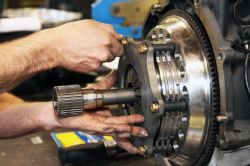
ACT recommends a multi-disc clutch for Dan's build, which can hold more torque than a single disc due to the increased surface area that is being clamped. After applying some ACT input shaft lube to the insides of the hubs (making sure not to get any on the disc faces), the sintered iron discs and separating plates are slid onto an alignment tool that's been inserted into the flywheel's pilot bearing, Burkett making sure all the numbers match up on the edge of each plate.
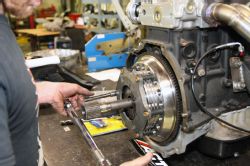
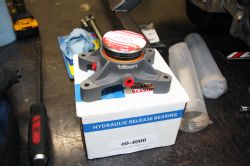
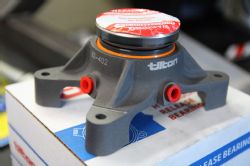
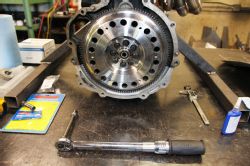
The ACT pressure plate is the other piece of bread in this clutch-disc sandwich, getting secured to the flywheel via bolts torqued to 29 lb.-ft. Once the car gets back from paint, the motor with new clutch will be returned to its home in the engine compartment, and Burkett can mount the Tilton release bearing to the bell-housing side of the Excessive Manufacturing adapter plate. He'll also need to run a couple of hydraulic lines through the housing to the bearing.
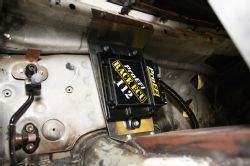
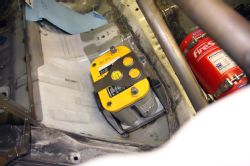
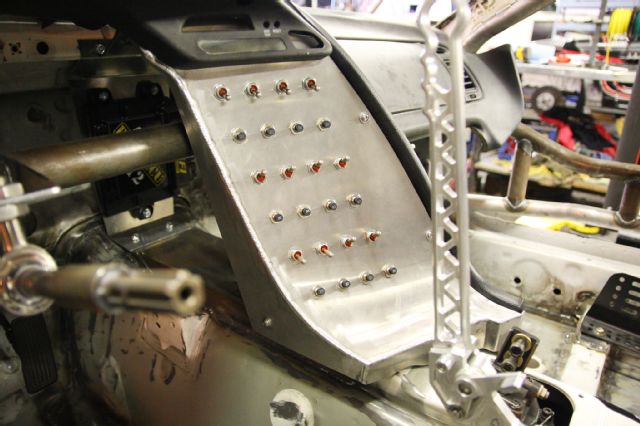 | Toggle Switch Fuse Panel
Burkett fabbed up a mount for the Racepak digital display that extends from the slotted piece of plate for the steering column welded to the crossbar behind the dash. A custom base for the ProEFI Race ECU 112 is also made and placed up behind the dash, and crewmember Ryan Clemens of Oppomoto transformed the aluminum center panel integrated into the dash into an all-in-one toggle switch and fuse panel.
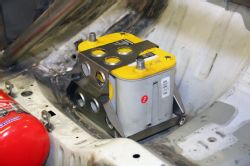
Burkett welds in the battery box behind the passenger seat. It will be home to a heavy-duty Optima YellowTop battery - energy storage recommended for the likes of trucks with winches, forklifts and tractors (just to give you an idea of what kind of juice it's packin').
Dan also got around to cutting out the radiator ducting hole in the rear hatch's polycarbonate window. He accomplished this by marking off the perimeter of the aluminum ducting on the window and then drilling inside the corners with a bit big enough to make a hole that a jig saw blade could fit into. After cutting out the piece, he cleaned up the edges with a die grinder and installed aluminum framing.
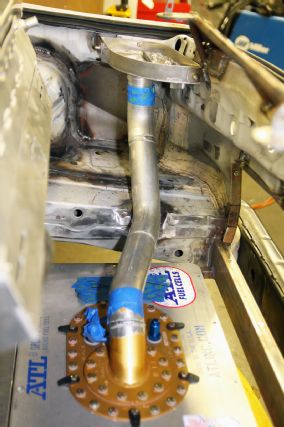 | Fuel Pipe
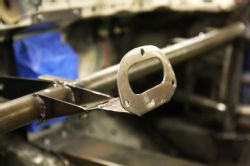
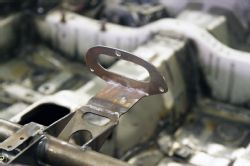
Another piece to the fuel system is installed, Burkett fashioning plumbing to run from the ATL fuel fill to the ATL cell. For the radiator, he created an overflow reservoir to go with the expansion tank, while under the car he screwed a 90-degree fitting into the Winters diff housing for a breather vent.

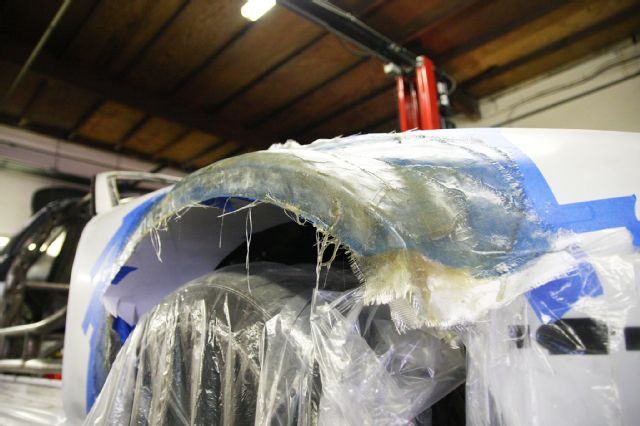 | Front Fender Initial Fiberglassing Detail
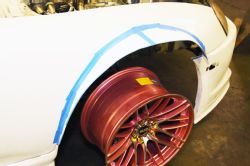
With the clock counting down before the Supra goes to paint, the last thing we'll have a chance to look at are the front fenders. In an effort to widen the car's front track, Dan's developing custom fenders from fiberglass with the help of Chance Jespersen of Lovely Idol, starting with a piece of cardboard taped to each stock fender to gauge how far he wants them to flare. On top of the cardboard he lays down layer after layer of fiberglass mat and resin, letting them dry, sanding and then adding more layers until he gets the look and functionality he wants.
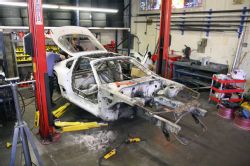
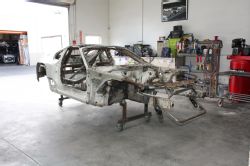
 | Auto Body
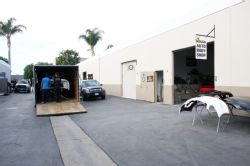
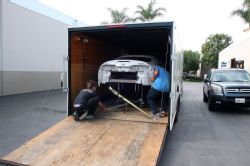
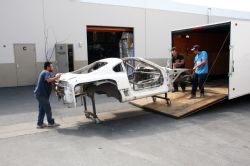
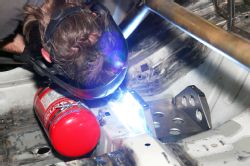
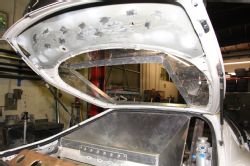
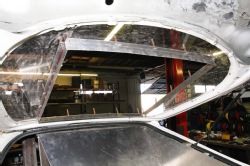
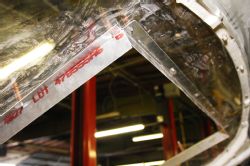
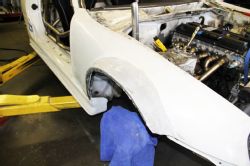
At about T-minus 12 hours, the crew breaks down the car, pulling off everything that hasn't been physically welded to it. The welds themselves are cleaned up with a wire wheel and Scotch Brite pads, and once everything is done the Supra is loaded into a trailer. The next morning, Burkett drops off his baby at Kings Auto Body, where for the short term they take over by prepping and spraying the racer inside and out.
NEXT TIME - We visit the Supra at the paint shop and then watch the reassembly - can testing be too far off?
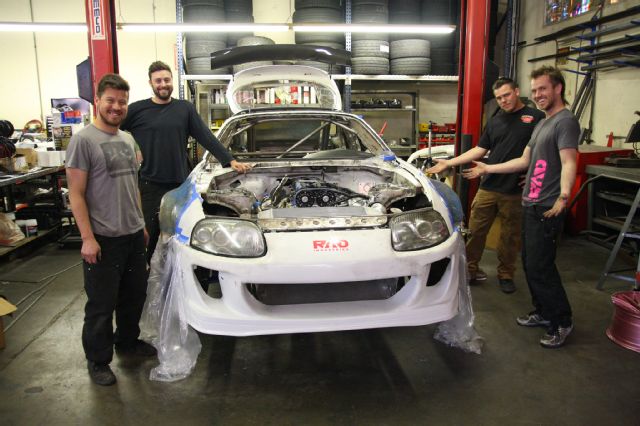 | Team RAD, left to right: Jaziel Castelazo, Ryan Clemens, Anthony Borrelli and Dan Burkett.