To many truck enthusiasts, the Chevy Suburban represents the ultimate go-between vehicle. With its ability to haul equal amounts of people and cargo, the ’Burban is just as capable at getting a crew to the worksite loaded with tools and equipment as it is hauling junior and his teammates to an all-day baseball tournament, with a fully stocked cooler and chairs. Built with a sturdy frame and truck-like characteristics, it can handle just about anything that is thrown at it in terms of terrain, and still have the ability to be cleaned up to commute with daily. The ’Burban has enjoyed a long history while straddling the line between a free-wheeling adventure machine and family truckster, and has only grown in both popularity and usage over the years.
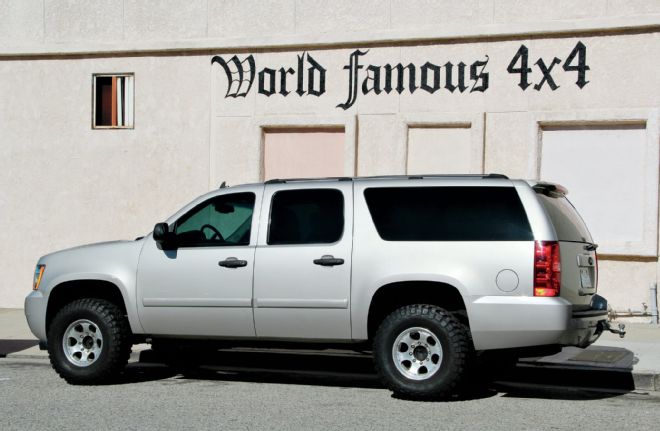
| Stock 2008 Chevy Suburban
In an effort to continue with that line of thinking, we took a tougher-than-average ’08 2500 HD 4x4 and made some adjustments to both the altitude and attitude of this truck to make it stand out among all the rest. Installing a 6-inch lift to this Suburban would give it the right height, the right stance and give the suspension some much needed stiffness. With the addition of 35-inch tires with more aggressive tread, some tough looking but lightweight one-piece aluminum 17-inch wheels, and color-matched fender flares, we would give it a little edge where it was needed.
We tookthe Suburban out to World Famous 4x4 in Burbank, California, to have their knowledgeable technicians install a 6-inch RCD lift kit, a dual shock hoop, also from RCD, as well as a set of Bushwacker fender flares to accentuate the 35x12.5R17 Toyo Open Country RT tires mounted on 17x8 Black Rock Yuma wheels. We also installed the RCD-provided Bilstein shocks front and back to smooth out the ride. Follow along as we transform this ho-hum mall-crawler with a vague and kind of bouncy suspension to one that is now riding on rails with the ability to, at speed, hop off of a gas station curb and merge into L.A. traffic with no body roll or wave from the suspension. But don’t ask us how we know that.
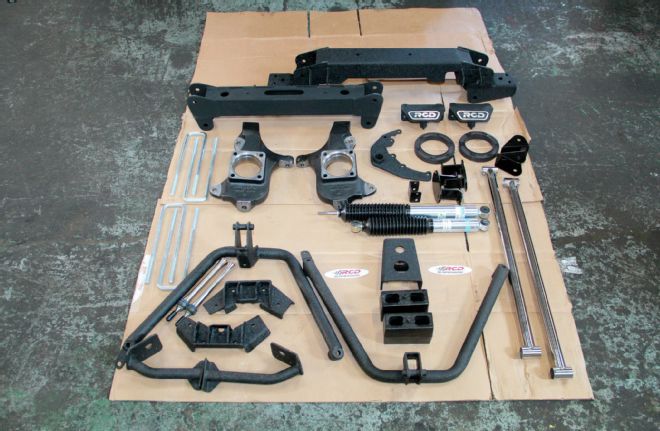
| Rcd 6 Inch Lift
The installation was two kits put together consisting of the RCD 6-inch lift kit which had optional Bilstein Shocks, as well as the RCD dual shock kit.
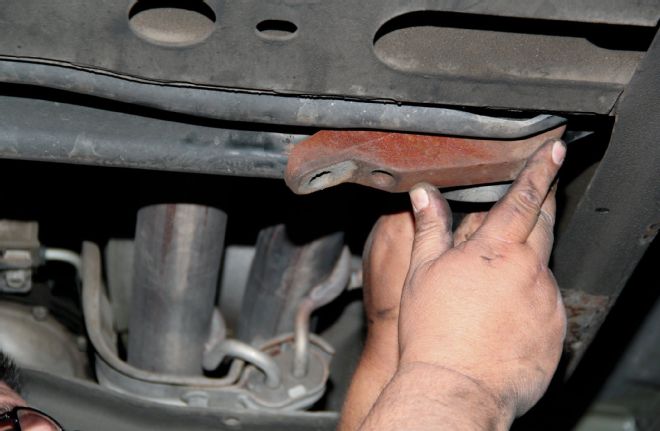
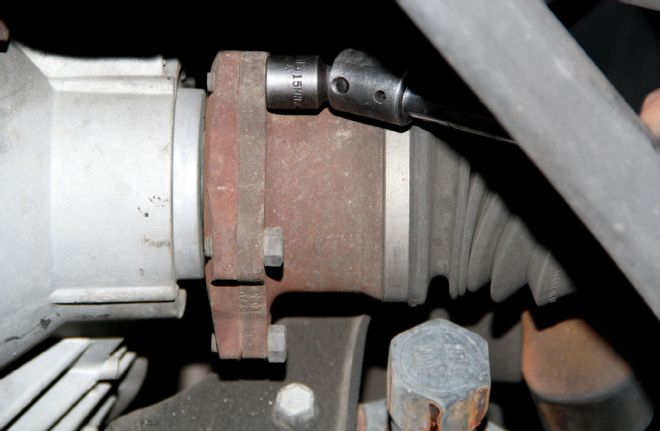
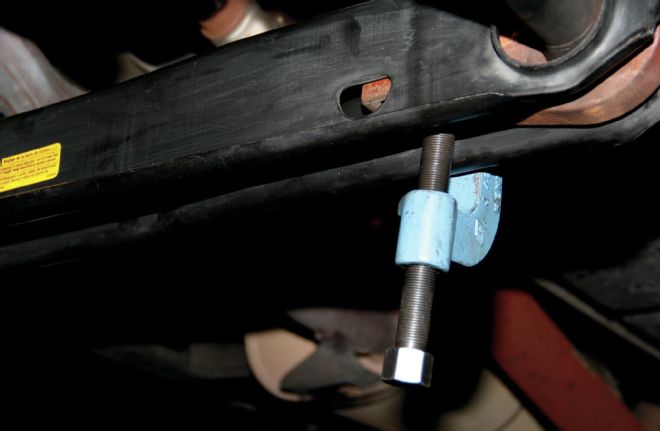
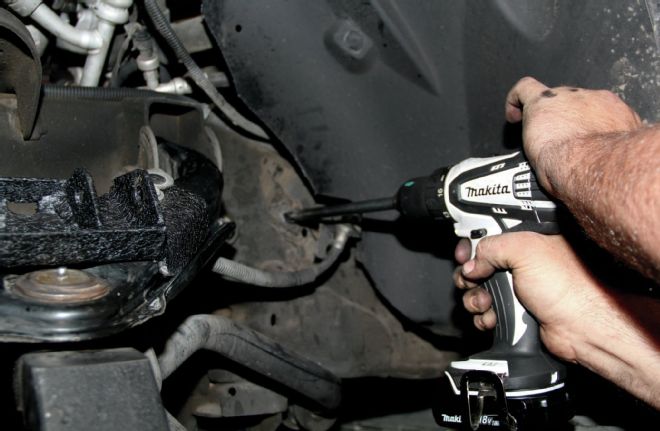
| Torsion Key Removal
We unloaded the torsion keys using a removal tool and removed the adjuster bolt as well as the retainer block, and the torsion bars were ready to be slipped off their keys. We removed the torsion bars and marked them R and L and cleaned them up to be reinstalled later.
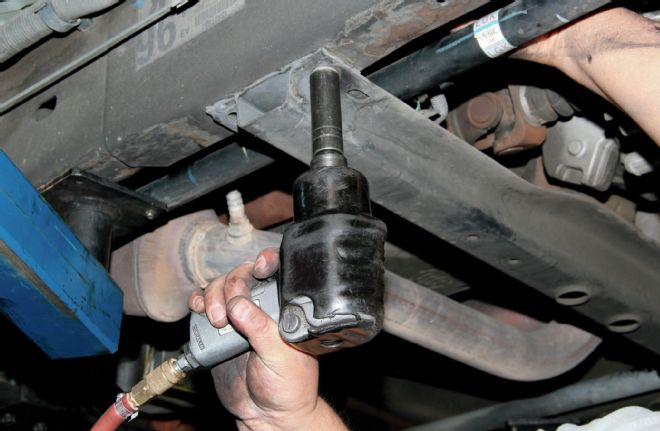
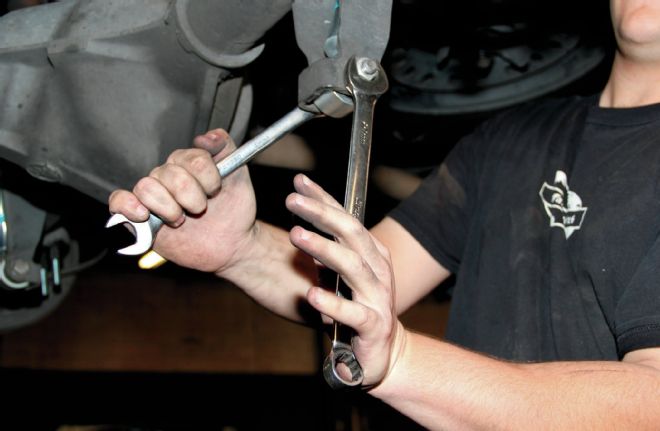
| Transmission Crossmember
Turning to the transmission crossmember, we removed the two bolts on either side and it was dropped down to provide a little more room to get the torsion bars out. It was left loose for now and will be retightened when the lateral compression struts get installed.
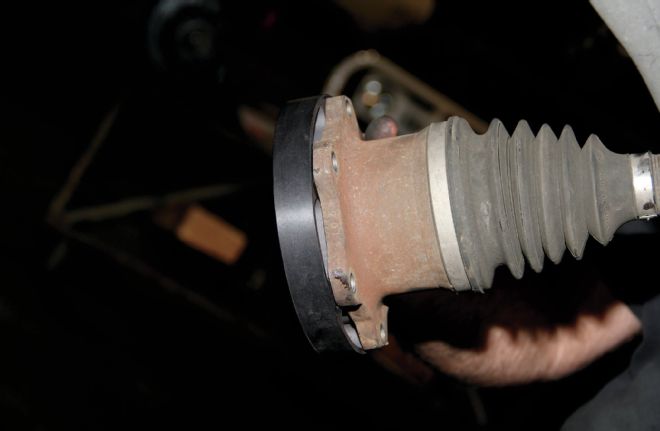
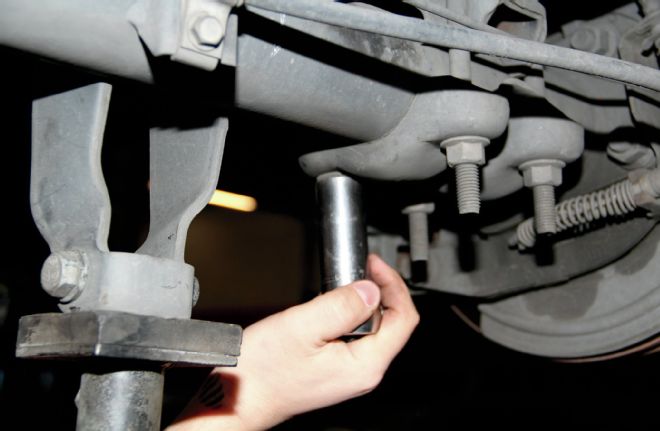
| Axle Removal
We removed the six bolts connecting the axles to the differential and left them hanging so we could then work on removing the brake calipers and the rotors while leaving the spindles on to be changed later.
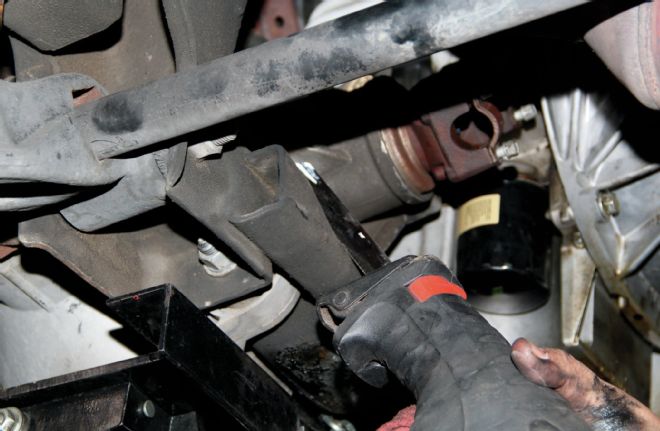
| Driveshaft Removal
The driveshaft was unhooked from the diff, and the diff is easier to get out if part of the lower mounting bracket on the driver side is cut off with a Sawzall. Then, we supported the diff with a telescopic transmission stand and unbolted the passenger-side bracket.
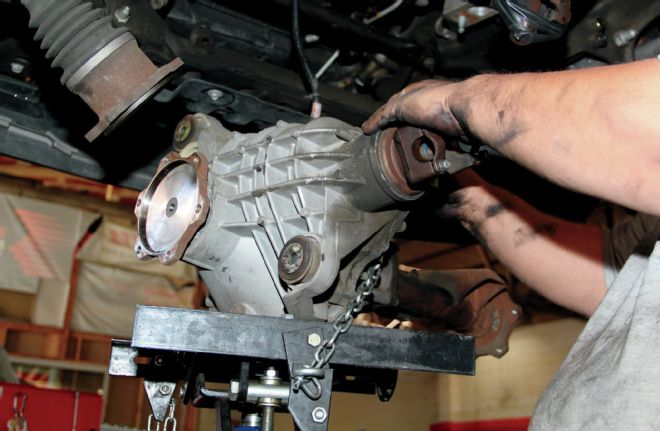
| Diff Removal
Dropping the diff out of the way, we took it to a strong, wheeled table to be mildly reworked due to the lift kit altering its location.
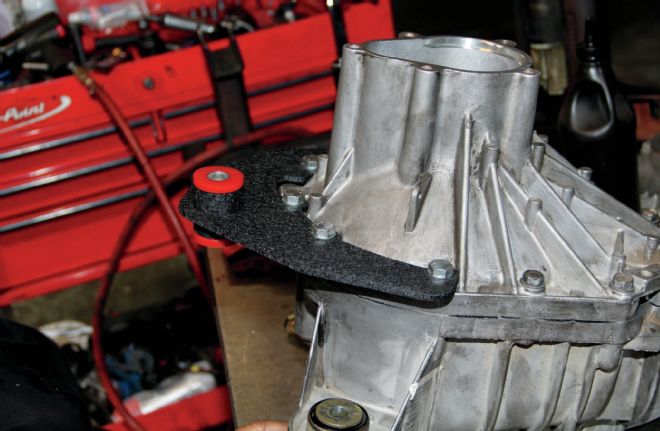
| Diff Bracket Installed
We installed bushings and a metal sleeve into the new diff bracket from the RCD kit and attached it to the diff housing using five of the supplied hex bolts.
| Cutting Off Stock Bracket
Bringing out the Sawzall once again, we cut off the rest of the driverside diff bracket, which ate up a whole blade, and cleaned up the rough edges with a grinder.

| Plate Welded In Place
Before the diff could be mounted back into the newly altered bracket, we welded the supplied plate in place so that the new front crossmember has a secure mounting point.
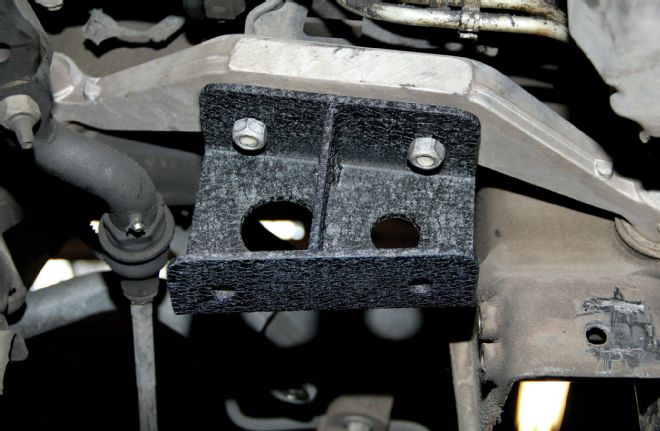
| Diff Drop Bracket Installed
Next, we bolted up the diff drop bracket on the passenger side with the supplied bolts on the top and left them a little loose as they will be tightened up later.
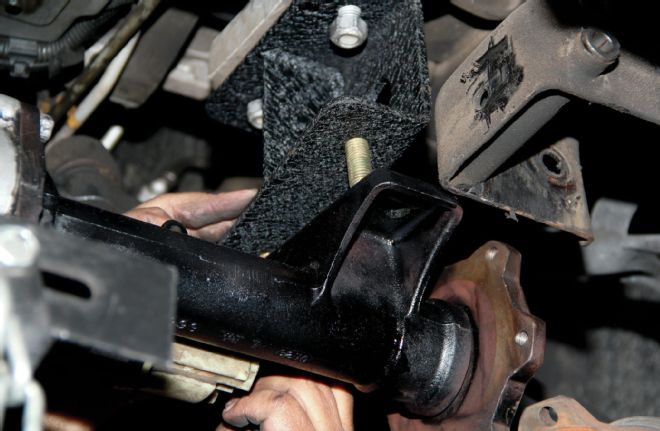
| Diff Reinstalled
After the bracket was in place, we installed the diff, first attaching the passenger side to the drop bracket, and then the newly installed support bracket was bolted up.

| Rcd Crossmsmber Install
We then installed the RCD front crossmember, bolting the passenger side into the factory frame bracket along with the driver side, and reattached the lower arms as well.
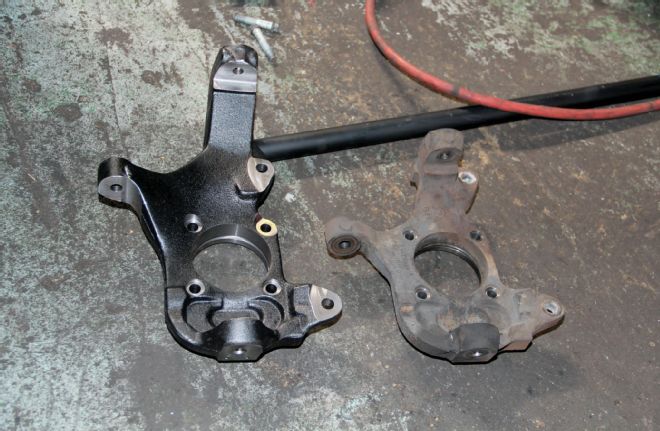
| Spindle Comparison
First, we removed the brake caliper, rotor, and dust shield to get to the spindle. Then we unbolted the spindle from the upper and lower arms. Laying the old spindle next to the new one is a good illustration of how it works in conjunction with the drop down crossmember. Then, we installed the new spindle.
| Axle Spacer Installed
Before reinstalling the axles back onto the differential, we attached the axle spacer against the axle before we bolted up the axle to the diff using the supplied hardware from the RCD kit. We then slipped the axle back into place in the hub and torqued the axle nut down.
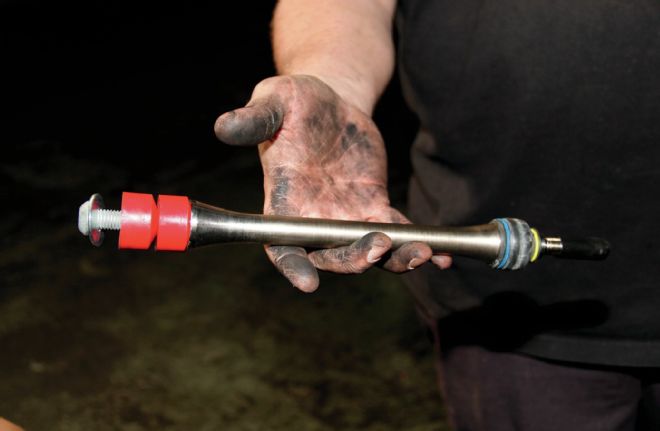
| Sway Bar Extension
The kit contains a new set of sway bar extensions with bright red bushings and a flex joint. After the extensions get installed, we reassembled the hub with the brake disc and caliper.
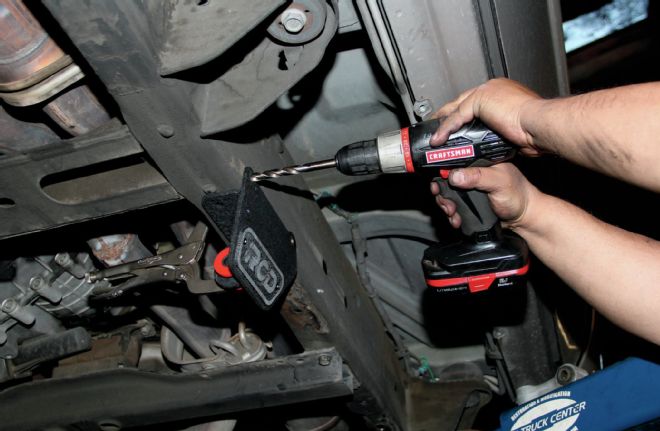
| Drilling Holes For Drop Bracket
Using a Vise-Grip locking C-clamp, we drilled the holes for the drop brackets that will support the new location of the torsion crossmember. We positioned the brackets below the old mounting location, center punched the framerail, and then drilled up the holes.
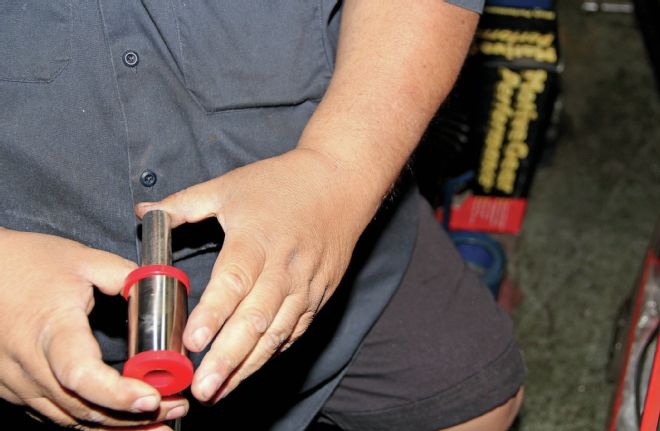
| Bushing Sleeve Install
The lateral compression struts then received a set of bushings and a sleeve before they could be bolted up loosely to both of the new strut mounts and to the brackets on the rear crossmember.
| Setting Torsion Keys Back
Using the torsion unloading/loading tool, we set the torsion keys back to their stock height and reinstall the retainer block and adjustment bolt back to their stock position by lining up the markings that we made when they were removed.
| Rear Shock Removal
Moving to the rear suspension, we unbolted the rear shocks and they were swapped out with a set of Bilstein shocks that we purchased with this kit.
| Rear U Bolt Removal
Then we placed a floor jack under the rear shock mounts while we unbolted the U-bolts attaching the leaf springs to the axle, and so we could take out the old stock blocks.
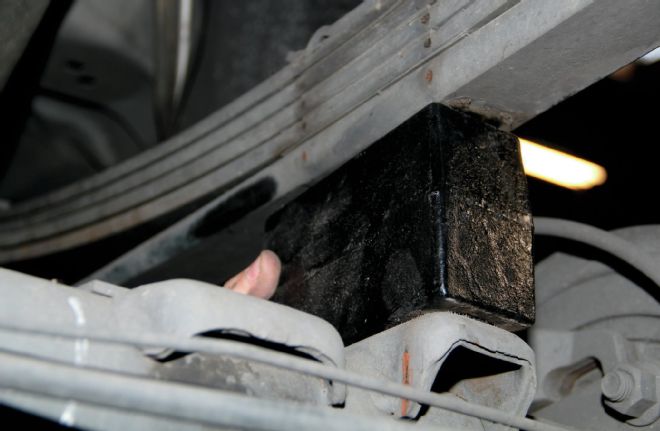
| Lift Block Install
We then installed the new tapered 4-inch riser blocks that came with the kit. The new set of U-bolts were then bolted up.
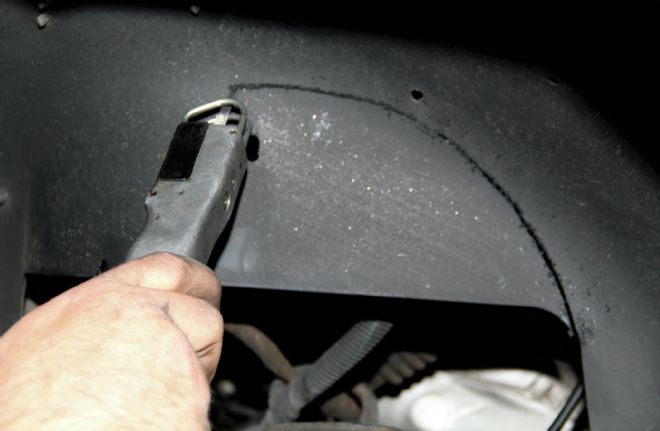
| Trimming Inner Fender
With that our lift was done and we turned our attention to the front shock hoop that we picked up from RCD. We first cut away a section of the inner fenderwell using an air cutoff tool.
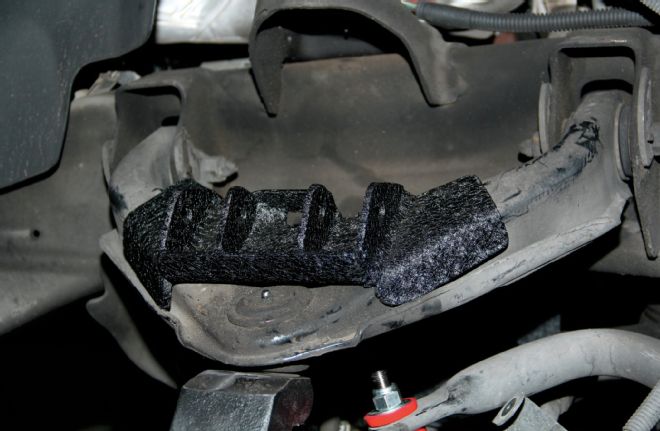
| Shock Mount
Then, we disconnected the ABS connector and the brake line anchor and pulled both out of the way so we could test fit the dual shock mount on the upper control arm.
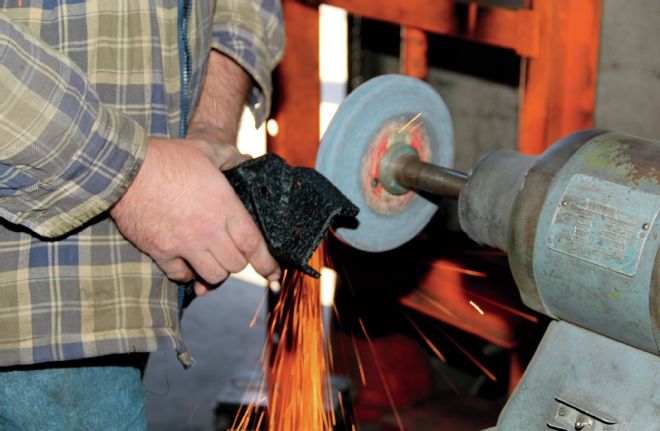
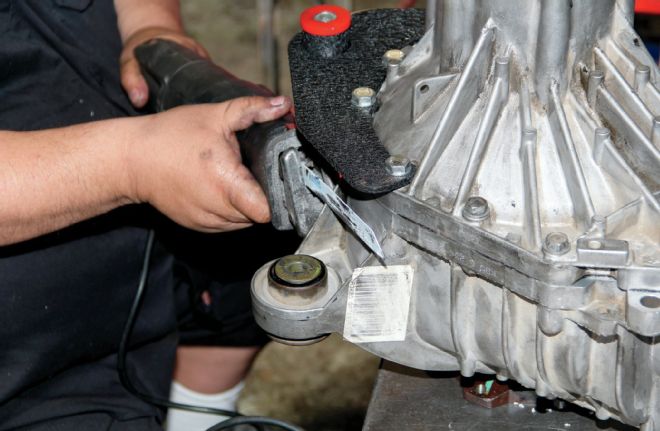
| Trimming Shock Mount
The dual shock mount needed a little shaving near the edges so we did some custom fitting using a bench grinder.
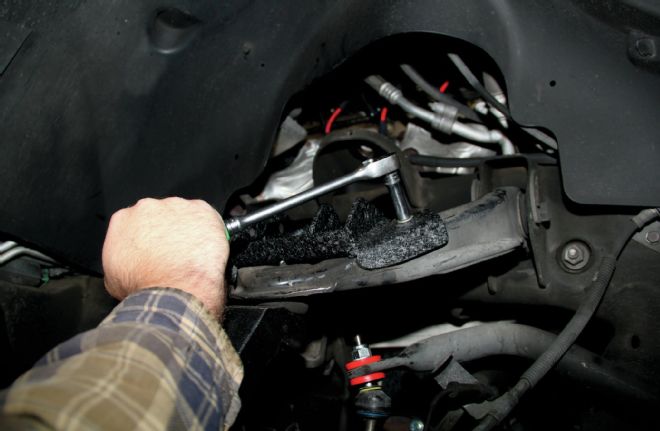
| Shock Mount Installed On Upper Control Arm
After that, we installed the mount onto the upper control arm using the supplied hardware from the kit.
| Drilling Holes For Front Shocks
In order to mount the shock hoop, two holes had to be drilled on either side of the hub, where a crush sleeve gets placed and the hoop is bolted on loosely for now, while the hoop support bracket slips in and gets bolted between the dual shock mount and the hoop.
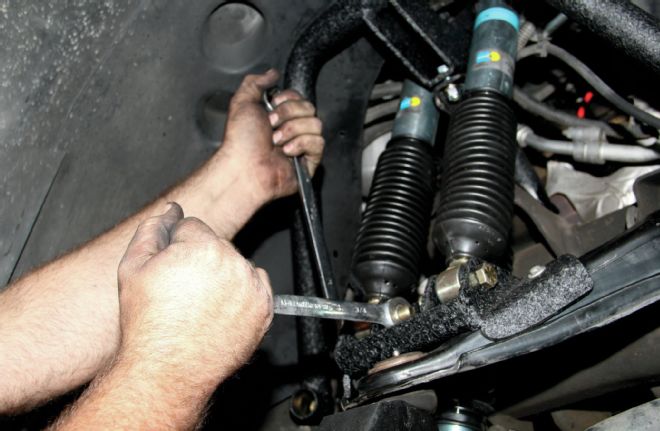
| Front Shock Install
Then the dual Bilstein shocks got mounted up loosely to the upper shock hoop and lower mount. We took this time to make adjustments a little before we tightened everything down good and tight. This setup is inherently a little stiff so we made sure nothing was going to rattle loose.
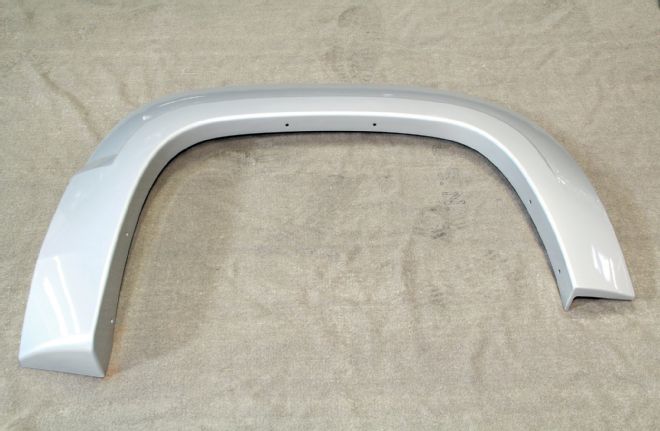
| Bushwaker Fender Flares
With the hard and dirty parts out of the way, we go the Bushwacker fender flares, which came to us in the natural state of black. We sent our flares out to be painted to match the body color, adding a little touch of class to our now toughened up ’Burban.
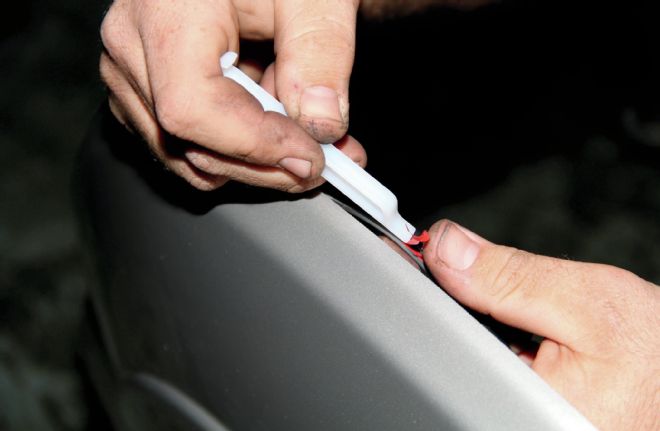
| Double Stick Tape Installed
These flares were the easiest part of this build and were basically plug-and-play. First, we attached the edge trim which came with a handy plastic tool to flatten the trim and pull off the red plastic strip to reveal the inner adhesive.
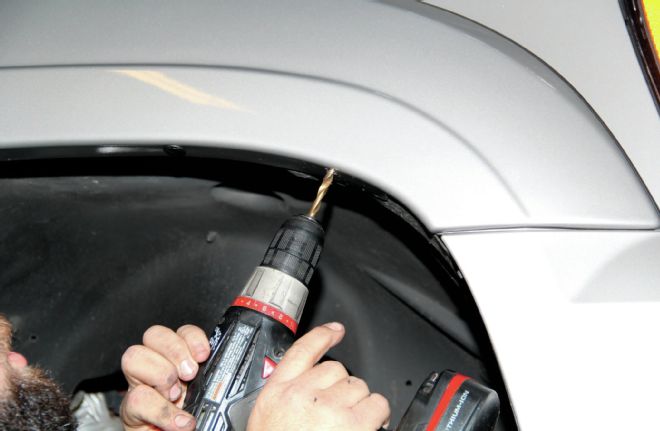
| Drilling Stock Body Holes
We then removed the factory pushpins and the screws holding in the fenderwell and attached the flares with the supplied screws and new pushpins. We did have to widen a few of the holes for the new larger pushpins, but that was a quick process.
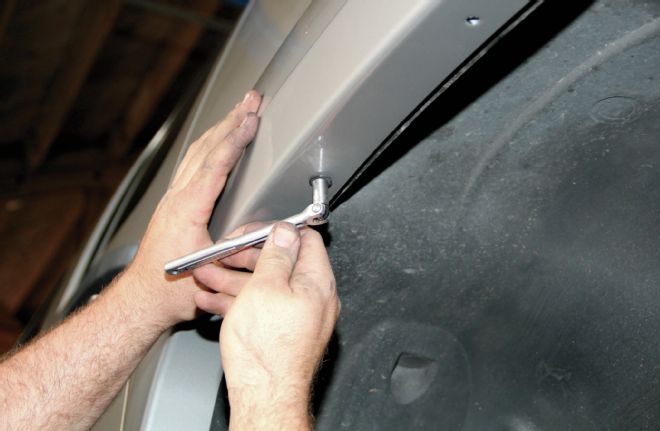
| Fender Flare Bolts
After the pushpins were in place, we easily installed our Bushwacker flares which matched the body lines perfectly, lining up with the bumper ridge and the rear of the fender well like they had always been there.
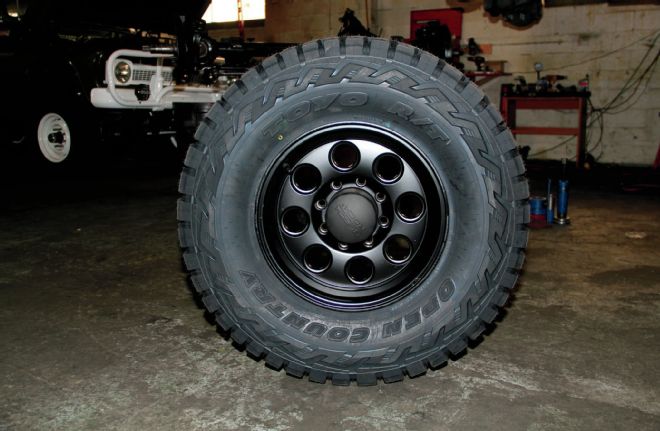
| Black Rock Yuma Wheel
We lowered our nearly done Suburban enough to add a set of dirt-ready 35x12.5R17 Toyo Open Country RTs that had been mounted to 17x8 Black Rock Yuma wheels, and our ’Burban is ready to tear it up on both pavement and off-road!

| Lifted 2008 Chevy Suburban
Thanks to the RCD 6-inch lift, our ’08 Suburban is now up at a respectable height of 23.5 inches at the lower rocker, with 11 inches from the wheel to the top of the fender arch. It has greater stability thanks to the RCD Dual Shock kit, looks the part with the body-colored Bushwacker fender flares, and rides like it should with those Black Rock Wheels and Toyo Tires.