If you are picking up this issue and aren’t familiar with this project, here is a little recap. We are breathing new life into our 1999 Ford F-150 Lightning project, which we affectionately call Project Stealth Fighter due to its subtle good looks but lethal performance. In the three previous articles, we showed you how to lower it for a menacing ride height and superior handling. We also showed you how we made 129 more horsepower and 124 more lb-ft of torque by upgrading the factory blower to a Whipple replacement and Kooks long-tube headers.
You would think there isn’t much more we could do to this truck, but you’d be wrong. Now that the truck is so low, we’re having trouble getting the front suspension into factory alignment specs. Dialing in the alignment will increase the handling capabilities and save our 22-inch Nitto tires. With all that newfound power, we can really tear up a racetrack, but the problem is we can feel the chassis twisting and flexing under the truck. We also know we can get more traction in the rear to help get all those ponies to the ground. Thanks to Stifflers suspension components, we can address all of these problems and turn our Lightning into a bona fide street beast.
Stifflers makes an adjustable upper control arm kit for the 1997 to 2004 Ford F-150 and Lightning trucks. This will help us get the truck aligned and allow us to make camber adjustments while at the track. The company also makes a chassis stiffening system to help the torsional strength in the frame. Finally, we ordered one of Stifflers’ long bar traction kits that will help the tires hook up on launch, which will give us quicker weight transfer and reduce wheelhop. The traction kit even fit our slammed Lightning. To handle the install while we snapped the photos, we drove the truck to Outlaw Offroad in Santa Ana, California. Known for their killer off-road setups and extreme Raptors, the crew at Outlaw also performs all types of upgrades on lifted and lowered trucks alike. Follow along to see how we made our Stealth Fighter safer, handle better, and even quicker than before.
| 1.
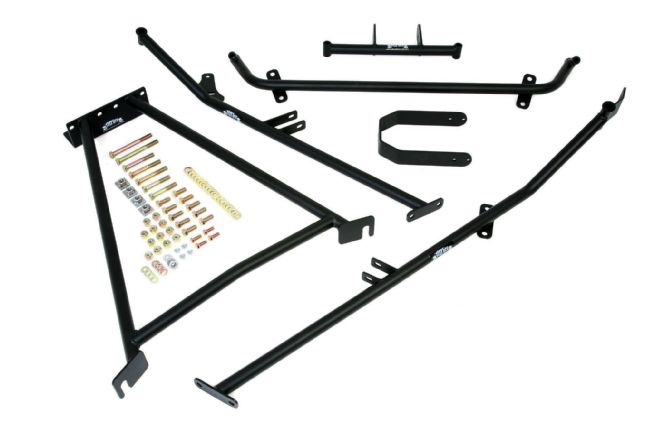
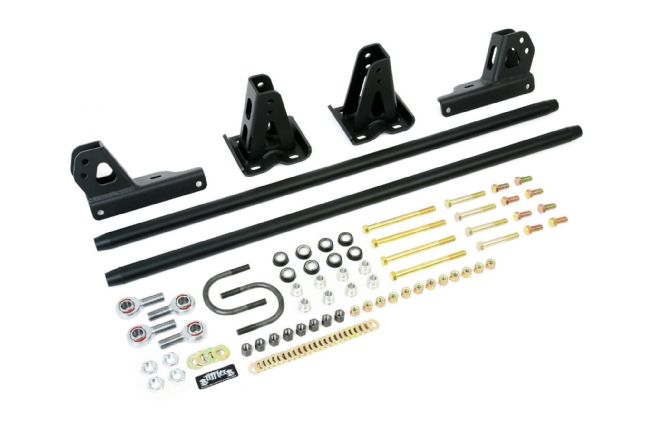
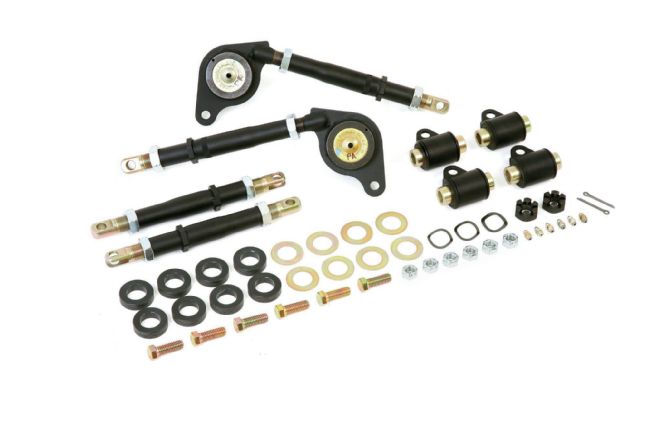
1. We decided to install the chassis stiffening system first, since that would likely be the most time consuming. Here you can see the kit laid out, which included all the hardware necessary. We also ordered the Stifflers driveshaft safety loop that is incorporated in the kit.
| 2.
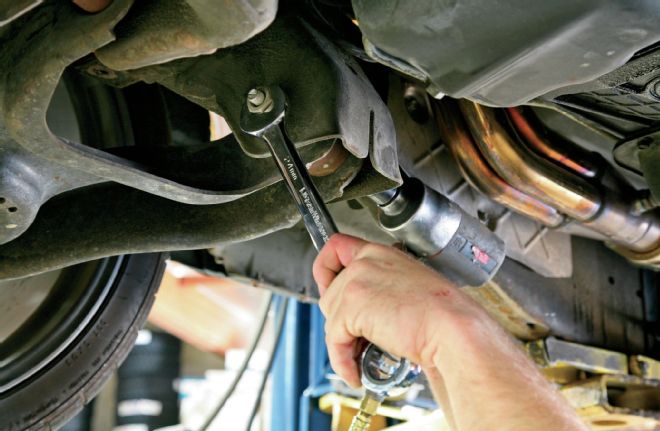
2. The front of the kit bolted to the lower control arm mounts. To accommodate this, the rear lower control arm bolt was removed.
| 3.
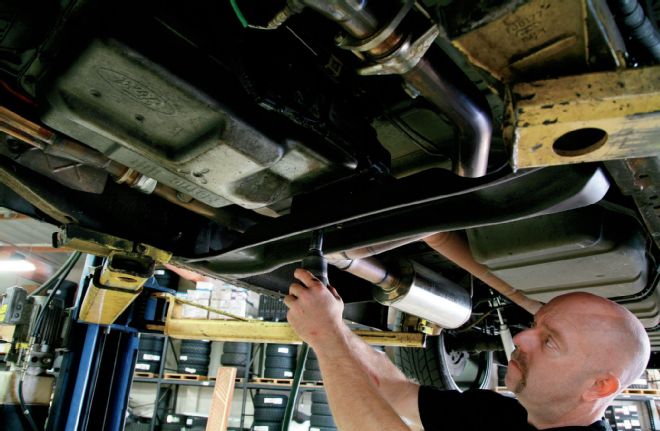
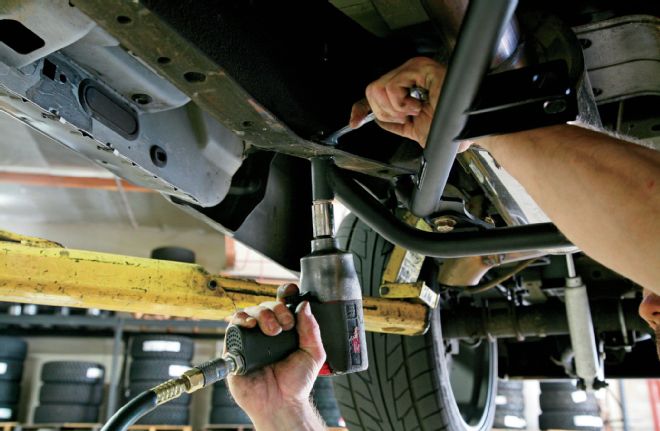
3. Next, a bracket was bolted to the middle of the transmission crossmember. This acted as the rear mount for the front brace of the kit.
| 4.
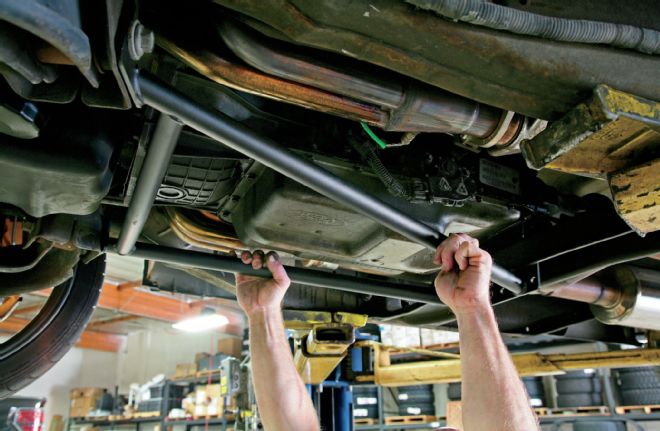
4. With the mounts installed, the brace could be bolted in place.
| 5.
5. The rear of the brace bolted directly to the frame. This utilized an existing hole in the frame so there was no need for drilling.
| 6.
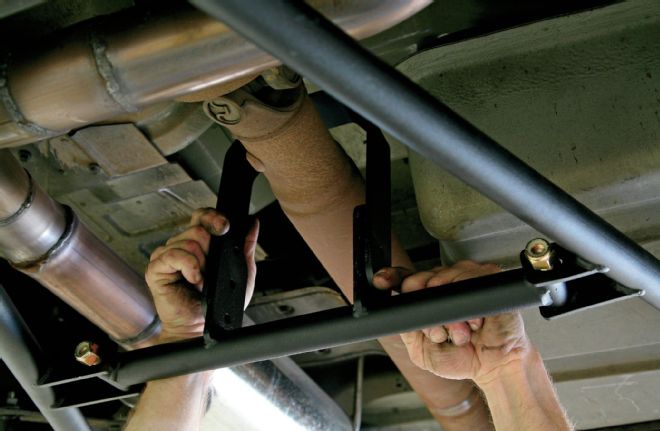
6. The previous braces provided longitudinal stiffening, but Stifflers didn’t forget about side-to-side loads. This brace bolted to the brace from the previous step and to the frame, providing much needed lateral stability.
| 7.
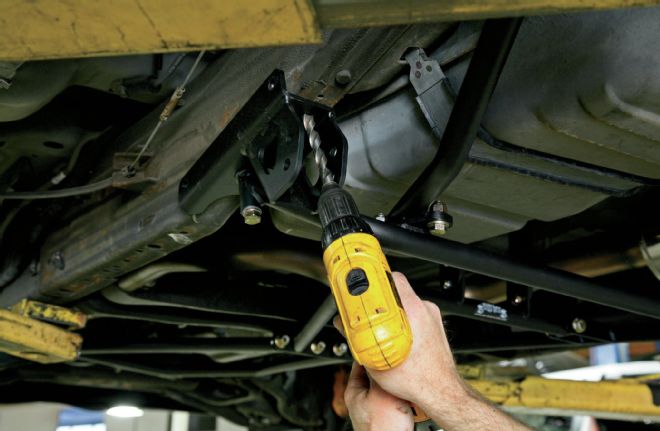
7. With everything in place, we tightened the last few bolts and were ready to bolt in the driveshaft safety loop.
| 8.
8. This part was a no-brainer, as there were brackets in the stiffening brace for this addition. This is important, especially since we plan on beating on this truck. In the case of driveshaft failure, this will prevent it from flying around under the vehicle, potentially puncturing the gas tank or coming through the floor pan.
| 9.
9. The next step was to begin on the long bar setup. Again, the kit came with everything needed for the install. This kit will allow us to hook up off the line and give us better traction during autocross competitions.
| 10.
10. To start, we removed the inner U-bolt from the leaf springs.
| 11.
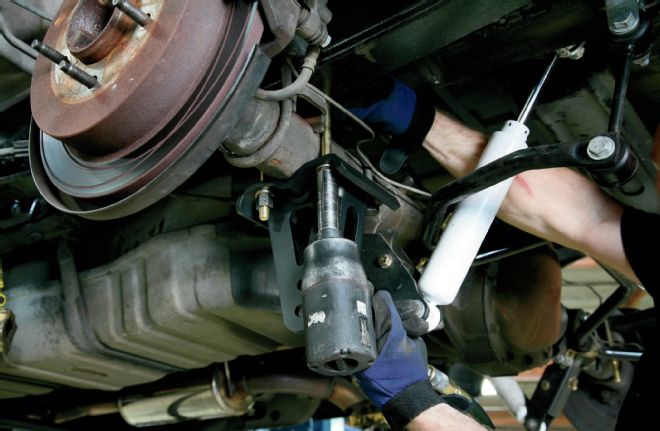
11. The rear mount for this system mounted to the underside of the axle using bolts and a new U-bolt.
| 12.
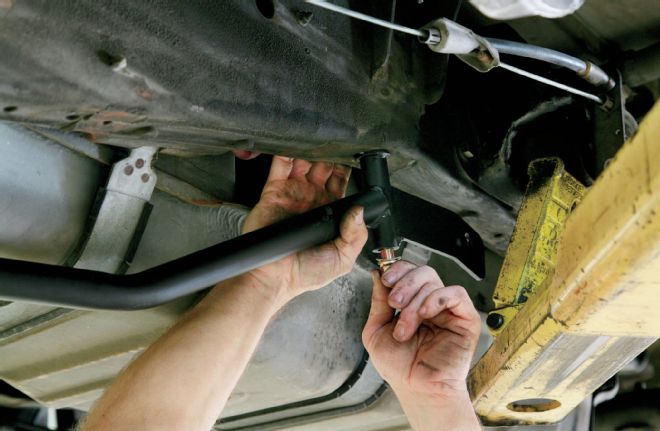
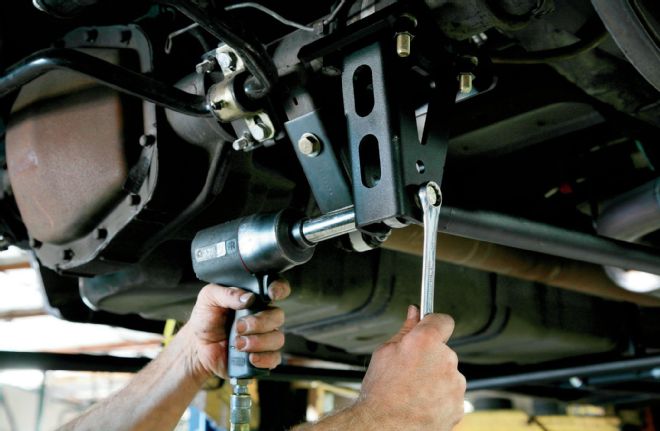
12. The front mount worked in conjunction with the lateral stiffener from the stiffening system. To bolt it to the frame, two new holes had to be drilled in the frame for bolts to run through.
| 13.
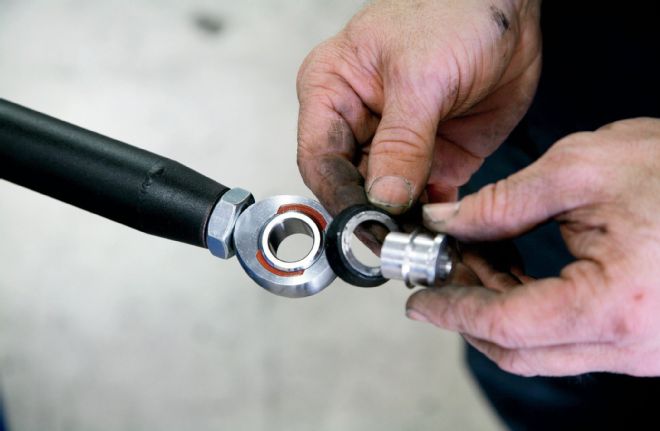
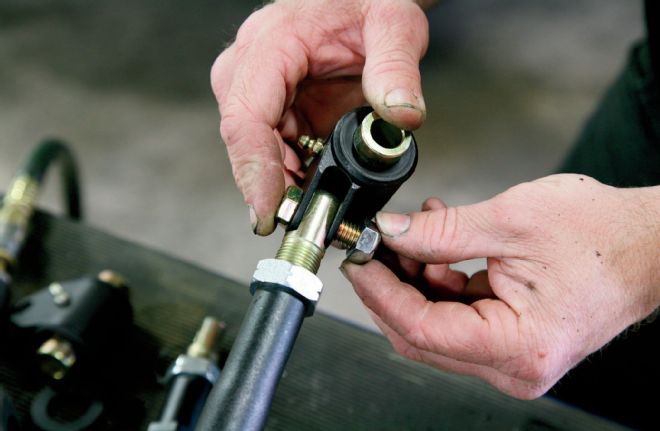
13. Next, the long bars were assembled with the Heim joints and bushings in preparation for bolting them to the mounts.
| 14.
14. There are six possible combinations of adjustability to help fine-tune the system, preventing axlewrap and maximizing front-end lift. We started with our bars in the upper hole in the front and the lower hole in the rear.
| 15.
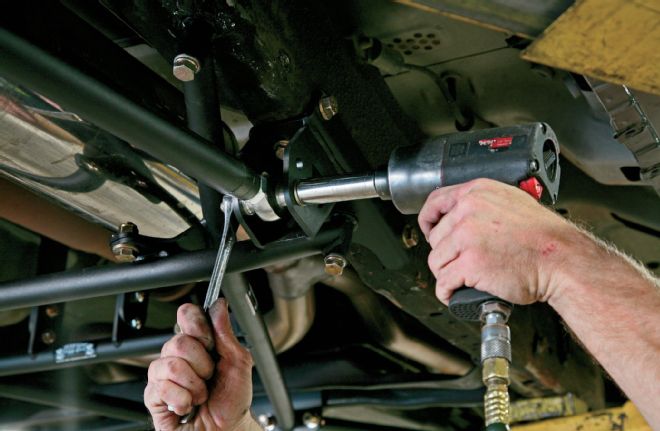
15. To finish up, we tightened the bars in place. We waited to adjust their lengths until the truck was level on the ground.
| 16.
16. The last step of upgrading our Lightning was to install new adjustable upper control arms. These are fully adjustable and will give us maximum adjustability for proper alignment or for fine-tuning camber at the track.
| 17.
17. As with the previous steps, the instructions in the kit were very well written with full-color photos. This made the assembly process a breeze.
| 18.
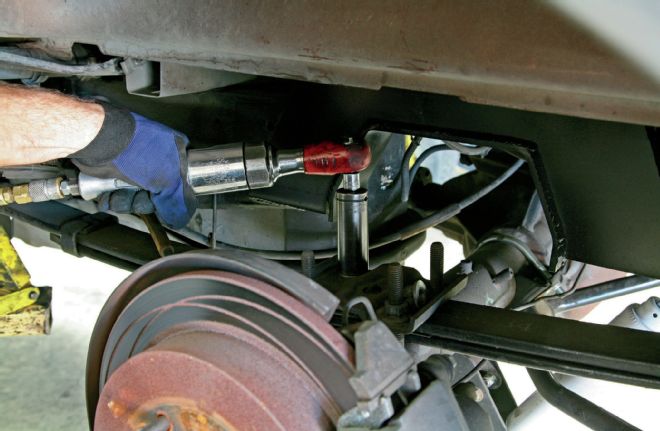
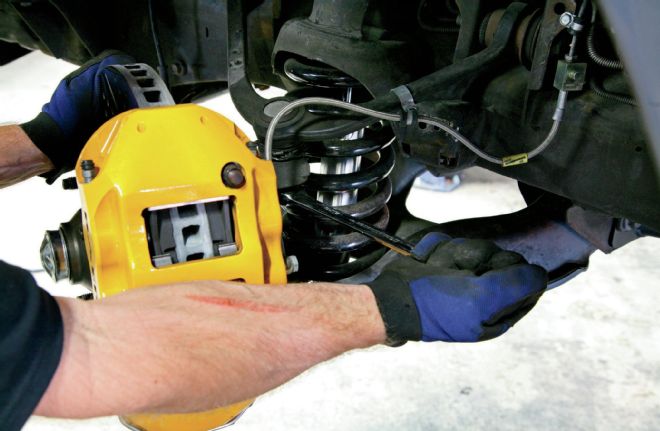
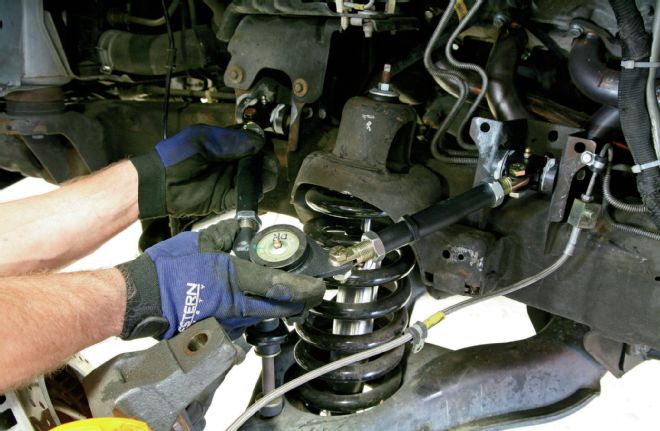
18. To remove the factory arm, the spindle was unbolted from the upper ball joint.
| 19.
19. Then the two bolts holding the arm in place were removed and the arm was pulled from the truck.
| 20.
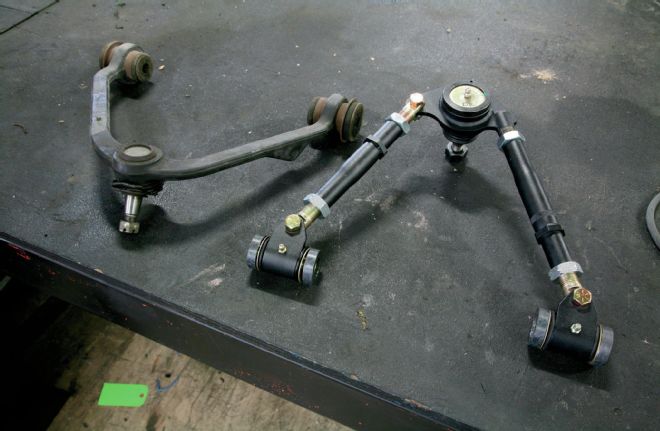
20. The difference between the factory arm and the Stifflers replacement is quite apparent. This was the perfect time to do this since the factory ball joints were well worn and needed to be replaced.
| 21.
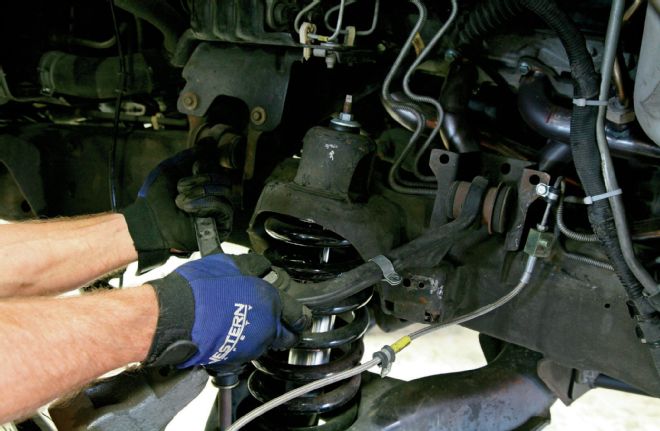
21. In the reverse order from before, the new arms were slid into place and the factory bolts were reused to hold them in place.
| 22.
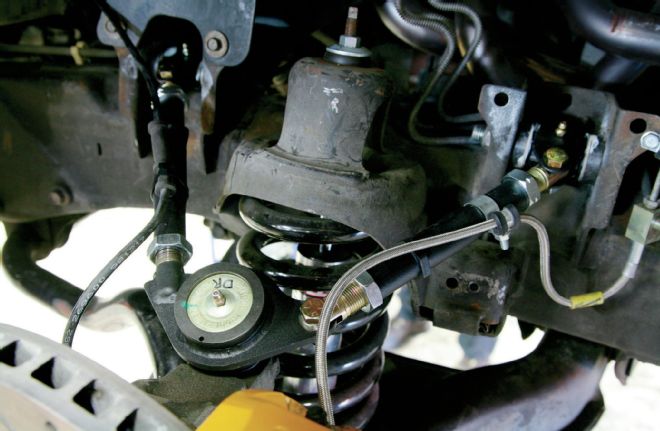
22. After bolting the spindle in place and tightening the last bolts, the brake line and ABS cable were attached to the arm. The last step was to take the truck for an alignment check.
| 23.
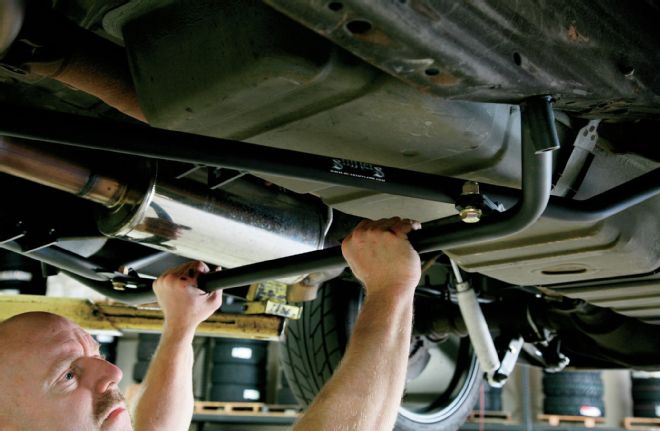
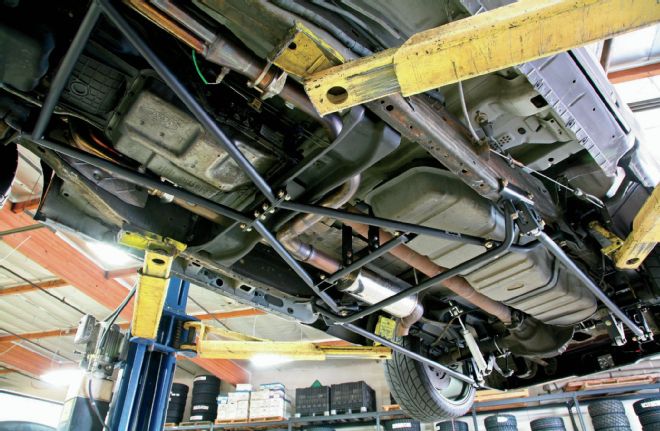
23. As you can see from the underside view, Project Stealth Fighter has much more bracing in place. After a few trips down the slalom and on the highway, it was apparent the truck was ready to handle like a sports car. Get stiff!