Chevy Luv Junkyard Jewel, Part 3: Frame
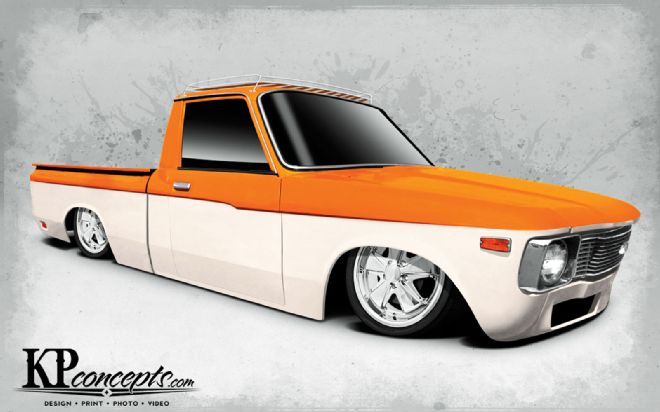
| chevy Luv kp Concepts Rendering
To bring you guys up to date on build cost so far, we've spent a whopping 70 bucks to get where we're at—that's $10 on the carwash, $30 on wire for the welder, and another $30 on cutting and grinding discs. We managed to trade an old tranny (not a tranny tranny, but a transmission) for the 2x3 3/16-inch wall tubing that we'll be using for the frame. Not too bad if we say so ourselves.

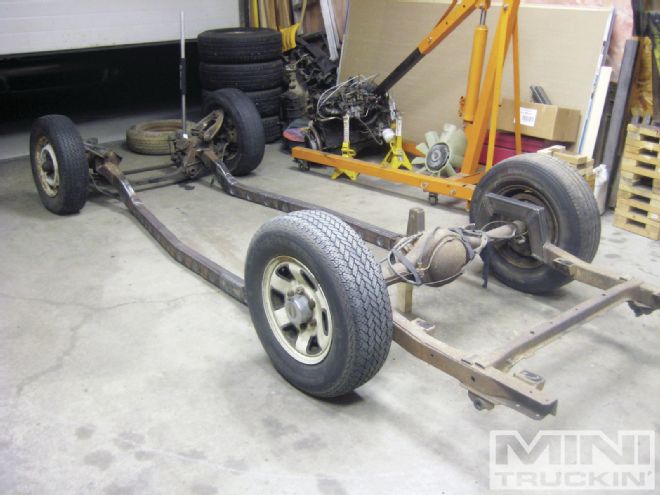
| chevy Luv chassis Frame
So with our first glimpse of the ol' Luv sitting on the ground we couldn't wait to get down to the nitty gritty and get going on the bodydrop and notch the frame. A big priority for the build is to keep the thing drivable, not just for beatin' around town, but also for the odd road trip to shows. Retaining as much interior room as possible is a must, and to help make this happen, we've chosen to do a combination of a stock-floor and traditional bodydrop. We found that we could gain about an inch and a half of room by cutting off the top portion of the frame, then reinforcing it by inserting some 2x3 boxed tubing to keep everything plenty strong. That'll mean an inch and a half less to be taken out of the floor and hopefully leave us with a completely usable and functional interior. This step is also friendly to the first timer who may not be confortable building a fram from scratch. We also chose to use the 2x3 tubing to build our step notch and allow the diff to tuck up into the framerails.
Part of any custom build is the unexpected, and this build is no exception, after cutting off the top inch and a half of the frame we found a portion that was rotted out. The cause was some internal factory fishplating that had done a great job of retaining moisture over the years. Luckily, it was only about a 7-inch side section of each frame rail, which was easily fixed up with some 1/8-inch plate, thus getting us back to that “plenty strong” goal for our frame. Speaking of which, we also took the time to build the fishplates to reinforce the area where we did the Z and past the transition area where we lopped off the top of the frame. We're going to hold off burning the plates onto the frame until we get the front 'bag mounts sorted out, that way no time and effort will be wasted cutting off bits that we just put on.
Next up, we'll see what the cab floor and bed have in store for us!
| 22. And there we have it, a few steps further down the road of our journey!


