Chevy Luv Junkyard Jewel, Part 2: Teardown
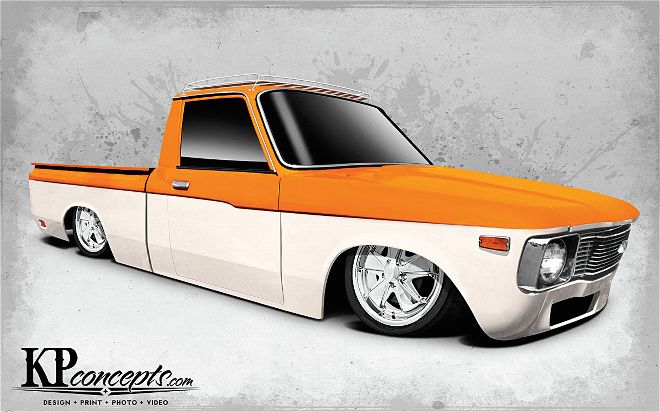
| junkyard Jewel Chevy Luv Part 2 kp Concepts Rendering
With the LUV cleaned up as much as it's going to get at this point, the time to tear into it has finally come! The initial plan of attack was to 'bag the truck and set up the suspension, and with the frame and suspension sitting where we want it, move on to the bodydrop. But a funny thing about plans—they rarely work out how you want.
To start things off, the seized engine and tranny were both pulled, then off came the rusty bumpers and the bed. With that, we had our first look at what we had to deal with. The frame was far from laying out, up front was the strut rod crossmember, and along the frame there were two other crossmembers holding everything up. A couple hours of cutting and grinding would take care of this problem and put the frame on the floor. A floor jack was then placed under the control arm to eyeball the situation, and it was immediately obvious that the ol' LUV wouldn't just lay out. The upper ball joints were locking up way too early, and as anyone who's worked on most older minis knows, there's not a lot of real-estate available up front for 'bags, so a bit of clearancing was in order.

| chevy Luv engine Removed
At this point in the game, a lot of us are tempted to just order a set of tubular control arms and be done with it, but a quick glance in the wallet brought us back to reality. We had to find another way. A couple of strategic slices on the upper control arms and we had the extra travel we needed. We then did what every minitrucker would do by throwing on a wheel to see how things looked. What we found was that another 1 1/2 inches needed to be cleared. Rather than monkey with the control arms for that last bit of extra room and possibly lose more precious room for the front 'bags, we decided to Z the front frame. Although it's a bit more work, the Z allows us more breathing room for the 'bags and lets us leave the control arms the way we've already set them up. With that, we hung the fenders, bolted on the wheels and set the LUV back on the garage floor.
Now, it's Miller Time!


