Jay "Lightning" Tilles is one lucky guy. He's got a great job with KROQ (a rock station in Los Angeles), and he gets to rub elbows with music legends on a regular basis. He even has a very cool, Gale Banks Engineering-built '07 Chevrolet Silverado 3500HD (called Wide Load) crew cab dualie to get him to events, concerts, and festivals all over the West.
| Airdog Ii 4g Kit Install Banks Engineering Chevy Silverado 3500hd
But good luck occasionally runs out, and in this case, Lightning's small dose of bad mojo meant bad fuel, sourced from an unknown diesel station somewhere in California. Immediately, cylinder misfires and loss of power were evident, and a detailed investigation by technicians at Banks revealed 500-mile-old injectors that were "completely trashed," a rusted fuel pump, a sludgy fuel tank, and gummed-up fuel lines. That bad batch of diesel was actually about 50 percent water, with visible algae throughout the mix. Like we said, sometimes luck runs out.
| Airdog Ii 4g Kit Install Banks Engineering Silverado 3500hd
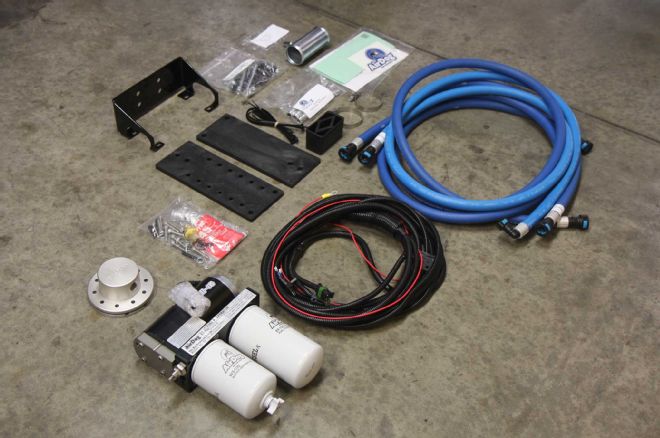
Lightning had Wide Load back on the road soon, and now he only fills up from popular diesel stations, since the in-ground diesel tanks get refilled with clean fuel regularly. But he still wanted to prevent another fuel-system failure, so he turned to PureFlow for help with finding a viable solution, which came in the form of the AirDog II-4G fuel separation system, a kit that includes the company's Preporator, filter, and air-to-water separator, as well as all the lines, wiring, and mounting hardware needed for an all-inclusive installation.
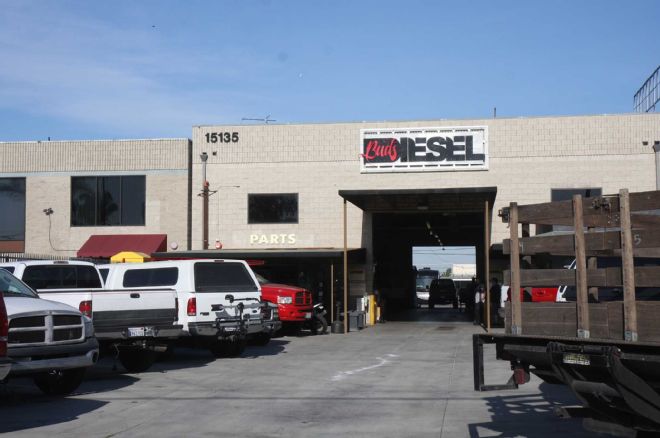
We met Lightning at Bud's Diesel, near Huntington Beach, California, to follow the mostly straightforward, bolt-on project.
| Airdog Ii 4g Kit Install Buds Diesel
Immediately after arriving at Bud's Diesel, we met technician Tom Pohl, who racked the '07 Chevrolet Silverado 3500HD on the outdoor lift and got to work.
| Airdog Ii 4g Kit Install
The AirDog II-4G kit includes everything needed for a complete installation, such as wiring, mounting plates, spacers, hardware, and even new fuel lines.
| Airdog Ii 4g Kit Install Mounting Location
| Airdog Ii 4g Kit Install Mounting Location
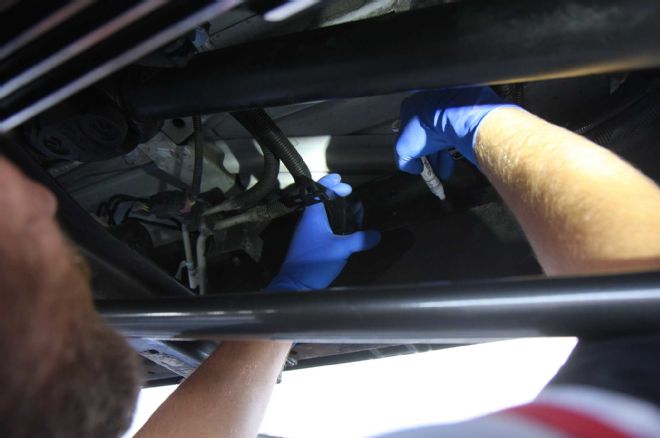
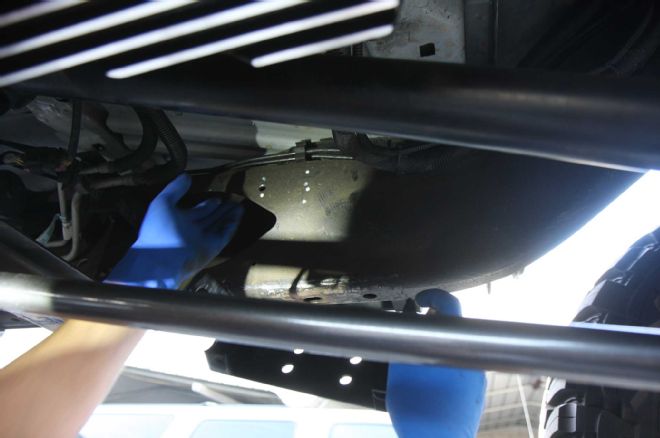
The KROQ truck's massive lift kit made figuring out where to mount the filters a bit of a challenge—mostly because we didn't want the filter canisters to be seen from below the frame. After some experimenting, Tom found a spot that works and, after ensuring the mounting bracket was level, used a white pen to mark the places where holes needed to be drilled for the bracket's hardware.
| Airdog Ii 4g Kit Install Mounting Bracket
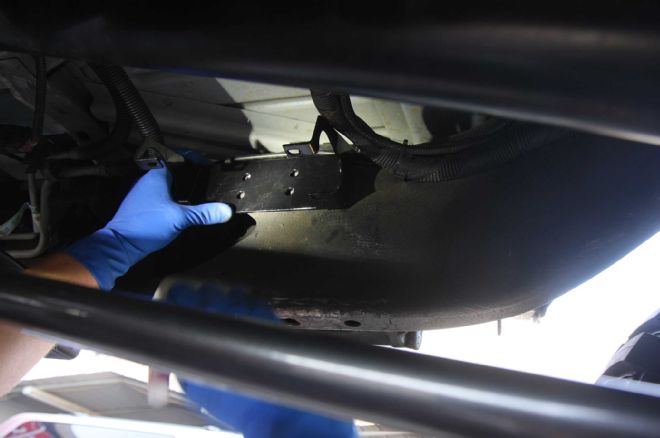
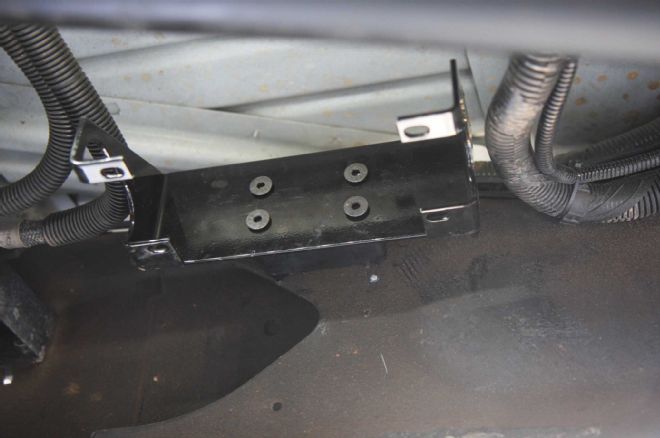
With the bracket installed in this position (inside the framerail, just under the driver door), the pump and filters are all but invisible and protected from damage.
| Airdog Ii 4g Kit Install Mounting Hole Drilling
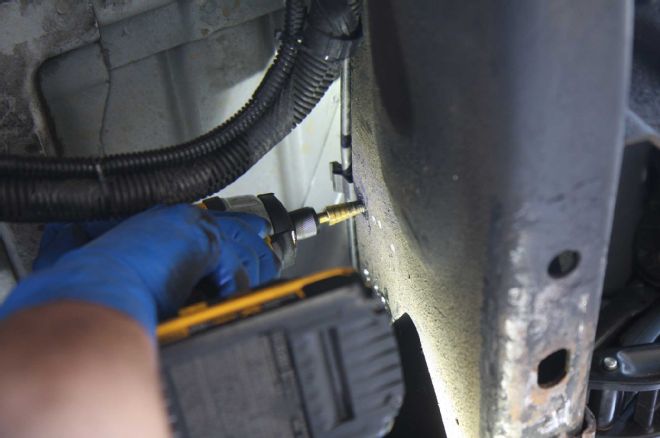
Drilling holes in the truck's frame isn't easy. It took 10 minutes (and lots of Tom's upper-body strength) to get all four holes bored out large enough.
| Airdog Ii 4g Kit Install Spacers
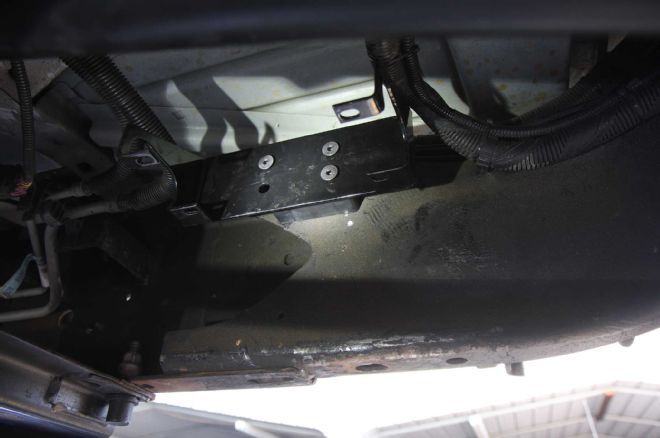
Plastic spacers between the frame and the mounting bracket prevent the pump's sound and vibration from transferring into the truck's cabin. This is especially important, because even though the fuel pump is small, like any lift pump, it transmits a high-frequency vibration that might slowly drive a man insane.
| Airdog Ii 4g Kit Install Mounting Bracket
With the mounting bracket finger-tightened to the frame and spacers, we're ready to get everything centered and torqued.
| Airdog Ii 4g Kit Install Hose Fittings
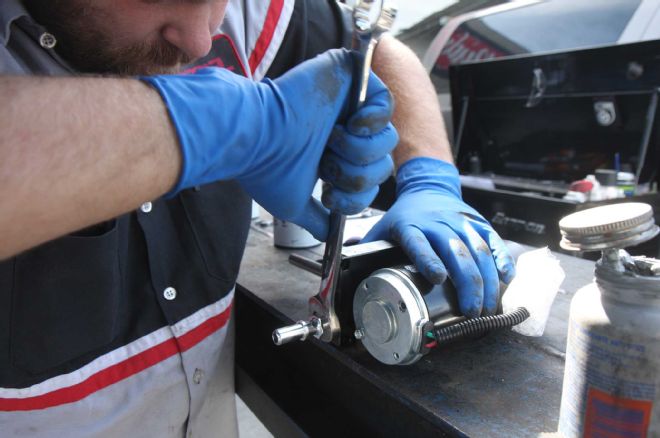
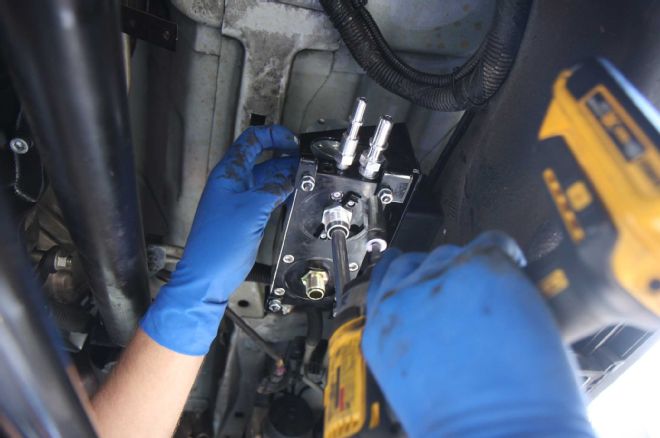
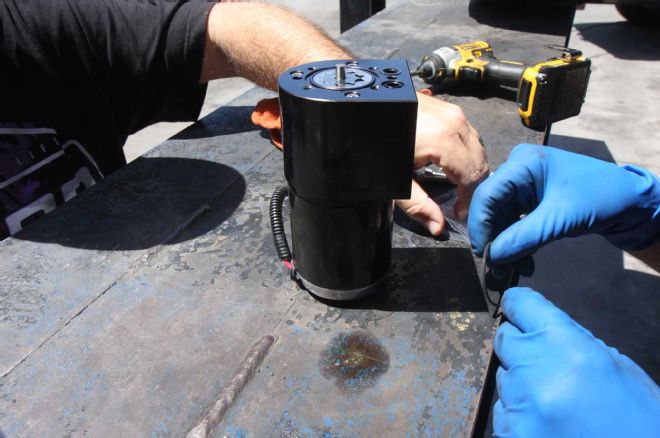
Next, we needed to install the hose fittings on the pump so fuel can move through the system leak-free. This is best done before mounting them to the bracket, giving us maximum grip and torque to get them tightened down.
| Airdog Ii 4g Kit Install Applying Thread Locker Sealant
Thread locker/sealant is applied to each fitting before it's tightened down. This will keep the pump part of the fuel system tight as a drum for a long time.
| Airdog Ii 4g Kit Install Pump Intall
| Airdog Ii 4g Kit Install Pump Install
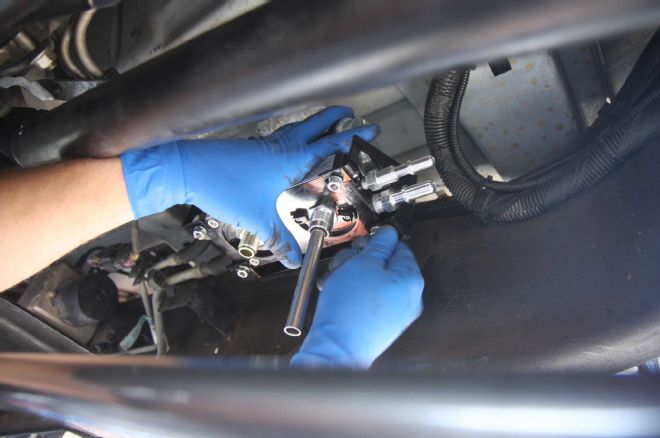
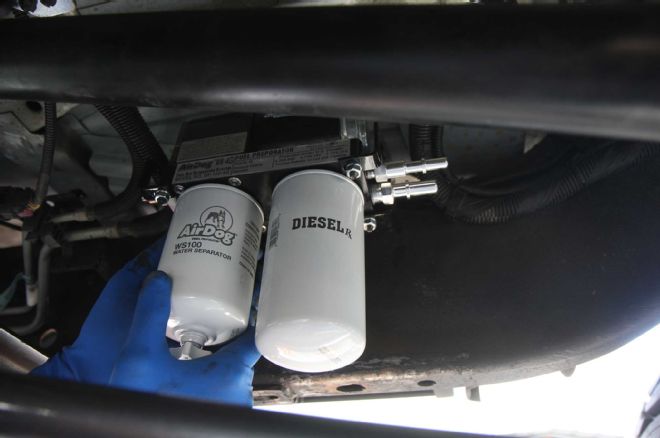
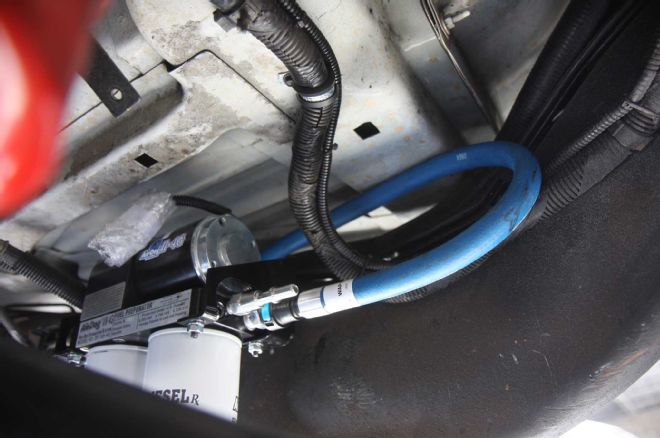
With the hose fittings attached, we maneuvered the pump onto the bracket, securing its underside using four hand-tightened hex bolts. After confirming everything fit where it needed to, we properly torqued the bolts all around. The fuel filter spins onto the shaft, while the air-water-fuel separator is attached to the back of the pump.
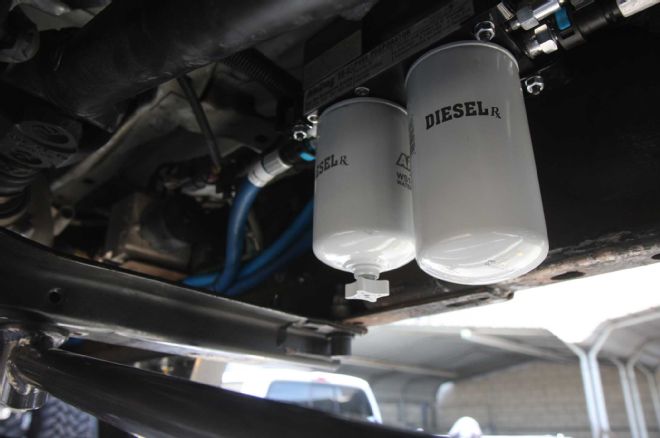
| Airdog Ii 4g Kit Install Pump
We can now attach the two key components of the setup. Thanks to Tom's detailed bracket mounting, the filters and separator are all but invisible when standing near the truck.
| Airdog Ii 4g Kit Install Hose
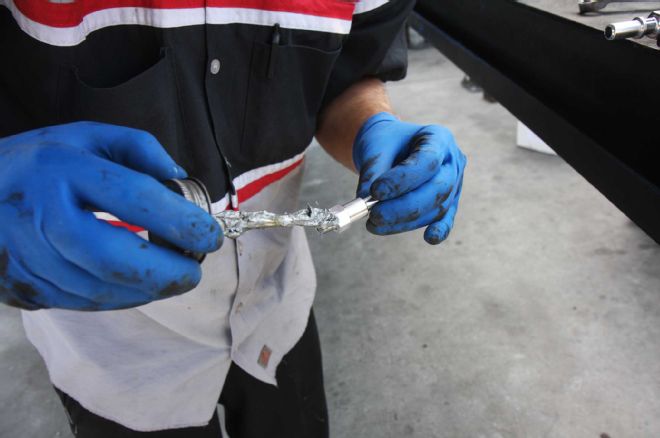
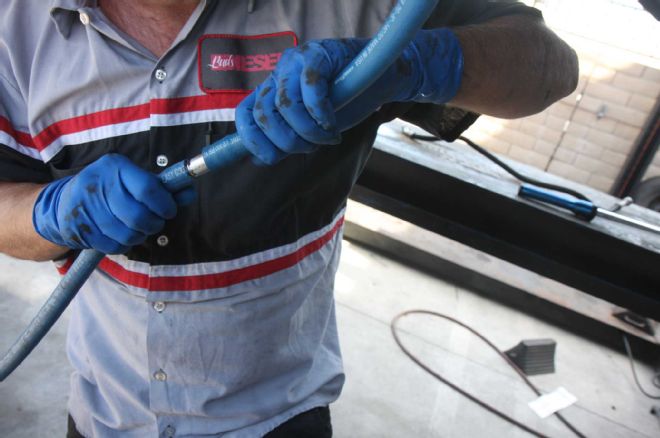
We ran these new hoses from the fuel tank to the inlet side of the pump, but they needed to be shortened. After removing a length of hose from the middle, we were able to graft the hose segments together using a compression fitting and a lot of grease, both of the elbow and the lubricating variety.
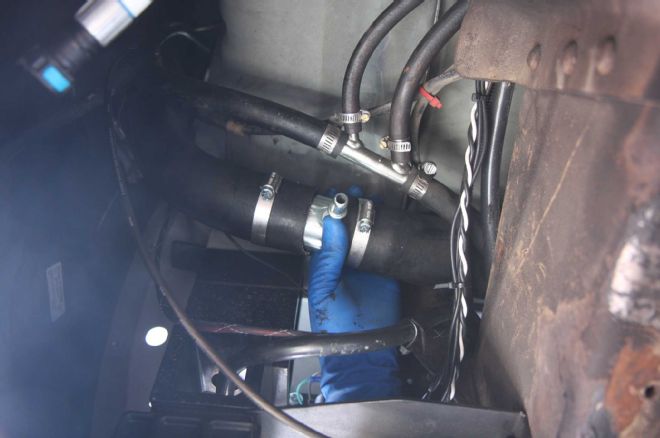
| Airdog Ii 4g Kit Install Water Separator
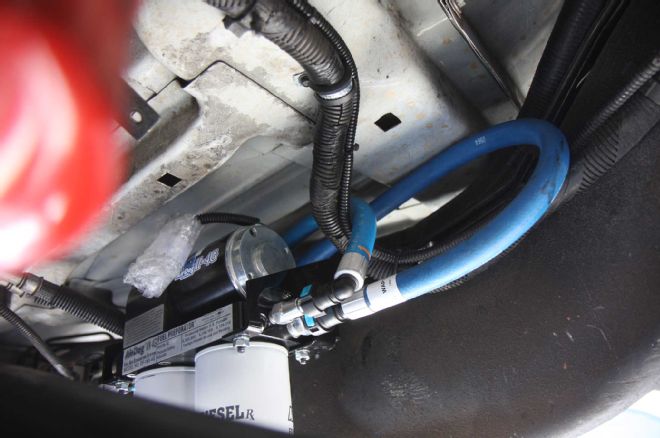
Properly shortened, the fuel line is affixed to the air-to-water separator's inlet.
| Airdog Ii 4g Kit Install Airdog Pump Fuel Line
Next, the fuel line from the filter to the new AirDog pump is attached.
| Airdog Ii 4g Kit Install Return Lines
Finally, the return line that runs to the truck's filler neck is attached.
| Airdog Ii 4g Kit Install Hoses
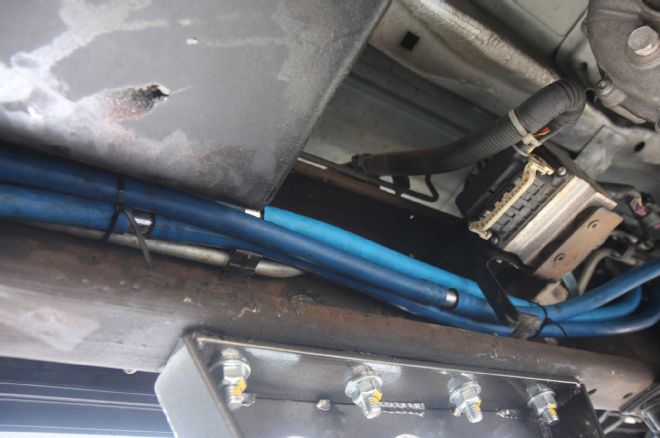
Here, you see how we attached the hoses using zip ties, keeping them as close to the framerail as possible without encountering any pinch points or hot spots. This will protect the hoses from premature damage.
| Airdog Ii 4g Kit Install Fuel Filler Neck
As we mentioned before, some of the fuel will be discharged from the filter and returned to the tank through the fuel filler neck. To facilitate this, we have to slash the filler neck's throat. Don't worry, we'll stitch it back together.
| Airdog Ii 4g Kit Install T Fitting
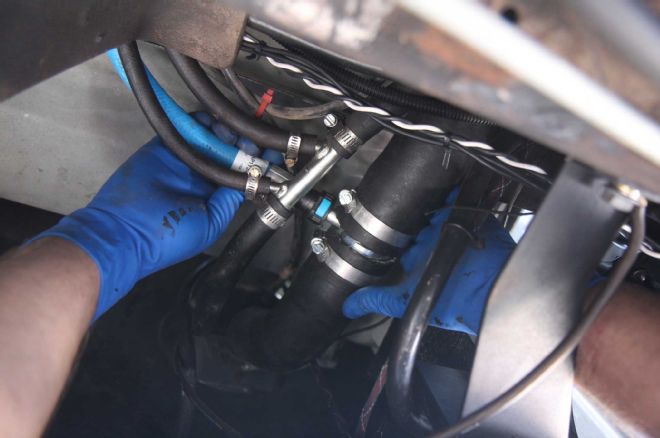
| Airdog Ii 4g Kit Install Fuel Filler Neck Hose
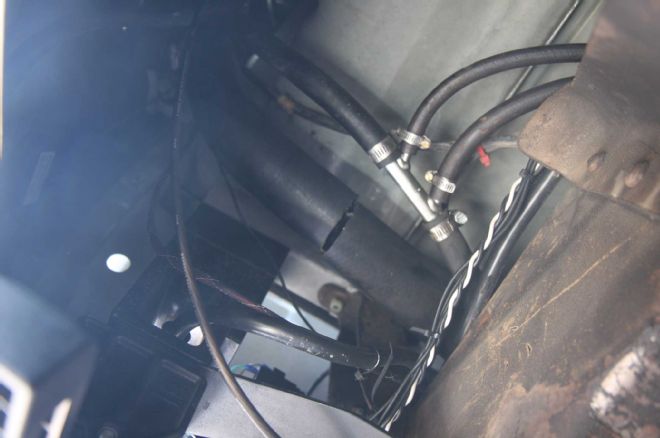
With the filler neck split, we install this T-fitting and clamp the hose down around it to prevent any leaks. With this task complete, we simply attach the hose that comes from the back of the filter. Easy.
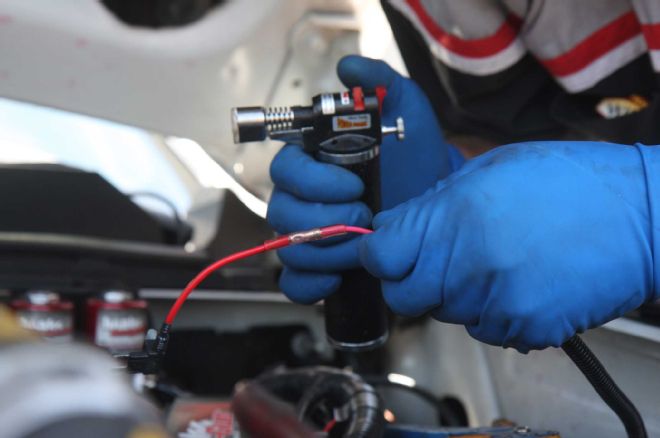
| Airdog Ii 4g Kit Install Wire Heat Shrinking
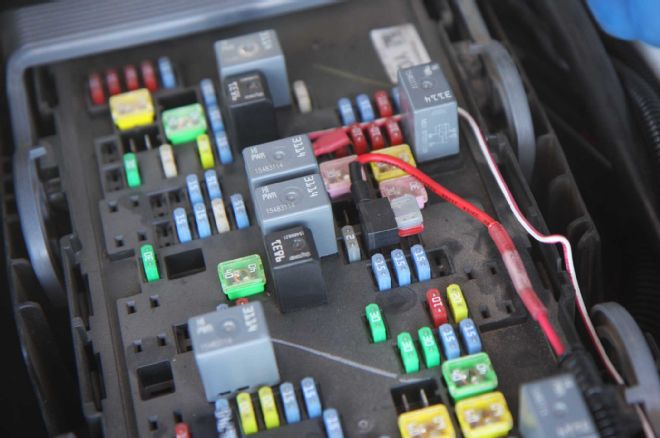
| Airdog Ii 4g Kit Install Fuse Box
Next is wiring, but it's less complicated than it sounds. The AirDog pump seamlessly integrates with the Silverado's underhood fuse box. The most complicated aspect of the wiring is making sure all the connections are heat-shrunk, which requires a small butane torch. We also attached a battery ground.
| Airdog Ii 4g Kit Install Pump
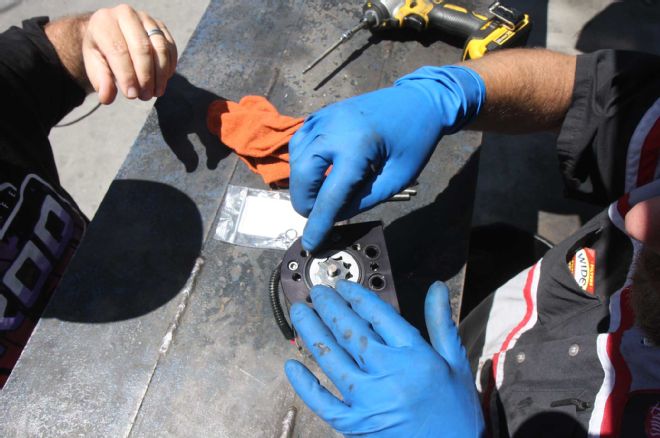
| Airdog Ii 4g Kit Install Pump O Rings
Unfortunately, the moment we turned the ignition switch to ON (without starting the engine), diesel started gushing from the pump and filter assembly. A quick inspection of the pump's internals revealed that one of the O-rings had become slightly dislodged. Putting it back in place and gently reassembling the pump is an easy process.
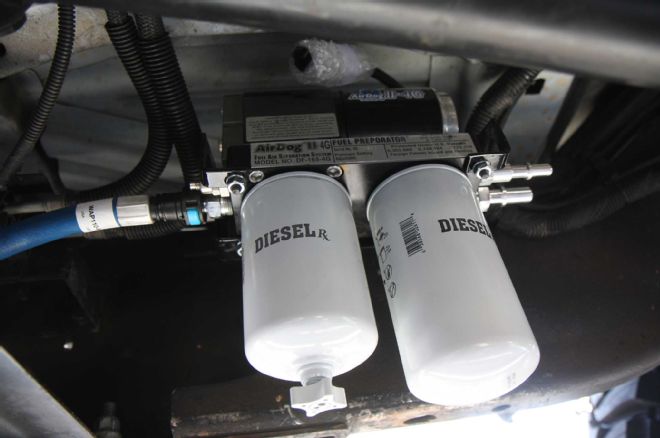
| Airdog Ii 4g Kit Install
The kit looks nice under the truck, complementing the full array of performance parts from Banks Power and tons of other suppliers. With it all put together, Lightning's KROQ Silverado is ready to run for a long time.
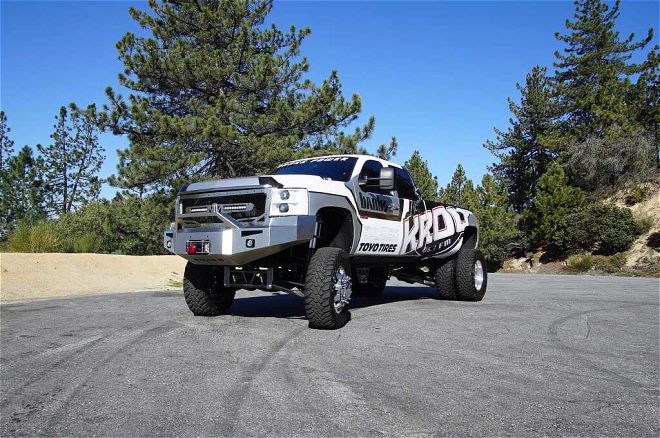
| Airdog Ii 4g Kit Install Kroq Silverado 3500hd
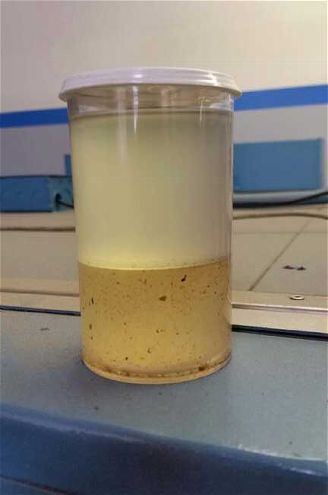
| Diesel Fuel
Behold, the dangers of bad fuel. The "diesel" in this vial was taken directly from the fuel tank of Jay "Lightning" Tilles' '07 Chevrolet Silverado 3500HD, and it's actually about half water, half fuel. Also, the sludge floating around? That's algae, which confirms the fuel station that supplied this tank of diesel has let its supply age and degrade. The end results were fuel injector and fuel pump innards that were gunked up and rusted beyond repair—just a few hundred miles after their installation to boot.
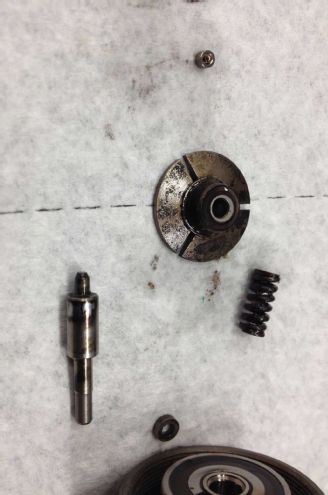
| Airdog Ii 4g Kit Install Bad Fuel Injector
The takeaway from this discovery is that it doesn't matter how new or how well built your truck is, it's worthless when you fill it with bad diesel. Good, pure diesel will keep your truck's fuel system damage-free. But, if you ever find yourself having to fill up with contaminated fuel, having a system like the AirDog II-4G installed definitely will help keep everything clean.