Headrest Monitor Install - Easy As A Snap
| headrest Monitor Install interior
What's a trend that was hot, is hot, and shows no signs of getting cold? Headrest monitors just make good-customizing sense. Monitor prices have dropped considerably with new technologies, most newer head units can support several monitors without the addition of signal boosters, and as we have found after visiting AudioToyz, in Las Flores, California, these type of monitors are simple to install.
We're sure you've seen the headrest replacements that include a monitor, some even with built-in DVD players, complete with matching colors and textures for sale. Also, companies like Roadwire, from Classic Soft Trim, sell replacement leather seat covers that include monitors. Those work and look great, however, what if your truck doesn't have headrests that are removable? The answer is: do it yourself.
We'll show you the easy and safe way of how to add two 7-inch DEI headrest monitors into the back of your seats. It's not hard, especially after watching Jesse from AudioToyz add them to our Project Sinatra F-150.
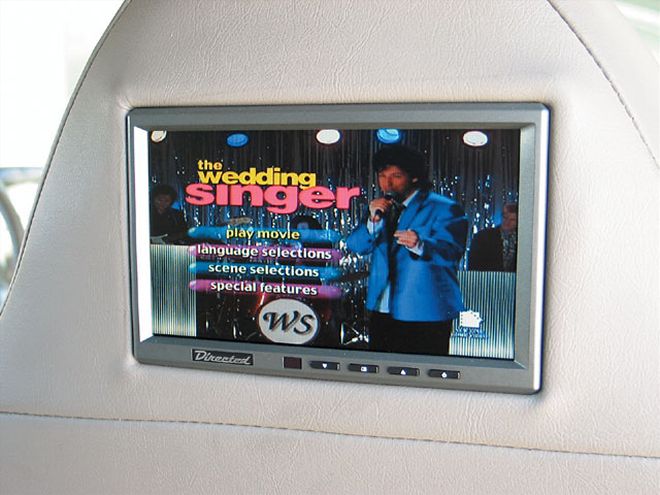
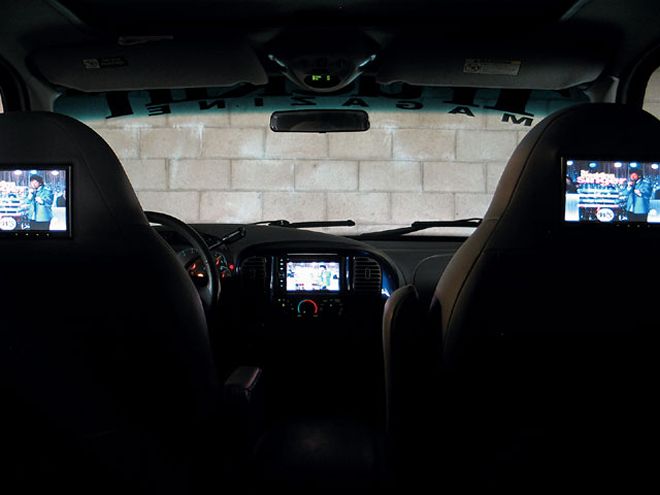
| Voila! Our new leather seats now had 7-inch headrest monitors. Special thanks to Jesse for taking good care of us.
From the Driver SeatThe installation was nice and simple, the only snag being the random steel found in the back of the driver seat that was cut with an air saw. Other than that, things were a breeze and the two monitors add a whole new level of entertainment for the rear-seat passengers. For $550, there isn't another mod we can think of that will keep kids and adults happy for hours on end while also giving the interior a custom look.
YOUR QUESTIONS ANSWERED Time Spent Working: A little more than 1 hour Degree of Difficulty: Beginner Tools Needed: Razor blade, drill, wire crimpers, electrical tape, and some extra wire Parts Used DEI HVM700 7-inch Headrest monitors (x2) $400 Labor at AudioToyz $150 Total Cost $550


