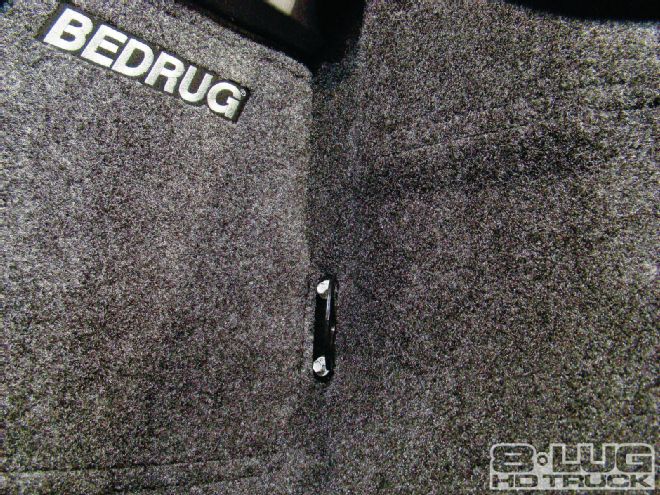
BedRug Install - 2011 Ford Super Duty
While eight-lug trucks tend to get used more seriously than lightweight ½-ton pickups, we still want the thing to look good. A BedRug is a trick many HD truck owners have learned can instantly improve the aesthetics of a truck bed. It can even make it easier on your knees when you’re crawling around, loading or unloading things from the box.
Go Industries has an ’11 Ford Super Duty shop truck that’s been going through lots of improvements recently, and the company decided a BedRug would be the perfect accessory. We agree, and we’re glad we were there to take photos to show you what’s involved in the process of installing a BedRug.

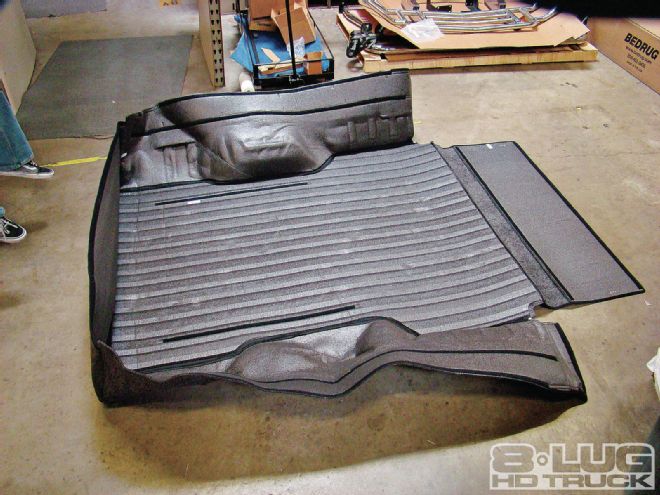
| bedrug Install 2011 Ford Super Duty bedrug Parts Overview
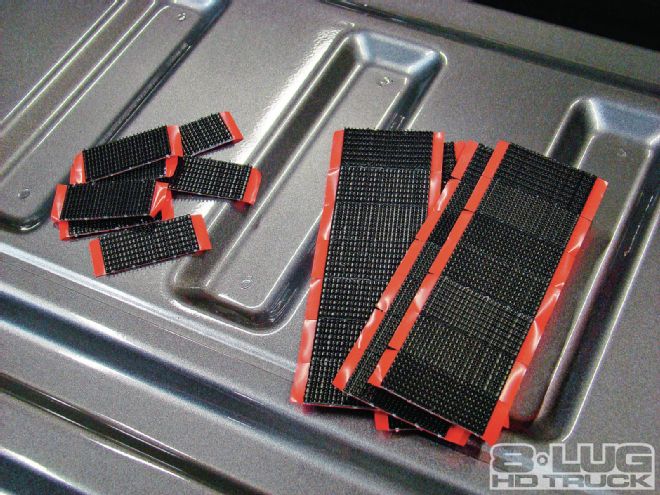
01. Wash and dry the bed and tailgate areas thoroughly. The truck bed should be at least 68 degrees for maximum adhesion. Clean all areas with approved cleaner before applying tape. Do not remove backing from any tape until you are ready to adhere it to the truck bed. When removing backing, do not touch the adhesive. Extra adhesive strips have been provided in the kit for future use, or if you deem more fasteners are necessary for a better fit or appearance.

| bedrug Install 2011 Ford Super Duty wash And Dry Tailgate Areas
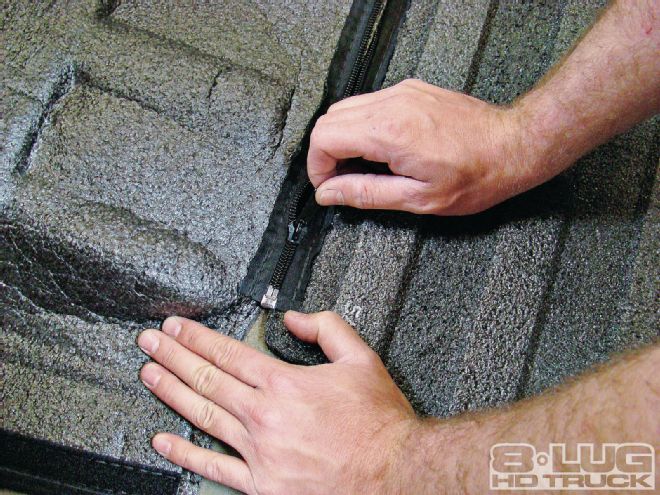
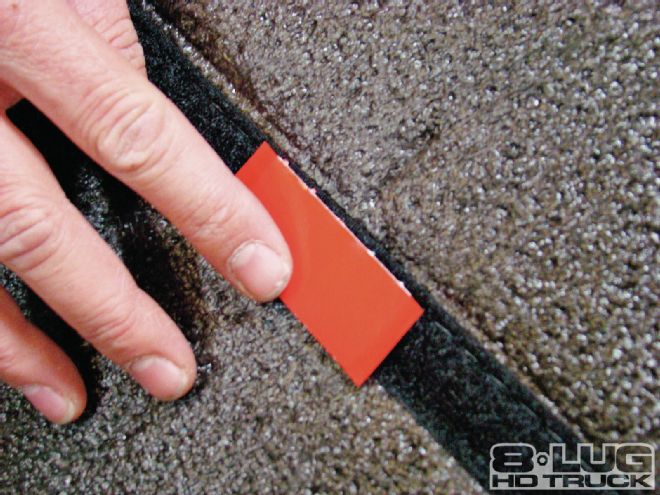
05. Install the fasteners to the BedRug. Attach two 36-inch-long, two 60-inch-long, and two 2-inch-long strips of hook to the underside of the BedRug and tailgate. Trim the 60-inch-long strip where necessary. Do not remove adhesive protective film at this time.

| bedrug Install 2011 Ford Super Duty install The Fasteners
06. Attach a 60-inch-long and 2-inch-long hook to the BedRug bulkhead (facing the front) as shown.

| bedrug Install 2011 Ford Super Duty attach Hook To The Bulkhead
07. Trim any excess from the 60-inch-long strip where necessary. Do not remove the adhesive protection film at this time.

| bedrug Install 2011 Ford Super Duty trim Excess When Necessary
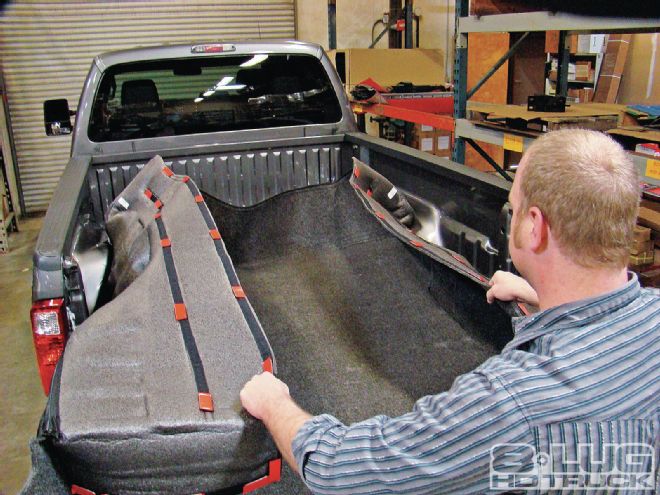
11. Position the BedRug (front to rear and left to right) by aligning all edges and tucking the corners. Roll the BedRug floor toward you, exposing the 36-inch fasteners located on the BedRug bottom. Clean the attachment area thoroughly with alcohol and allow it to dry. Remove the film.

| bedrug Install 2011 Ford Super Duty position And Align The Bedrug
12. Roll the BedRug floor and sides back into place. Firmly press the BedRug top surface for 20 seconds to ensure adhesive attachment. Repeat for the other side. Fit the top edge of the BedRug bulkhead to the top edge of the body panel to determine the best location. Be sure all fasteners are located on flat, solid surfaces of the truck bed. Clean attachment areas thoroughly with alcohol and allow to dry. Remove the film working from bottom to top, and start at the center of the part, working your way outward. Roll the BedRug top edge back into place. Firmly press the BedRug top surface for 15 to 20 seconds to ensure adhesive attachment.

| bedrug Install 2011 Ford Super Duty roll The Floor And Sides Back Into Place
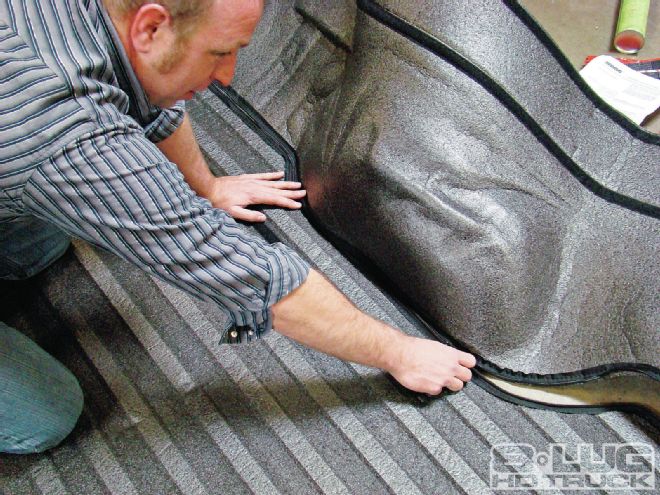
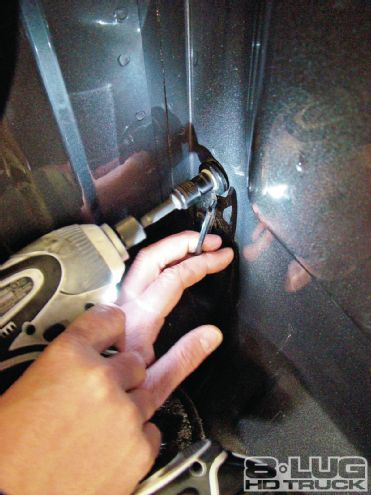
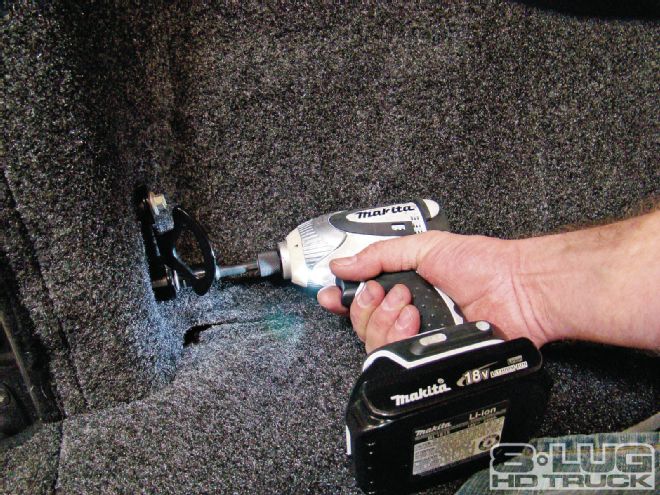
16. When installing the BedRug sidewalls and tailgate, the rear vertical edge of the BedRug should be positioned to match the D-pillar surface. Start at the front and (working rearward) begin removing film from the fasteners (bottom to top and front to back). Firmly press the BedRug sidewall for 15 to 20 seconds to ensure adhesive attachment. Repeat for the other side. If you are using a bed extender along with your BedRug, cut slits on the back of that part of the D-pillar area to allow access to the attachment holes. Do not adhere the hook fastener to the factory plastic tailgate cap unless a 4298 adhesive promoter pack is included in the hardware kit. Most models are designed to adhere to sheetmetal just below the plastic tailgate cap. Roll the BedRug tailgate back into place.

| bedrug Install 2011 Ford Super Duty rear Vertical Edge Positioning
