| 101 Paint And Body Ideas January 2009 hot Girl
Because we know it can be hard to find enough good information buried in a short, four-page tech story, we decided to cut through the flowery descriptions and long-winded explanations and compile this list of 101 paint and body tips. Some of the tips are common sense items that are easily overlooked, and some tips might make you say, "Hey, that's a great idea." To keep in line with this article's structure, we'll also keep this introduction short. So just read on already.
1. Performing an Internet picture search will give you the fastest results, but it might be hard to find any specific details about paint materials and techniques used on the specific paintjob you're looking at.
2. Watch movies, because you never know where inspiration will come from. Look at that-we just made watching television educational again.
| 101 Paint And Body Ideas January 2009 hot Wheels
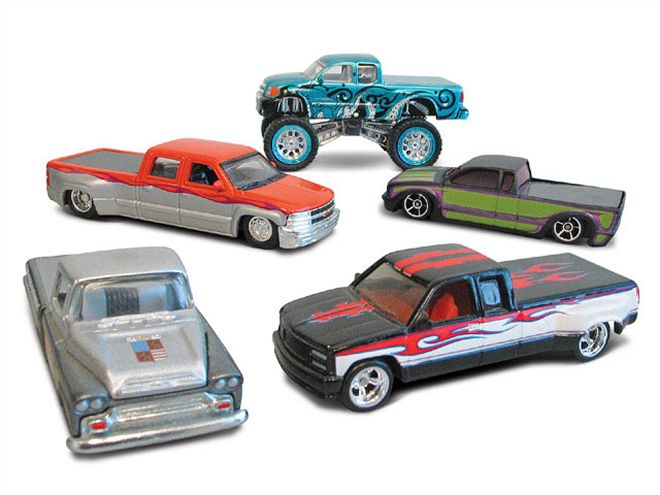
3. Hot Wheels are not just for collecting, they can be a great source for painting inspiration. Plus, you get to keep the toy.
4.Of course, car and truck magazines are a great place to look for designs and styles.
5. Go to a new-car dealer lot and look at the new cars. OEM paint colors have become pretty cool of late, and this is a good place to see colors on sheetmetal in the sun.
6. Rummage through your old car show pictures. Trends recycle over time and you never know, that booger graphic may come back in style in another decade.
7. Go to a truck show. This will be the best place to find vehicles like yours and see how things look.
8. Check out your local cruise night. You'll be able to closely inspect the paint and find out who sprayed it.
9. Go to an automotive swap meet because there should be a selection of custom vehicles for sale and the owners are usually standing right there. You might even find a deal on sandpaper while you're there.
10. Visit custom fabrication and body shops to get ideas from other rides being worked on. It's not stealing, and imitation is the best form of flattery.
11. Tape out graphic designs on your truck in the driveway. Tape is cheap and it won't damage your paint.
12. Don't go too wild with your first paintjob. The loftier the plans, the bigger your wallet needs to be. Besides, you might want to change the paint scheme later on.
13. Have the neighbor kids draw pictures of your truck so you can see what other people think it should look like.
14. Have a rendering made. Get your ducks in a row before you contact an artist though. At least have a general plan and color choices in mind before you bug an artist for a rendering.
15. If you can track them down, talk to other truck owners about their experiences with a shop you want to use. If the shop is reputable, they'll put you in contact with clients they've made happy in the past.
16. Talk about the body mods you want during the estimate. Be specific and don't forget to mention any work you want the shop to perform. Nothing sucks worse than having your final bill jump up substantially from the estimate because halfway through the job you added more work and forgot about the added cost.
| 101 Paint And Body Ideas January 2009 car Design
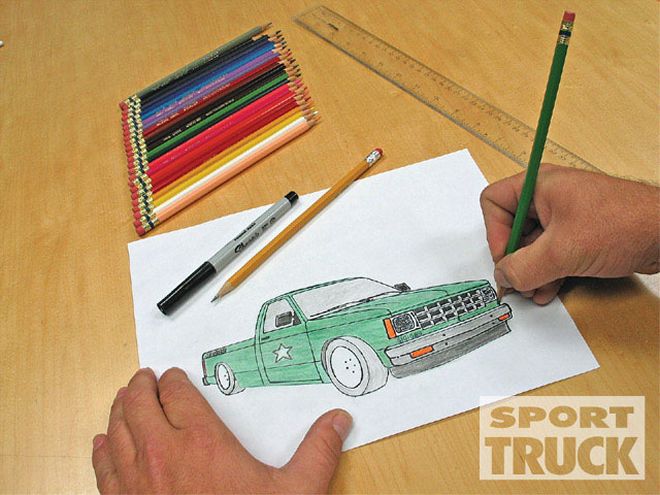
17. Trace/draw your own rendering. Take a picture of your truck and print the picture. Then trace it with a felt tip pen that will bleed through the paper. Flip it over and you will have a coloring book type outline of your truck that you can make a bunch of copies of. Now you can go wild. Heck, you can even give some blank drawings to friends and see what they come up with.
18. If you are going to do the body mods yourself, then talk to the painter and find out what materials he uses. This will cut down on the chance the paint will have an ill reaction like wrinkling if you use the wrong prep products.
19. Don't decide on a shop until you do some shopping. Get several quotes then pick the one that best suits your needs.
20. Look at the shop's brag books to see the quality of work and style.
21. Look inside the shop to see how clean and organized it is. Some dirt is fine, but piles of trash and a foot-thick layer of sanding dust isn't.
22.Check out the booth, prep, and bodywork areas as well. If the booth is really dirty, then there is a chance this shop relies on color-sanding to get the dirt out of the paintjob, and they will be charging you for that.
23. Go back several times. Are the same trucks still there being worked on? This is a sign that the shop might take a long time to finish your work. Also never put down more than a 20-percent deposit to cover materials for your paintjob. This will avoid you getting burned if the shop goes out of business and doesn't finish the work.
24. Pick your wheel color at the same time you pick your graphics or color. Be sure you can get the wheels you want in the color that works for your truck.
| 101 Paint And Body Ideas January 2009 color Books
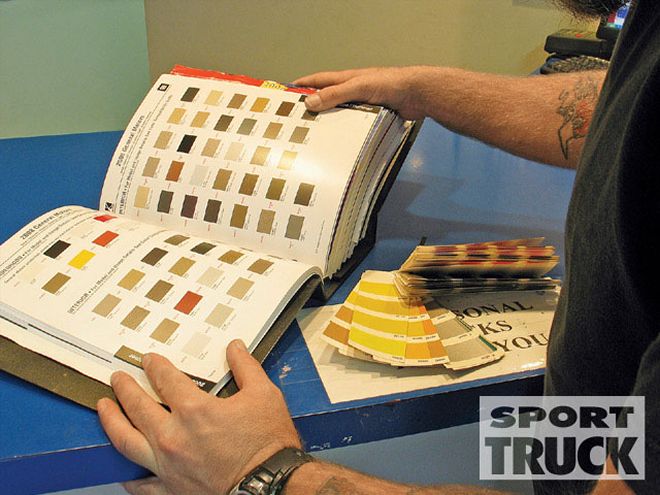
25. When picking a color, put all of the options out on the table and see which one looks the best in the sea of sameness. Example: When Calin was picking the yellow paint for his S-10, he pulled every yellow out of the color books to see which looked the most like yellow in the group.
26. If you're going to drive your truck every day, it's best to avoid complicated or detailed graphic jobs that go near the front of the hood. These will be hard to touch up or repair once the rock chips start to show up.
27. If you plan on having your frame powdercoated to match your exterior color, it's a good idea to pick the powder color first. It's easier to match the paint to the powder.
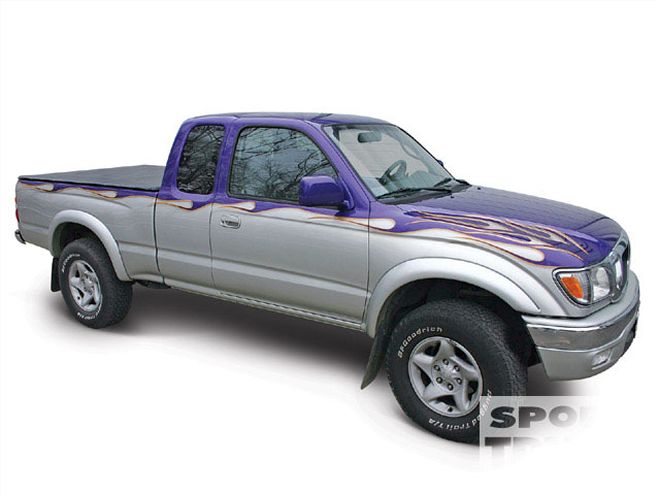
| 101 Paint And Body Ideas January 2009 custom Toyota Truck
28. Get everything you need at once. Some paint supply houses will give you a discount when you make a larger order, and mixing paint afterward if you run out can sometimes lead to mismatched colors.
29. Keep in mind that changing the color of the truck will almost double the price over just reshooting the original color. If you still want to spend all that money and like the original color, then apply the saved money for graphics.
30. Another cool but cheaper option is have the truck two-toned. That way the painter isn't using as much material or spending as much time to complete the job. As we all know, materials and time equal money.
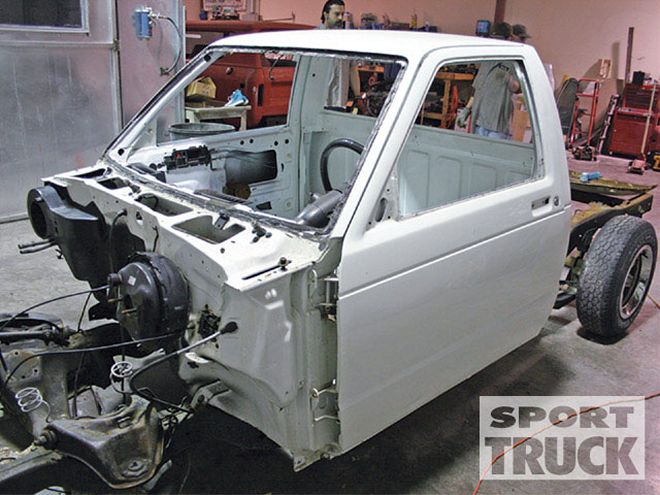
| 101 Paint And Body Ideas January 2009 disassembled Truck
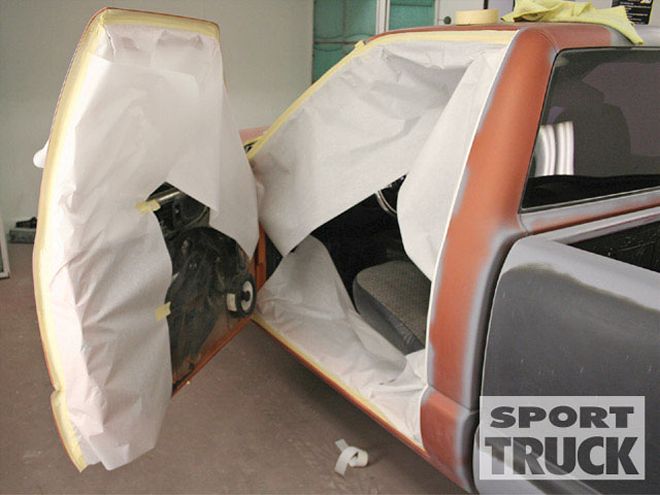
Prep It For A Shop31. Unless you're rich, take the truck apart yourself. Disassemble the truck as much as you can to aid the shop and prevent any of your parts getting damaged or lost.
32. Put old wheels/tires on your truck so your new ones don't get wrecked while at the body shop.
33. Remove audio equipment or anything of value from inside the cab. Temptation is a powerful thing.
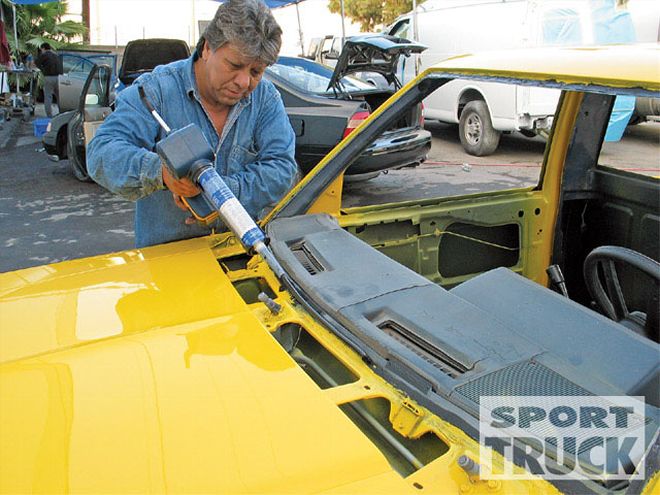
| 101 Paint And Body Ideas January 2009 windshield Glue
34. Remove the glass. Some windshield and rear side glass is glued in and will need to be cut out. You can do it if you take your time or just have a mobile glass guy come out and do it for you.
35. Make sure your air suspension is easy to operate. Nothing pisses off a shop as much as a truck that leaks and has to constantly be worked on in ordered to be moved around the shop.
36. Make sure the tires hold air as well. The shop may not notice the flat tire and drive on it, and then you get into a pissing match about who's going to replace it.
37. Clean the truck as much as you can in areas the shop might miss like inside fenderwells.
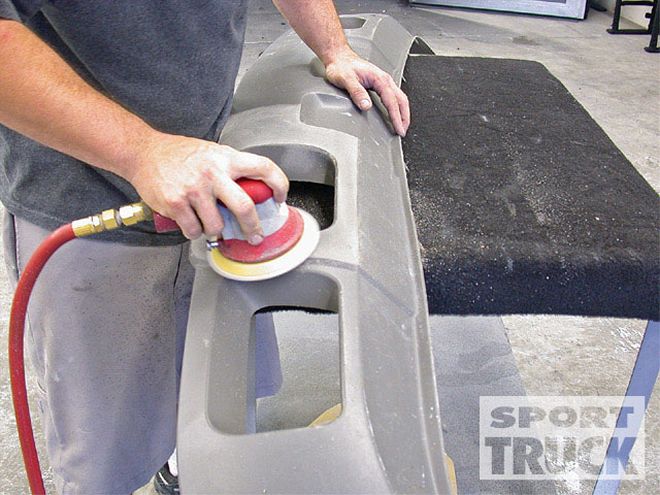
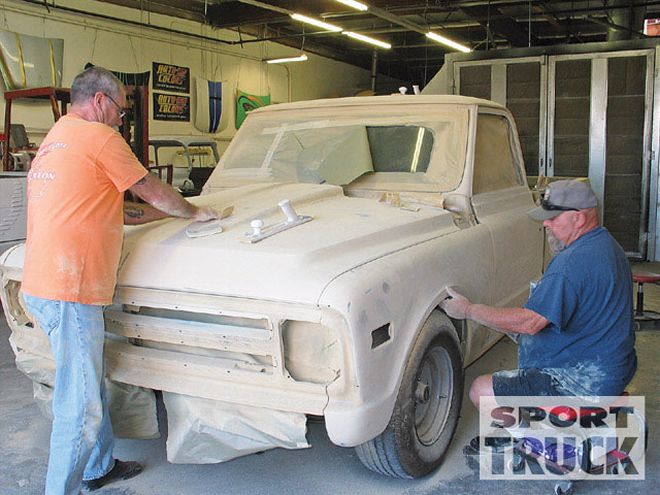
| 101 Paint And Body Ideas January 2009 sanding
38. Charge your battery. The truck will be started and moved quite a bit, but not driven long enough for the alternator to recharge the battery.
39. When block-sanding, if you can't find a block that fits well into an odd body line you can make one from a piece of wood or just about anything you have in the shop. Don't be afraid to think outside the block.
40.When smoothing plastic for painting, don't try and sand the plastic smooth with the sandpaper. Just do a light scuff and then put down a few layers of high-build primer and sand that smooth.
41. Another plastic prep tip is to make sure to use an adhesion promoter like Bulldog. The chemicals in these types of products will give your primer more bite and prevent the paint from peeling off the plastic part later on.
42.When shaving a door handle, it will help to get a junk door from the salvage yard so you can cut filler pieces from it. The steel will be the same thickness and have all of the proper body lines and curves. You can also get a completely different door handle and graft that in as well.
43. Line up all of the sheetmetal before you start bodyworking the truck. You don't want to do a bunch of bodywork and then find out later that your perfectly smooth panels are going to be re-aligned after the parts are painted and re-installed, thus screwing up those perfect jambs and body lines.
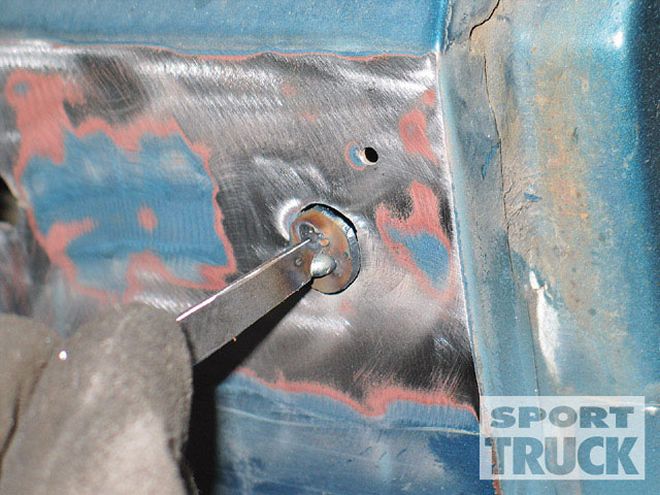
44. You can drill small pilot holes where sheetmetal bolts together to make lining up during reassembly a snap. When you reinstall the part, all you need to do is use an awl or a piece of sturdy wire to push in the hole to set the proper alignment.
45. Tape all shims together when you remove them, and also mark where they came from to aid in reassembly.
| 101 Paint And Body Ideas January 2009 masked Edges
46. Hopefully you have all of the glass out before you start bodyworking to prevent scratching the surface of your windows with the paper or burning it with the welder. If the glass is going to stay in the truck, make sure to double- or triple-mask the edges and cover large areas with a welding blanket or cardboard.
47. If the glass is out, mask the window opening shut. This will cut down on the amount of sanding dust entering the interior.
48.When MIG welding a small hole closed, you can use a piece of brass to back up the hole instead of using a patch panel. The weld won't stick to the brass and this is much easier than cutting a small filler piece.
| 101 Paint And Body Ideas January 2009 patch Piece
49. For shaving larger holes, make a small patch piece and weld a small tab on it. This will give you a small handle so you have something to hold onto while you do the first tack-welds.
50. When replacing pieces of sheetmetal like rocker panels, make sure to have the door in place and properly adjusted before welding the rocker panel in place.
51. Use glazing putty to fill small pin holes and light gouges for quicker results.
52.If you strip anything down to bare metal don't let it sit outside. Rust can start showing up in one evening because of the moisture that's present in the air. You are better off covering the metal with spray paint or duct tape and removing that when you are ready to work the area again.
53. If you use a chemical stripper to remove old paint, make sure to rinse the part and surrounding areas thoroughly before painting. That stuff can linger and hide in tight spaces and could come back to ruin all of your fresh paint.
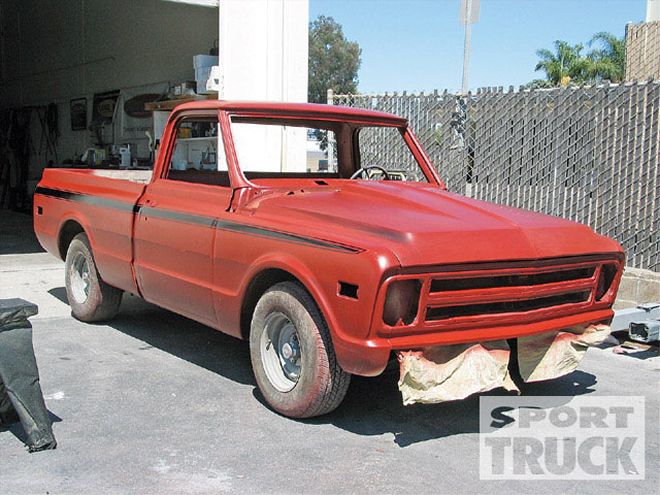
| 101 Paint And Body Ideas January 2009 red Truck
54. Another bad thing to let sit out in the sun is masking tape. If you have to push your project outside for any substantial amount of time, you are better off removing the tape before the glue dries out and the tape becomes brittle thanks to Mr. Sun.
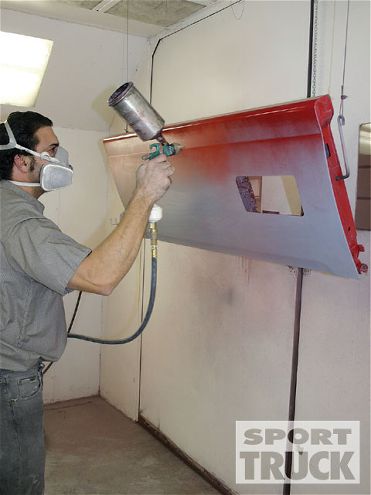
55. To get the best coverage out of your paint, you can tint the primer to a similar color. Primer is cheaper than paint, so cover as much area as you can with color-tinted primer first before painting if you are looking to save dough.
56. Speaking of cheap, if you're building a mild custom look into using single-stage enamel paint instead of two-stage. It's much cheaper than the cost of a two-stage basecoat/clearcoat product.
57. Use 36-grit paper to strip a panel to bare metal, 80-grit to knock down body filler, 180-grit to block primer, and wet-sand the primer with 400-grit before spraying the sealer.
| 101 Paint And Body Ideas January 2009 wheelwell Opening
58. An often overlooked area to detail is the small lip on the wheelwell openings. Make sure you get in there and sand it as well so the paint will adhere to it.
59. When you are finished spraying primer, make sure to clean the gun right then and there. The longer it sits, the more chance the primer will dry up in the small passages and turn a quick clean up into a scrubbing nightmare.
60. Read all of the instructions that come with your materials! Even if you have used a product before, you never know if the company made a small change in the formula that will require a different procedure for applying it.
61. Make sure all components are compatible. If you don't know, don't mix them. Call your supplier and make sure your sealer, primer and paint won't react in a negative way.
62. Buy a wall thermometer and humidity gauge (hygrometer) because this will help you mix the paints properly to your booth temperature.
63. Also make sure the truck itself is at the same temp as the booth. If it has been sitting in the cold shop and you pull it in a heated booth you have to let the sheetmetal come up to temp before spraying.
64. Get a water trap in your air line. Nothing will screw up a paintjob faster than a bunch of water entering the gun from the air line.
65. If you are having a custom color mixed, it might be a good idea to get an extra quart added to the order just in case you need to touch up something later.
66. Spray all of the jambs first, then proceed with the outside of the truck. This will cut down on the chance of putting fingerprints in the fresh paint when you go to close the door.
67.You can't be too clean before painting. Just when you think it's clean enough, make one more cleaning pass before picking up your spray gun.
68. On your final coat of paint, go ahead and over-reduce the paint by one more part. This will help it lay flatter, but make sure to turn down the air just a bit.
69. A good way to spray flake is to use a gun with a 2.0 tip. The large tip allows the flake to come out without clogging. Add the flake to some clear, drop a small, brand-new nut in the paint-gun reservoir to act as an agitator, crank up your air psi, and spray away.
| 101 Paint And Body Ideas January 2009 panel
70. When spraying metallics on a disassembled truck, make sure all of the panels are orientated as if they were on the truck. That way, the metallic paint will lay down uniformly. This can also be applied to flakes.
71. If you are using huge or splinter flake then you will need a flake-buster gun. Follow the instructions on the flake-buster, and once applied, slip-on a nonpowdered rubber glove to gently push the flake down flat.
72. If you have never sprayed candies then don't try it on your ride with your first paintjob. If you are going to try and spray candy paints for the first time, then cut the candy mixture a little more with an intercoat clear. This will help prevent blotches, but you'll have to lay down more coats.
73. When spraying the candy, make sure to start at one end of the truck and walk the whole side as opposed to doing it in panels. This will help keep the coats uniform down the whole side of the truck.
74. When you are spraying clear, make sure your first coat is a very light coat. Let it flash off and then you can start laying on thicker coats from there.
75. If you are spraying clear over graphics that have tape lines like stripes, spray a light coat over the graphics first. Let it flash or dry, and then do another light coat over the entire truck. This will reduce the chance of creating runs along the tape lines where clear will build up the fastest.
76. If you do end up with a run or sag in the clear, just let it dry and sand it off later. Some seasoned painters can keep spraying until the run drips off the bottom of the truck but that is a skill learned in time.
77. Ground the truck. A piece of chain that drapes over the truck's frame and down to the shop floor will cut down on the static charge the vehicle has and reduce the chance of dirt being drawn to it.
78. Don't lay out any graphics until the truck is assembled and all of the sheetmetal is properly aligned.
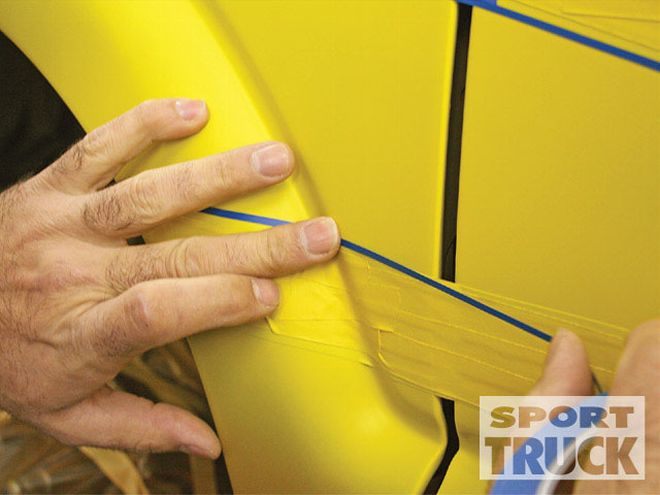
79. For graphic lines that carry over a seam like a doorjamb, be sure to carry the line in at least 1/4 inch and then cap it with tape. This will look much better than a bunch of multicolor overspray blobs.
80. To go one step further, you could carry the graphic all of the way through the jambs. But, if you chose to do that, don't forget the back of the cab and the tailgate jamb.
81.If you are going to use an airbrush to create a design, keep a watchful eye on the tip. It can get partially clogged pretty quickly and screw up the atomization of the air and paint. A quick wipe with your finger tips should be sufficient to remove anything that might be on there.
| 101 Paint And Body Ideas January 2009 pinstriping
82.You can save a little money in the pinstriping area by painting it yourself. Instead of learning how to use the brush, add the stripe during the graphics with one more taping step. After you get the graphic laid out, spray your pinstripe color along the edges of the design. Once dry, tape over it with 1/4-inch tape and proceed to paint the graphics color. When everything is dry you can peel away the tape to reveal the pinstriped graphic.
| 101 Paint And Body Ideas January 2009 pounce Pattern
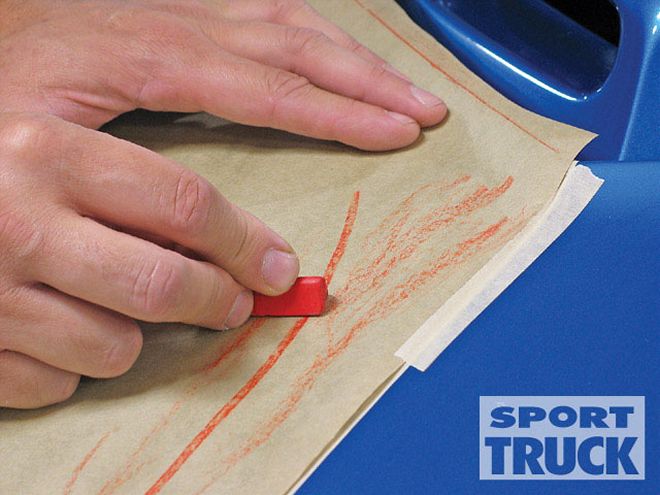
83. To duplicate a design on the other side of the vehicle make a pounce pattern. Use some masking paper to lie over your taped area and rub it with a crayon. The crayon will leave a dark line where it goes over the tape. Remove the paper and set it on a piece of cardboard. Then, with a pounce wheel (small spur-looking thing) punch holes along the dark lines. Place the pattern on the other side of the truck and pat the dotted line left by the pounce wheel with a sock filled with baby powder. You'll end up with a dotted line of powder to follow with your tape.
84. When the paint/clear is dry use wet or dry paper to knock down the orange peel. 1,500-grit paper is fine for the initial cut, but then switch to 2,000-grit for the final sand.
| 101 Paint And Body Ideas January 2009 bucket
85. If you are sanding a factory paintjob, grab some 3,000-grit paper and be very careful.
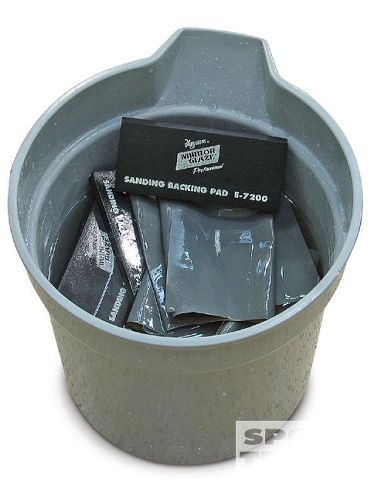
86. Soak all of your wet or dry paper in a bucket of clean water overnight to soften the papers' backing. This will cut down on the chance the paper will gouge the surface of the body panels.
87. Have a bucket of water and a spray bottle ready when color-sanding. The bucket will be used to clean your paper, and the spray bottle filled with soap and water mixture will be used to lubricate the sanding process.
88. If you are color-sanding a truck that is already assembled, protect all of your chrome and trim pieces with tape to prevent scratching.
| 101 Paint And Body Ideas January 2009 sand Paper
89. Use tape to protect body lines and seams. These areas will sand very fast and usually are the first places you will break through.
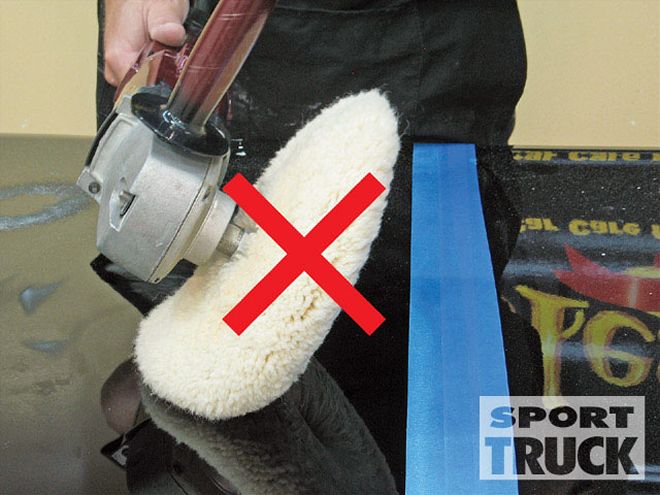
90. When choosing a buffer, make sure you find one with a variable speed adjustment, like the Dewalt 849 or the Makita 9227CY.
91. Don't sand an area that you can't get the buffer into unless you feel like polishing that area by hand.
92.Sand in a back-and-forth motion from the front to the back of the panel, not in circles. Check your progress often with a squeegee. Stop sanding when the surface is devoid of shiny dots.
| 101 Paint And Body Ideas January 2009 buffer
93. The buffer is designed to be used flat, so fight the urge to tip the buffer on edge. This will just increase the chance of putting in swirls and/or burning the paint.
94. Keep a close eye on your fresh paint if it gets bird poop on it. Remove it quickly because the acids in the crap will have a field day on your unprotected finish.
95.Use rags, cardboard, or any other soft material to protect the paint while you rehang things like the doors or bumpers.
96. Don't apply wax for at least a month to let the paint fully cure. During that time, you can use a quick-detailing product to keep it clean.
97. For a deep clean before you put wax on the truck, wash it with dish soap. This will remove any wax, dirt, or road grime that might have found its way on the paint.
98. Once the paint is cured and you are ready to wax, use a clay bar on the surface of the truck to remove any tiny contaminants stuck to the paint surface. This will prevent you from trapping a bunch of crud under your wax.
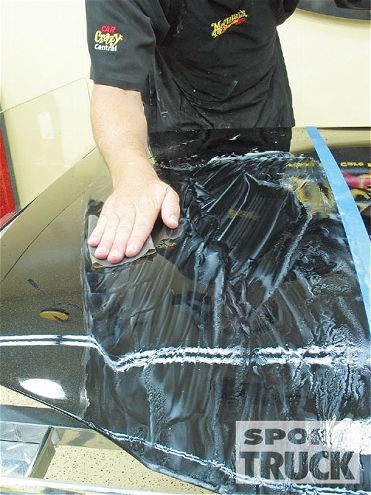
99. After clay, take your time and lay down a very good coat of wax.
100. Invest in a good set of microfiber towels. They don't scratch paint nearly as bad as shop rags and take off wax with less effort.
101. The last tip we can pass on is to be proud of your work no matter how it came out. No one shoots a perfect paintjob the first time. Just make sure not to repeat any mistakes you might have made the first time.


