Adding Custom Flames to a 1996 Chevy Truck - Layers Of Fire
| 1996 Chevrolet finished Truck
In this issue, there are three different tiers of painting, from cheap and easy to expensive and diffi cult. The first story was on tinted primer for the guys who want a cheap way to color their rides at home. Following that was a budget-minded, single-stage paintjob we had done at a national franchise for those of you who don't have the facility or the tools to spray. Now it's time for something a little higher up in the proverbial food chain: flames.
This story will show you what goes into the application of a cool set of licks on an already painted truck. If you have a keen eye for design, the ability to paint, and the tools to do it, then this will show you how to go about it. If you are artistically challenged or get runs when you use spray paint, then this will give you an idea of what the job entails and what you'll be paying for.
The truck for this flame job belongs to Jason Mulligan. It's a '96 Chevy with a freshly sprayed red basecoat. Jason's truck happens to have fresh paint, but if you have an old paintjob that is in good shape you can still have graphics applied. The solid red color will be the perfect backdrop for a nice set of licks, and once sprayed the truck will never be mistaken for a stocker. To lay down these fresh wisps of fire, Jason enlisted the talents of Tom McWeeney from Kustoms Inc. and Blake Weaver from Future Tattoo. Blake was the main man when it came to mapping out the design, laying the tape, and spraying the color. Tom stepped in to help with the masking (which is no easy task with dual layers like on this truck). Not only did Tom stick some tape, he also was the steady hand that pinstriped the licks and even laid out a cool piece in the center of the hood. Once all the flames were ready, Tom also sealed the design in clear in preparation for a cut and buff.
It would be hard to nail down how much a job like this will cost you because every painter has a different value of his time and effort, but Tom said this set of flames was almost four grand. One piece of advice we can offer: When you get an estimate, have a good idea of what you want. Take a few pictures of vehicles with the style you like and have colors in mind. If you go in armed with information, your painter will have a better idea of what you want and how much to charge you to do it. If you decide to tell your painter, "Just do what you think is best," you better trust his work and not be very picky when the job is complete. In other words, if you don't guide the painter in the direction you want in the beginning the job may not end up how you like it and that will be nobody's fault but your own. We're not saying tell the painter what to do - just have some idea of what you want. That is about all the info we have for you here; check out the photos and captions for the rest of the information.
What Is HVLP?HVLP guns use a cap design that creates a high volume of airflow at lower air pressures (about 10 psi) to create a fine spray pattern with high atomization. By using such a high-speed airflow through the air cap, HVLP is able to achieve both high transfer efficiency and low overspray (wasted paint in the air).

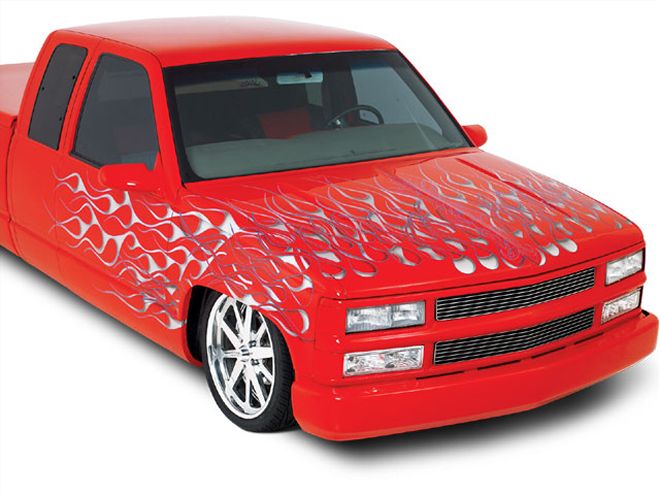
| 1996 Chevrolet final Flames
The Final WordHere is the finished product after all that work. Tom and Blake are professional painters and made the job look easy, but don't be fooled: This is no easy task. Keeping track of two sets of flames can get very confusing, and one mistake in the masking process won't show up until the job is almost done.


