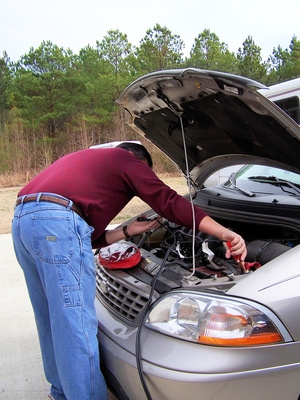
Alternator wiring appears difficult on first inspection. There are several wires running in and out of the alternator that must be hooked up to allow the unit to function. The only wires that should be disconnected during replacement are the positive lead to the battery (for charging the battery while the engine is running) and the positive and negative wires providing a ground source and power to vehicle accessories.
Do a visual inspection in and around the alternator. Check for burned or heat-damaged wiring. Look for bare wires and disconnected wire. Use your mechanic's mirror to look behind the alternator and check for defects. Repair any damaged wiring with your wire splicing/connector tool before attaching the alternator wiring. Make sure the leads themselves are free of corrosion or damage. Replace as necessary. Disconnect the negative battery terminal to prevent electrocution and damage to sensitive components.
Once all external wires have been inspected and repaired, use your open-end box-end wrench to loosen the large nut on the alternator and remove. Place the eyelet over the bolt and secure the mounting nut using your open-end box-end wrench. This lead is the larger of the two leads connected to the alternator. They are typically red and white, although colors differ according to the year and model of your vehicle.
The second terminal provides power to the instrument panel and accessory functions. This lead is typically red. This wire sends power to all accessories in the vehicle. Remove the nut from the power terminal. Install the red lead over the bolt threads and secure with the nut removed previously.
Connect the negative battery terminal you removed earlier. Check for corrosion on the battery terminals and leads. Remove any corrosion with battery cleaner and a wire brush.
Test operation of the newly installed alternator by starting the engine. Listen for growling noises, dim dash lights and low battery charge. Measure across the battery using your voltmeter. If the alternator is functioning properly, it should read approximately 14 volts across the battery with the engine running. If the voltage is low or is the same voltage reading when the engine is not running, check the wire terminals for corrosion and debris. Remove all debris and try starting the engine again. If the alternator is still not functioning properly, return the alternator to the parts house you bought it from and get a new or rebuilt unit.