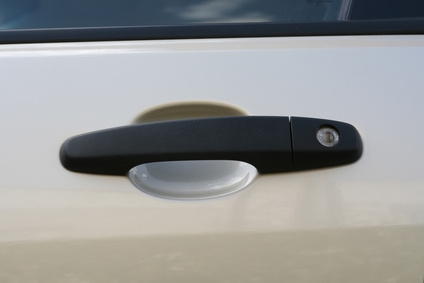
The door handles on your Honda automobile are built strong to stand up to constant use and even the occasional slam. But even the most well-designed door handle will wear out at some point. When you need to replace a door handle on your Honda, you'll find that they are not expensive and you are certain to find the style you want at any Honda car dealer or automotive parts store.
Remove the speaker grill with your hands, and use a screwdriver to take out the three screws that hold the door panel to the door frame. Take out the window crank. Find the U-shaped clip holding the door handle in place. Press in the panel and pry the U-clip out by hooking a flat-head screwdriver under the bottom part of the U and pulling it down.
Use a screwdriver to take out the screws on top of the inside door handle and in the armrest. Now you can remove the old handle. Use a screwdriver to pry around the rim surrounding the door and pop it off. Now you can pull the panel off the door.
Beginning at the top corner, pull down the plastic sheet inside the door. Take out the white square plastic box that guides the control bars. Look for the mechanism connected to the outer door handle. Find the two bolts that connect the outer handle to the door frame, and take them off with a ratchet and extension.
Find the clip holding in the lock cylinder control rod and pop it off with your hand. Pull the rod out from the lock cylinder. You'll see a metal plate covering the back of the lock cylinder, with a U-shaped clip holding the plate onto the cylinder. Use a flat-blade screwdriver to pull off the U-shaped clip.
Separate the metal plate from the cylinder, and pull the cylinder out from the inside of the door and the handle from the outside of the door.
Follow the procedure in Steps 1 through 5 in reverse order to install your new door handle.