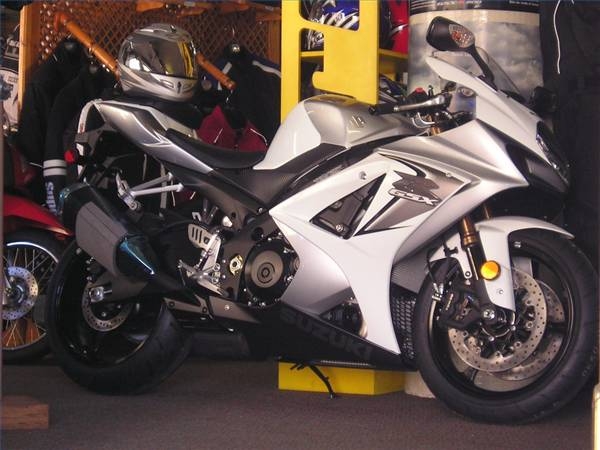
Changing a motorcycle clutch is basically the same regardless of the make and model. Some specific makes have special tools that make the job easier, but a regular set of tools will usually do the trick. Changing a clutch is a lot easier than it sounds. You can save hundreds of dollars by doing it yourself instead of taking it to the shop.
Drain the oil out of the motorcycle. Remove or move the brake lever out of the way.
Remove the clutch cover with the appropriate size socket and ratchet. Inspect the gaskets and the O rings. Replace any that are worn, cut or have rips in them.
Remove the pressure plate by loosing the bolts with an appropriate-sized socket and ratchet. Loosen them in a crisscross pattern, similar to removing a tire on a car. This will allow the pressure plate to slide right off. Take care in removing the bolts as there are springs behind them, and they tend to fly off and get lost. Also, when removing the pressure plate there is either a ball bearing or a lifter behind it. Make sure you don't lose it.

Remove the friction plates from the clutch housing. Remove the rings or jutter springs. Note how they are positioned so reinstallation is easy. Some aftermarket kits don't require these to be reinstalled, so read the instructions and make note of the kit's specifics.
Perform all the above steps in reverse. When installing the bolts on the pressure plate and the clutch cover, consult your service manual for the proper torque.
Check the clutch lever for free play. Make sure there is 2 to 4 mm of play to avoid wear on the clutch plates. Give the bike a look over, jump on and hit the road or trail.
