To ensure a high-quality clear coat finish, it is vitally important to use professional trade paint products and a high-end spray gun manufactured by a recognized market leader. Iwata is noted for producing precision-engineered equipment and its tools are regularly used in body shops by highly-skilled technicians. The best type of Iwata spray gun to use on clear coat is a gravity-fed model with a 1.3mm fluid tip setup. This style of gun provides good atomization, excellent material flow and is incredibly lightweight.
Ensure the vehicle requiring clear coat has been correctly prepared and masked. Painting should take place in a low-bake spray booth running at a temperature of approximately 70 degrees Fahrenheit.
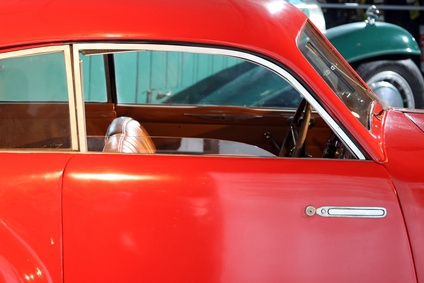
Prior to applying clear coat, the vehicle must be painted with a base color first. Always use a water-based or solvent based color that is compatible with the type of clear coat you intend to use.
Always wear protective anti-static coveralls, latex gloves and an air-fed respirator before spraying clear coats. Mixing should take place at a ratio of 2 parts clear coat to 1 part hardener. An additional 10 percent of compatible thinners can be added to ensure a good flow of material through the gun.
Before applying clear coat, ensure that the base color has been cleared of any dirt or debris by wiping over lightly with a tack cloth.
Always start at the highest point of a vehicle first and work downwards. The Iwata spray gun should be held approximately 6 inches away from the surface of the body panel. Always apply clear coat starting at one corner of the panel.
Once application begins, the first coat should be applied as light surface covering that seals in the base color. This is known as a grip coat and also helps to provide adhesion for the second coat. The arm should move in swift sideways strokes while maintaining an equal distance from the panel at all times. Each subsequent stroke should provide an overlap over the previous one of approximately 50 percent.
Continue applying clear coat without deviating or slowing down the arm movements until each individual panel is complete. Allow the first coat of material a short flash-off period of around 10 minutes. Before the second coat is applied, test adjacent masking paper to make sure the first coat is "tacky" instead of being wet.
The second coat needs to be applied as a full covering and should be administered in the same way as the first coat. However, arm movements will need to be slower as a larger volume material is being put onto the vehicle. Keep the arm moving at all times to help prevent runs or sags in the paintwork.
Once the second coat has been applied, leave to flash off for 10 minutes before baking. This will allow time for solvents to rise to the surface and should help to prevent popping once the oven is activated.
Place the spray booth on bake for 30 minutes at 160 degrees Fahrenheit. It is advisable to check the recommended drying times on technical data sheets supplied with your clear coat.
While the vehicle is baking, clean the Iwata spray gun thoroughly using cellulose thinners before storing away safely.