The ball joint in the car's lower control arm works much like the ball joint in your arm or leg. The lower ball joint can only be replaced on 1997 through 2002 models of the Crown Victoria. Even then, you need a special press tool and receiver cup from an auto parts store or equipment rental yard. On all other year models, you'll need to replace the entire lower control arm, so be sure to consult with your mechanic before attempting any replacement.
Raise the car's front end, support it on jack stands and remove the front wheel. Loosening the lug nuts before raising the car will make it easier to remove the wheel.
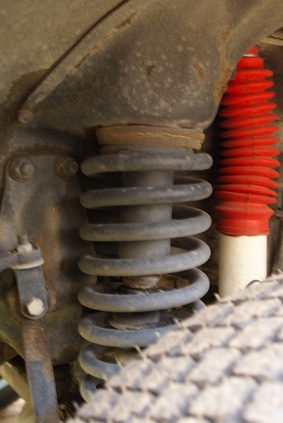
Remove the shock absorber by removing the shock's attaching nut, washer and bushing, the self-tapping bolts at the lower end of the shock absorber. Pull the shock absorber out through the hole in the control arm.
Remove the coil spring: Disconnect the center link from the Pitman arm, compress the spring with a spring compressor, remove the nuts and bolts securing the control arm's inner end to the frame, then slowly lower the arm and remove the spring.
Take out and discard the cotter pin on the ball joint stud.
Loosen the castle nut on the stud with one or two turns of a wrench, then tap the steering knuckle sharply to loosen the stud in the knuckle; you may need to use a picklefork-style ball joint separator. Remove the stud nut.
Unbolt and remove the lower control arm.
Remove the ball joint from the control arm using the press tool and receiver cup.
Install the replacement joint using the same press tool.
Install the control arm and its mounting bolts, but don't tighten the nuts all the way yet.
Position the spring on its seat in the lower control arm, slowly loosening the spring compressor once installed. Follow the spring compressor's exact instructions.
Place a floor jack under the control arm, raise the arm and guide the spring's upper end into position, making sure the insulator is properly installed on the top of the spring.
Install the ball joint stud into the steering knuckle and install the castle nut. Tighten the nut to 129 foot-pounds; tighten it further, until the hole in the stud lines up with the slot in the nut, if needed. Install a new cotter pin.
Install the shock absorber.
Raise the control arm with the floor jack to its normal ride height and tighten the pivot bolt nuts to 129 foot-pounds.
Reinstall the wheel and lower the car.