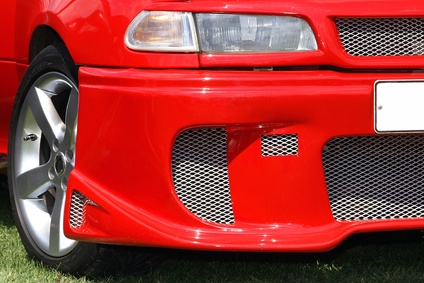
The plastic bumpers on modern automobiles are lightweight and provide good protection against low-speed collisions. However, they also are vulnerable to scuffs, scratches and holes. Collision repair shops are well-prepared to fix these problems if the cost is lower than replacing the entire bumper cover. If you decide to tackle the repair yourself, you will need specialized tools, chemicals, supplies and a lot of patience. Following the basic steps will lead to a satisfactory repair.
Remove the plastic bumper cover from the bumper. It's also known as the fascia. This involves removing various clips, screws or bolts, depending on the vehicle you are working on.
Locate the stamp on the back of the bumper cover that identifies the type of plastic the bumper is made from. The five common types are PP, PPO, TPE, PUR and TPUR. PP, PPO and TPE plastics tend to melt and smear when you grind or sand them, while PUR and TPUR will powder when sanded. Tell the auto parts professional which type of plastic you are working on so you get the two-part epoxy material that is made for that type of plastic.
Cut the edges of the tear on an angle beveling toward the hole, using a rotary file or grinder. Unless there is a large area of missing plastic, you will be left with a V-shaped groove that will readily accept the two-part epoxy repair material you will use later to fill the damaged area.
Scuff both the front and back surfaces of the damaged area with a scuff pad or light sanding. Clean with a water-based plastic cleaner and rinse well. After the surfaces have dried, wipe the front surface with a prep solvent and lint free wiper. Wipe the prep solvent in one direction only.
Apply fiberglass reinforcement tape to the back of the damaged area. Dispense two-part epoxy through the gun and mixer tips onto a piece of scrap cardboard. Apply the epoxy over the fiberglass tape with a squeegee, using enough epoxy to cover the tape. Allow the epoxy to dry based on the label directions. Sanding the back of the repair is optional, since it won't be visible.
Dispense more epoxy onto the cardboard, using a new mixer tip, since the epoxy will likely have hardened in the old tip. Squeegee the epoxy into and over the hole and a small area surrounding it. Use enough pressure on the squeegee to completely fill the hole but not build up so much epoxy around the repair that it is difficult to sand. Allow epoxy to dry based on the label directions.
Sand the repair area with an air sander. Start with an 80-grit sanding disc to remove the highest areas, then a 120-grit disc to get it flush with the surface of the bumper. Wet sand the area with a hand block and 400-grit paper.
Paint the repaired area according to the directions from your paint supplier. This will involve a combination of adhesion promoters, primers, paint and clear coat. The specific procedure will vary based on the type of plastic bumper cover you are working on.