A failing fuel pump on your 1999 Chevrolet Tahoe may produce low pressure, inadequate fuel flow, abnormal noises and even fuel leaks due to worn out components. However, without the proper test, it is hard to know whether the pump in your Tahoe is actually the cause of these problems in the fuel system. Fortunately, your Tahoe model provides a way for you to test the pump at home using the proper equipment before you decide to replace the pump.
Park your Tahoe in a well ventilated area and open the hood.
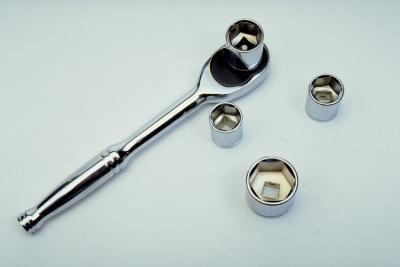
Take the injector cover off the top of the engine using a ratchet and socket.
Find the Schrader valve on the fuel rail. This is the fuel tube that holds the fuel injectors. You might need to unscrew a plastic cap off the valve. You will recognize the valve because it is similar to the air valve on your Tahoe tires.
Wrap a shop rag around the valve to prevent fuel spilling over the engine or yourself when connecting the fuel pressure gauge.
Connect a fuel pressure gauge to the Schrader valve.
Insert the gauge bleed hose into a 16-oz. or larger container to catch the fuel during this test.
Ask an assistant to turn on the ignition without starting the engine.
Open the bleed hose valve on the gauge to bleed the air from the fuel system.
Connect a scan tool into the Assembly Line Diagnostic Link electrical connector located under the dashboard on the driver’s side.
Ask your assistant to activate the fuel pump using the scan tool following the tool's instruction manual.
Close the gauge’s bleed hose valve as soon as fuel begins to bleed into the container without air bubbles.
Read the gauge. Fuel pressure should be between 60 and 66 psi.
Turn off the ignition. Disconnect the scan tool and fuel pressure gauge.
Close the hood.