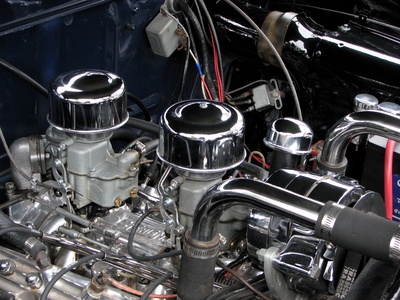
Vehicles that have fuel injection have an additional service problem compared to carbureted fuel systems. They use small injector heads that fit directly into the cylinders to supply the correct atomized amount of fuel required for combustion. The fuel injector tips spray a fine, high-pressurized fuel mist into the cylinders. If the injector tips become clogged, it can cause fuel starvation, leading to detonation, hesitation and overall poor engine performance. A vehicle owner can use a few techniques to rebuild or service the injectors without having to have the repair performed at an expensive repair shop.
Place the vehicle in park or neutral with the emergency brake set. Disconnect the negative battery cable with a socket. Refer to your owner's manual to locate the fuel rail pressure relief valve. The valve looks like a tire valve with a Shrader pin. Push the pin in to relieve the pressure, and hold some rags over the pressurized spray. Use a socket and wrench to remove the bolts to the engine cowl over the manifold, if so equipped. Remove any component that impedes access to the fuel rail, using the correct socket or screwdriver.
Use a fuel line wrench to loosen the input fuel line to the fuel rail. Gently pull the line back out of the way. Use a socket, a long extension and ratchet wrench to loosen and remove the mounting bolts that hold the fuel rail to the engine. Pull the fuel rail up and set it aside. Disconnect the top wire connector on the fuel injector and push it aside. Place a fuel injector extractor tool around the bottom lip of the injector body and pull upward.
Remove the small injector screen, also called a basket screen, from the top of the injector and discard it. Pull off the upper and lower O-ring seals from the body of the injector and discard them. Place the nozzle of a carburetor cleaner spray can into the top of the injector and spray the interior for several minutes. Repeat the process until you have used enough cleaner to flush the injector and spray tip. Clean the injector body with carburetor and a toothbrush. Wipe it clean and dry it with a rag.
Place two new O-ring seals on the upper and lower portion of the injector body. Push a new injector screen into the top of the injector head. Use some oil to lubricate the O-rings, and set the injector aside. Use this same procedure to service each injector. When your have finished servicing the injectors, place new seat gaskets into the cylinder heads before installing the fuel injectors.
Use hand pressure to firmly shove the injectors back into their cylinder seats. Reassemble the parts in the reverse order that you removed them, starting with the fuel rail, fuel line connection and engine cowl. Use the appropriate screwdrivers and sockets to secure the parts. Reconnect the negative battery cable with a socket. Turn the ignition key to "on" for a few minutes to let the fuel pressurize. Start the vehicle and check for leaks.
Pour a can of fuel injector cleaner into the gas tank and run the engine normally for a few hours. This helps clean the fuel injector lines of varnish and gum, further increasing the fuel flow.