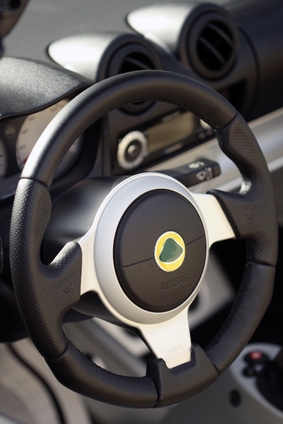
Many have fond memories of driving a new car at some time in our lives. We may have noted the way the vehicle responded to turns and general handling. The characteristics of the vehicle felt tight in terms of steering wheel response -- there was no lag, slop or backlash. This is the result of tight suspension and steering boxes. After many miles the gears and bearings in the steering box loosen up from age and lack of lubrication. Fortunately, an adjustment can be performed on the Corvette steering box to tighten the steering wheel response.
Place the vehicle in park or neutral with the emergency brake set. Disconnect the negative battery cable with a socket and wrench. Use a floor jack to lift up the front of the vehicle and place two jack stands under the front part of the frame near each wheel. Lift up the rear of the vehicle with the floor jack and place two jack stands under the rear part of the frame. This will take the load off the suspension.
Refer to the owner's manual for the lubrication points on the chassis. Lubricate the inner and outer tie rod ends, the idler arm, Pittman arm and both upper and lower ball joints. Fit a lube gun nozzle over each zert (lube nipple) fitting and pump the lube gun handle until each rubber boot fills with grease. Take your time and make sure you lubricate all the zert fittings with grease. Have an assistant sit in the driver's seat and run the wheel back and forth, working the grease into the suspension grease joints.
While the assistant turns the wheel, look for any binding in the suspension parts. If the Pittman arm moves up and down or exhibits excessive slop, replace it before you adjust the steering box. Have the assistant turn the steering wheel until the front tires face directly ahead from the front of the vehicle.
Tell the assistant to center the steering wheel in the 12:00 o'clock position. Have him rock the wheel to the left and to the right until the steering wheel meets a slight resistance at both ends. Ask him to use a measuring tape and check the length of free play travel between both points. Remember the number.
Use a step stool to gain access to the engine compartment. Look down on top of the steering column where it meets with the Pittman arm. You will see a small cover with a lock nut and a slotted stud. Use a socket to loosen the lock nut a few turns. Use a large slotted screwdriver to turn the slotted stud clockwise until you begin to feel resistance. Turn it in clockwise again about 1/8 turn to pre-load (set) the proper clearance. Tighten down the lock nut with the socket and wrench.
Tell the assistant to turn the wheel back and forth until it meets resistance at both ends. Have him measure the new free play distance with the tape measure. If the free play distance has decreased, you have properly set the worm gear lash. If it remains loose or the same, repeat the procedure by unlocking the nut with the socket and wrench and add one more 1/8 turn clockwise. Tighten the lock nut with the socket and wrench. Remove the jacks stands and lower the car.
Reconnect the negative battery cable with a socket and wrench. Drive the vehicle and notice the difference in steering response.