Troubleshooting the tail lights on your Toyota Prius might require you to try a few different approaches to rectify the problem, but they are all simple troubleshooting techniques and should not take you long to complete. For all of the techniques, you will want the vehicle's engine off and the key removed from the ignition. If only one light is out, try replacing the light bulb. If one whole assembly does not work, these simple troubleshooting techniques should help you find the root of the problem.
Open the hatchback. Find the two pairs of clips that are on your tail light cover. Squeeze and hold these clips so you can remove the cover.
Determine which signal bulb is faulty. The rear turn signal is the top bulb, the center is the backup light, and the stop light is on the bottom.
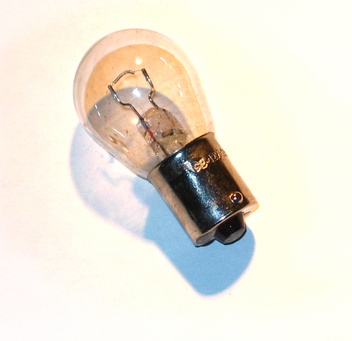
Grab the faulty bulb and unscrew it in a counterclockwise direction to remove it.
Place a replacement bulb in the socket and secure it in a clockwise manner.
Test to see if your tail lights are now working.
Locate the fuse box in your Prius and remove the cover. The fuse box should be under the steering column.
Identify which fuse is for the tail lights by looking at the back of the cover and finding where it indicates "tail lights."
Grab the fuse with your fingers or needle-nose pliers and pull it out.
Examine the fuse. If the metal part inside is broken or if it appears black and smoky inside, replace it with a new fuse of the same voltage. The voltage number is identified on the end of the fuse.
Test to see if replacing the fuse fixed the tail light.
Open the hatchback of your Prius. Locate the tail light assembly with which your are having trouble. The tail light assembly is inside the trunk.
Grab the wire connector from the back of the tail light assembly with your hand and pull it directly away from the assembly.
Plug the wire connector back into the tail light assembly. You want to make sure it is in there snug so you get a good electrical connection from the car to the tail light.
Test your tail light to see if it is working.
Open the hatchback of your Prius. Locate the tail light assembly with which your are having trouble. The tail light assembly is inside the trunk.
Grab the wire connector from the back of the tail light assembly with your hand and pull it directly away from the assembly.
Locate the bolts that hold the tail light assembly in place. These bolts are found on the outside perimeter of the light assembly. Remove these with a socket wrench and put them to the side.
Pull the assembly out of the vehicle with your fingers and put it to the side.
Grab your new assembly and position it in place.
Secure it with the bolts and connect the wire connector to the back of the assembly.
Test tail lights to see if they are working.