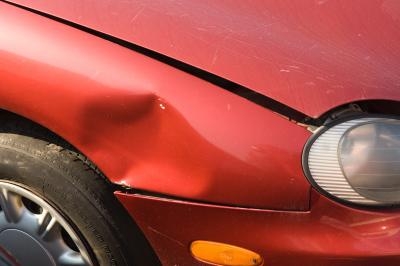
Body repair panels are not difficult to install if you have the right tools for the job. When body repair panels are ordered from an aftermarket company, however, they sometimes don't line up just right. There can be gaps or wide spaces between the new panel and the existing surrounding panels. Install auto body repair panels in your driveway and get them straight without having to pay a collision repair shop to do it.
Use the hardware from the original body panel. If it is not available, remove the hardware from the other opposite side panel, take it to a hardware store and find direct replacements. This way, the panels are installed using the right-size bolts, screws and nuts. Improper fitting hardware can cause the panel to move, shake while driving or even fall off.
Place the body panel in the correct position on the vehicle. Have someone else hold the panel in place while you reach behind the panel to install the screws and bolts. Don't tighten anything just yet, and only hand tighten the hardware.
Look at the panel and check around all sides for large or uneven gaps. If needed, check the opposite side of the vehicle to make sure all of the gaps are the same with the corresponding panel. If there are gaps, push or pull the panel until the gap is smaller. As long as the hardware is not tightened, the panel should move.
Tighten all of the hardware once the panel is in place. Most auto body panels have bolts that must be tightened using a ratchet and socket. Most also have Phillips screws holding any extra parts, like trim or the splash guard near the bottom of the front fender panels.