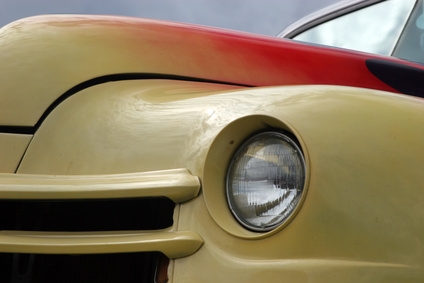
Airbrushing with auto paints gives you increased control when you apply paint to an auto body compared with other paint application tools. With an airbrush, you can direct the flow of paint precisely and create anything from an expanse of color to intricate patterns or multi-layered designs. Getting a good result from airbrushing with auto paints depends as much on preparation of the surface before airbrushing as it does on the airbrushing technique itself. The process can give you results worth displaying, whether you're just applying a new coat of color or painting a complicated picture across multiple car body panels.
Clean the area to be painted thoroughly, washing away any dirt or debris with a sponge and car washing liquid. Pat the surface dry with a clean towel.
Place masking tape on the edges of the area to be painted to protect against overspray. Cover large adjoining areas that you don't wish to paint with a layer of masking paper, carefully aligned on the edges of the area to be painted.
Wear protective clothing, including a face mask, safety goggles, and rubber gloves, when you paint.
Prepare the area to be painted to receive the auto paint. Sand the area using an orbital sander with 300-grit sandpaper. Employ a small circular motion to cover the entire area, removing the glossy finish of any previous paint layer, as well as any scratches that may be present in the existing surface. Use a red Scotch-Brite pad to sand areas of the surface to be painted that you cannot reach with the orbital sander.
Spray a layer of automotive primer paint onto the painting surface and allow it to dry overnight.
Sand the primer coat with 320-grit sandpaper attached to a sanding block to smooth out the surface of the primer paint. Use the sandpaper to remove any flaws or uneven buildup of the primer. Remove the masking tape and use the airbrush, without paint, to blow away the sanding residue from the surface. Apply a degreaser to the surface to remove any oil left by your hands and then clean the work area of any dust. Wait overnight to allow all dust to settle before applying your paint.
Reapply the masking paper and tape and then remove any dust from the surface of the painting area by wiping the area with the tack cloth. Spray the area to be painted with a layer of clear coat to act as a stable surface to which the auto paint can adhere, allowing the clear coat two hours' drying time.
Fill the paint reservoir of the airbrush with auto air paint. Auto air paint is thinner than other auto paints and is made for use specifically with airbrushes.
Airbrush the base color onto the surface first. Hold the airbrush about six inches from the surface and then turn on the air compressor. Using long broad strokes, press the airbrush trigger to begin the flow of paint through the airbrush nozzle just prior to reaching the area you wish to paint and release the trigger after clearing the area. Keep the brush pointed directly at the surface, moving the airbrush rather than shifting the paint angle to prevent undercutting the masking tape. Apply the paint in thin layers, building up a solid-colored coat with the multiple layers applied. Allow the paint to dry for two hours between each layer.
Move the airbrush closer to the surface to apply detail. Paint patterns or pictures by building up the image from the base color to the smaller colored areas, allowing the paint to dry for two hours between each layer.
Spray three layers of clear coat over the paint to seal the paint and protect it from damage. Allow two hours' drying time between each coat, with the final coat allowed to dry overnight. Remove the masking tape and paper to finish the job.