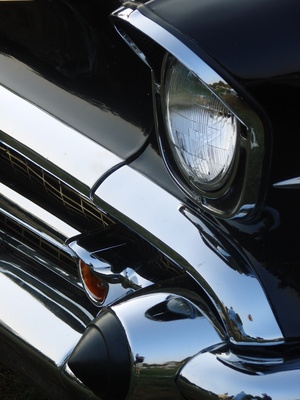
The front or rear bumper sits out in the open and can be the car's first component to receive a bump, graze or solid impact. Sometimes bumpers crack and split open. It used to be that once a plastic bumper received damage it was either forgotten or replaced. Repairs were difficult. Now kits, products and techniques have arrived to make the repair job much easier. One innovation has been plastic welding and it has saved many vehicle owners the expense of buying new bumpers.
Place the vehicle in park with the emergency brake on. If the damage extends extensively to the underside of the bumper, a weld might be needed there as well. Remove the bumper completely if convenient. Use the appropriate sockets and wrench.
Lay the bumper face up. Use the cleaner to thoroughly clean the surface and dry it with a towel. Use the air or hand drill with a burr sanding bit to sand the rough edges of the crack. Bevel the sides of the crack down and inward toward the other side, increasing the surface area. Add about a half inch if you can to each side. The desirable angle will be about 30 degrees. Wipe any excess dust or shavings from the surface.

Use the hand drill and a 1/16-inch diameter or smaller bit to drill several holes through the beveled area. Make sure the drill penetrates to the other side of the bumper. Make the holes about 1/4 inch apart and drill as many as you need, depending upon the length and size of the crack. This will help the plastic weld adhere to the bumper. Wipe away excess shavings and dust.
Use the heat gun or propane torch (which ever you have chosen) to heat the plastic welding rods over the area of the crack. Melt the rod material over the open area with a layering motion, filling in the gap, including the drill holes. Extend the melted plastic past the crack area on all sides, layering it up in height past the surface of the bumper. Do not be afraid to have a small mound when you are finished. Let the weld sit for an hour or so.
Use the rasp file to shave down the high spots of the patch. If you have small sanding disks for a hand drill, you can use this to sand, so long as you do it slowly and at a low speed. Sand the surface down as close as you can to the bumper surface, but not all the way. Wipe all excess away with a towel.
Wrap the coarse sandpaper (320 grit) around the sanding block and smooth down the welded patch further, with long, even sanding strokes. Change the block to the fine 800 grit sandpaper and repeat the sanding until you have a very smooth surface. If you discover any imperfections in the patch, like tiny holes or grooves, you can dab some plastic putty on the spot, let it dry and fine-sand it for the final finish.