A damaged or leaking radiator hose can burst unexpectedly. The coolant of a modern automobile operates in a sealed, pressurized environment. If a hose is leaking or damaged, the coolant, because of the pressure it is under, will quickly find the hole and escape. This will cause a rapid increase in engine temperature and can cause irreversible damage to internal engine components.
Raise the hood of the vehicle. Check that the radiator and hoses are cool before proceeding . If they are not cool to the touch, wait until they are. Once they are cool, remove the radiator cap by turning it counterclockwise.
Place the drain pan under the radiator. Locate the drain valve on the bottom of the radiator. Loosen the valve by turning it counterclockwise. Allow the fluid to drain completely.
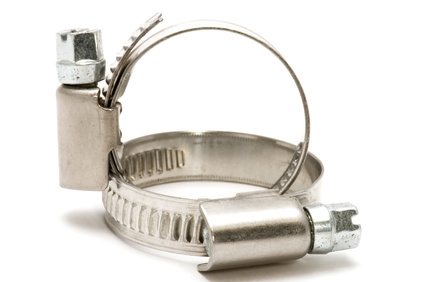
Locate the hose clamps at each end of the radiator hose. Loosen the clamps with the screwdriver by turning them counterclockwise. Remove the hose by twisting it back and forth while pulling it away from the fitting. If the hose is too tight, use the large pliers to twist it loose.
Wipe the hose fittings clean of any grease or rust. Place the hose clamps over the ends of the new hose and slide the whole assembly over the fittings. Tighten the hose clamps by turning the clamp screws clockwise.
Tighten the radiator drain valve and refill the radiator with coolant. Replace the radiator cap. Start the vehicle, checking for any leaks. Once the vehicle has reached operating temperature, shut it off and allow it to cool. Once the engine has cooled, check the coolant level again.