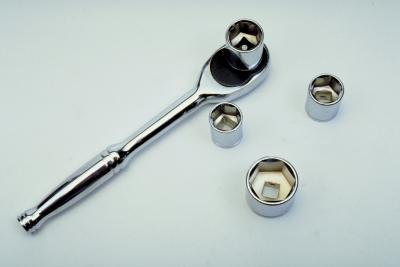
According to the manufacturer, owners should change the timing belt in a 1991 Isuzu pickup with the 2.3L engine every 60,000 miles. The engine is an interference engine. If the timing belt stretches beyond the throw of the tensioner, the valves could hit the pistons, causing extreme damage to the engine. There are no special tools required for this procedure. It takes about 4 1/2 hours to replace the 2.3L engine’s timing belt.
Disconnect the battery ground cable and move it aside, but do not let it touch metal. Remove the accessory drive belt, using a wrench or a ratchet to push the tensioner to the side, releasing tension on the belt. Remove the cooling fan using the appropriate socket or wrench. Remove the water pump pulley using the appropriate socket. If the vehicle is equipped with air conditioning, remove the air conditioning belt tensioner.
Remove the crankshaft pulley bolt using the appropriate socket. Remove the crankshaft pulley and both timing belt covers (upper and lower). Turn the crankshaft clockwise until the timing marks on the camshaft and the crankshaft are lined up. The timing mark on both are at the 12 o’clock position. The No. 4 cylinder should be at top dead center when both marks are lined up (firing order: 1-3-4-2). Top dead center is when the piston is at the top of the bore.
Loosen the tensioner nut and bolt, but do not remove them. Push the tensioner away from the timing belt, then tighten the bolt to hold it in place. Remove the timing belt. Remove the tensioner spring.
Check to see that the timing marks are still lined up. Measure the free length of the tensioner spring. If the spring is not at least 3.11 inches, replace the spring.
Install the timing belt, working counterclockwise, around the bottom of the crankshaft pulley, the outside of the oil pump pulley, over the top of the camshaft, and behind the tensioner pulley, while keeping the timing belt tight on the non-tensioner side (left side while you are facing the engine). Loosen the tensioner bolt, allowing the tensioner to put tension on the belt. Tighten the tensioner bolt.
Turn the crankshaft counterclockwise two turns. The timing marks should be aligned again, and the No. 4 cylinder should be back on top dead center. If not, remove the belt and start over with the installation process.
Loosen the tensioner bolt and allow the tensioner to put tension on the newly lined up timing belt. Tighten the tensioner bolt to 12 foot pounds of torque. Tighten the tensioner nut to 9 foot pounds of torque. Install the rest of the parts in reverse order of removal. Tighten the crankshaft pulley bolt to 88 foot pounds of torque.