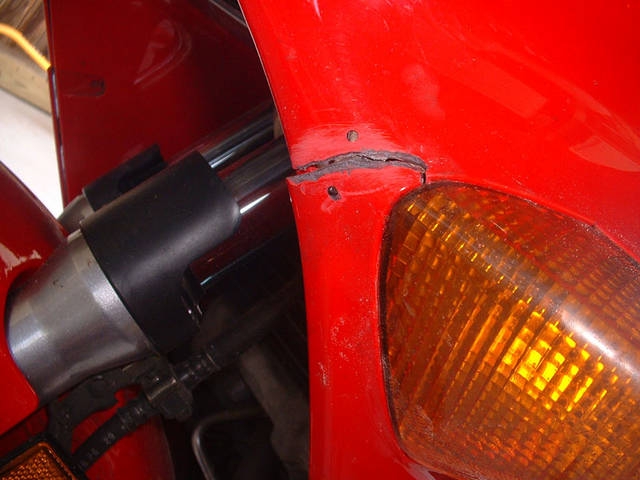
If you are tired of the broken plastic on your motorcycle, you can easily repair it by following these steps. There's no reason why your motorcycle should look shabby.
Remove any stickers or graphics covering the break in the plastic. You can do this using a blow dryer to minimize the amount of sticky residue left on the plastic surface.
Scrub the damaged surface with a plastic abrasive. Clean the plastic as thoroughly as possible.
Prepare the plastic by applying a very small amount of heat gel to the damaged surface. Allow the gel to slightly soak in for 10 to 20 minutes.
Plug in a soldering iron and give it plenty of time to heat to maximum temperature. Now, while holding the broken plastic together, seal it by pushing molten plastic inward with the soldering iron. Work with only small amounts of plastic at a time to keep the patch as smooth as possible.
Once you have finished patching the break, allow the plastic to cool for 5 to 10 minutes.
Use a light gauge sandpaper to smooth the patch. Spend as much time as possible to get the plastic looking nice.
Wipe a light amount of acrylic gloss over the patch to make it match the rest of the plastic more closely. Let the acrylic dry.
Replace stickers and graphics, and, if possible, cover the patch with some type of graphic.