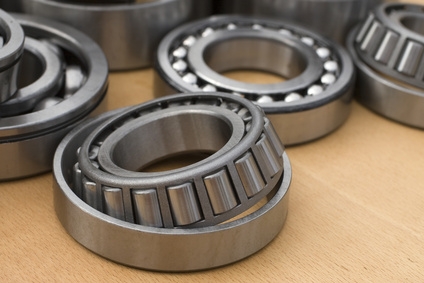
The Dodge Grand Caravan features rear wheel bearing hub assemblies. These non-serviceable bearing assemblies include the hub and lug studs, the internal bearings and the speed sensor/ABS brakes interlocking connector. Since Grand Caravans can come equipped with either front-wheel drive or all-wheel drive models, the rear bearing assemblies employ significantly different procedures to remove and or replace. These hub bearing assemblies require no maintenance and are more durable than the older style free-floating bearings that had to be repacked with bearing grease on regular service intervals.
Place a wheel wedge in front of one of the front tires and then set the parking brake.
Use the breaker bar and a socket to crack the lug nuts loose on the rear tire from which you're removing the wheel bearing.
Hoist the rear quarter panel on the appropriate side with the jack and then support the Grand Caravan onto a jack stand. Do not use the jack as a support, since they can fail under duress. Remove the lug nuts and wheel assembly.
Use the needle-nose pliers to remove the cotter pin from the drive shaft stub and then remove the castle nut retainer. Loosen the hub bearing nut with the breaker bar and hub bearing socket.
Remove the six retaining bolts from the inner axle shaft-to-transaxle module using the ratchet and a socket.
Disconnect the speed sensor/ABS wire by pushing up on the metal retaining clip until it bottoms out and then pulling the speed sensor/ABS wire connector from the wheel bearing assembly.
Release the parking brake and then remove the loosened hub bearing retaining nut and washer from the drive shaft stub.
Remove the caliper mount retaining bolts using the breaker bar and a socket to break the bolts free. Switch over to the ratchet and socket once the bolts are free to speed up the bolt removal process. Pull the caliper, pads and mount assembly off the rotor and then hang it from the caliper hanger to the rear chassis so no stress occurs to the hydraulic brake hose.
Remove the rotor from the hub bearing assembly. If necessary, rethread the hub nut back onto the axle stub and then use the three-pronged drum/rotor puller to remove the rotor from the hub assembly.
Place a drain pan under the inner axle shaft-to-transaxle connection and then compress the inner axle shaft joint by pressing in on the shaft by hand. Remove it from the transaxle module and then slide the outer joint of the shaft from the hub bearing.
Remove the four hub bearing-to-axle retaining bolts using the ratchet and the socket. An assistant or a large bench vise to hold the shaft will help in this step. Remove the bearing assembly from the shaft. If the bearing is corroded to the shaft and will not come off easily, apply the hub bearing puller to remove it from the shaft.
Replace the bearing with the new bearing (if applicable) by reversing the removal procedure. Apply the proper torque settings to all retaining bolts using the torque ratchet and suitably sized sockets: 100 foot-pounds for the four hub bearing-to-axle retaining bolts, 80 foot-pounds for the two caliper mount retaining bolts and 100 foot-pounds for the lug nuts (when the Grand Caravan has weight on it by removing the jack stand but supported by the jack). Tighten the lug nuts in a star pattern.
Remove the rear wheel assembly by following steps 1 through 3 as described in Section 1.
Remove the brake drum using the three-pronged brake puller or remove the caliper mount assembly and rotor, as described in steps 8 and 9 in Section 1.
Remove the speed sensor/ABS connector as illustrated in Step 6 of Section 1.
Remove the four hub bearing retaining bolts from the back of the knuckle with the breaker bar and socket. Switch to the ratchet once the bolts are loosened to speed up the process.
Remove the bearing assembly from the knuckle. Replace by reversing the procedure and apply the applicable torque specifications described in Step 12 of Section 1.