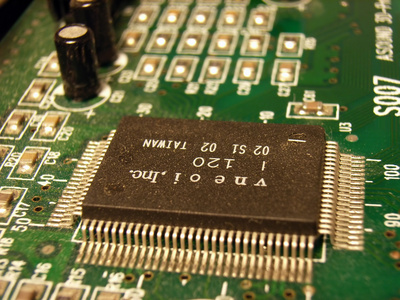
Diesel engines are fairly unique in the automotive world in that creating more power is only a matter of adding more fuel. Unlike gasoline engines (where air is the limiting reactant), diesel engines typically have a surplus of air supply and are limited only by the amount of fuel present in the cylinders. A performance diesel computer chip keeps the fuel injectors open for a longer period of time, injecting more fuel to make more power. these chips can install in minutes and can nearly double the engine's horsepower output.
Refer to your factory service manual to locate the injection control computer. If you don't have a manual, follow the fuel injection wiring harness from the injectors to the firewall. Go inside the vehicle, look under the dashboard and follow the wiring harness to the computer. Typical locations include behind the factory kick panels (the trim pieces just below the dashboard and ahead of the doors), behind the glove compartment, in the center console and under the seats. Disconnect the negative battery cable.
Remove the factory trim to access the computer. Kick panels will usually come off by removing a few Phillips-head screws. To access an under-seat control module, you may need to remove the bolts that hold the seat to the floor and remove the seat. Remove the two to four bolts that secure the control computer to the body and pull the computer free. Carefully remove the wiring harness locking tabs and unplug the harness from the computer.
Slide the computer out of the outer case to expose the PROM chip plugged into the back. A PROM chip is like a vinyl record containing the fuel injection "map" (operating parameters); like a vinyl record, the chip cannot be re-written once the program has been installed. Remove the screws, tape or locking tabs that secure the PROM chip to the computer and carefully unplug the chip.
Plug the new chip in place of the old one in exactly the same orientation. If your factory chip didn't use any sort of locking device, then you might consider wrapping a piece of high-strength duct tape around the chip to secure it to the computer.
Reassemble the computer and re-mount it in the reverse order of removal. Reinstall the trim and reconnect the negative battery cable. You may need to leave the key on the "on" position for a period of time to allow the chip to interface with the computer. Call your chip manufacturer if you see a check engine light or the vehicle fails to start.