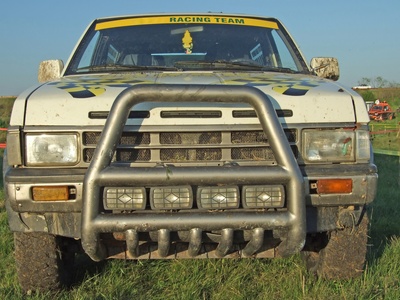
Adding off-road lights to your vehicle is one of the most important modifications you can make for safe passage in the hinterlands. Depending on the equipment used, improper wiring can cause significant damage to your electrical system and leave you blind when you most need light. Modern vehicle computer systems are sensitive to voltage fluctuations, so it is mandatory to assess the entire electrical system before installing any high-voltage accessory.

Determine the output amperage of the alternator and calculate the load. The load is the total amperage of all electrical accessories running at the same time. Be sure to include the power consumed by stereo amplifiers and headlights. If only the wattage is known, use the formula watts/volts=amps. If math is not your forte, there is a resource below that will help.

Mount the lights in a suitably sturdy location. Leave the final tightening until you are finished with the wiring and can adjust the lights for maximum effectiveness. The bumper or push bar are convenient locations, as well as the front of a roof-mounted cargo rack.

Install the switch in a convenient location. Use the wiring diagram to find the wire connecting the high beam switch to the vehicle headlights. Tap into this wire with a solderless connector and connect the other end to the power side of the switch. Connect another wire from the ground terminal on the switch to a solid metal part under the dash. Connect a third wire to the load side of the switch (typically the center lug) and feed it through the firewall to the engine compartment. Leave several feet of excess wire to be trimmed later.

Mount the relay in the engine compartment close enough to the battery to neatly extend the necessary wires. Connect a wire, usually red, to the wires on the lights and to the solenoid terminal specified in the instructions. Connect the wire coming under the dash to the switch terminal on the relay. Connect the battery terminal on the relay, with an inline fuse large enough for the load, to the battery. Aim the lights as instructed and tighten the mounting hardware. Use the wire ties to clean up the installation by securing the new wires to the existing harness under the hood.
