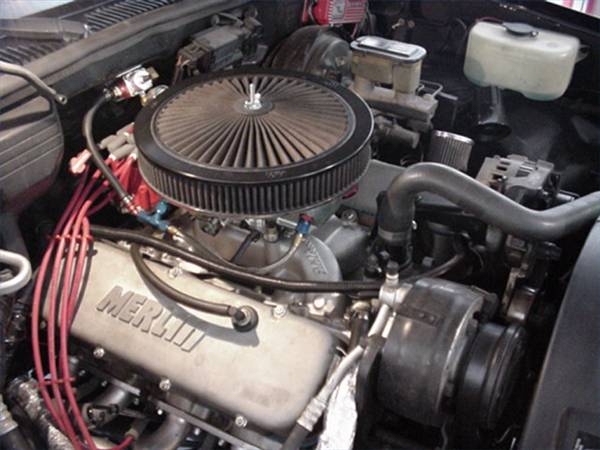
Easy-to-install HEI (high energy ignition) distributor caps perform better than factory distributors in the high RPM range at which competitive race cars and performance street machines are driven. A factory-produced ignition and distributor can handle the amount of fuel and air that is being sent into the combustion chambers for burning, but if you tune your vehicle for performance, then only an HEI distributor has the spark you'll need when you cross over the 5000 RPM mark on your tachometer. Tuning an engine should always include the addition of an ignition and distributor that can handle the big horsepower you are looking for. Install a HEI distributor for more spark, and better ignition management. More spark means more fuel and air can be sent into the engine for burning. Burn more, go faster.
Remove the distributor cap from the HEI distributor. Slide the distributor gasket up over the gear arm of the distributor and set it in place underneath the distributor body. Apply a thin layer of silicon gel in between the distributor and the gasket and the distributor gasket and the engine to create a better seal once the distributor is seated on the engine. Silicon gel is a liquid gasket that is used frequently in performance shops to help seal two parts together, even if they have a gasket to line the joint already. Silicon liquid gasket dries into a rubber product that helps bind a gasket in place, preventing leaks.
Turn the distributor so that the rotor will be in the same place as the factory rotor when the engine was stopped and before the old distributor was removed. Insert the distributor gear into the engine. As the distributor gear meshes with the cam shaft, the distributor's rotor will turn. Get the distributor installed with the rotor in the same position as the old one was before it was removed. If the rotor moves when inserting the distributor into the engine, rotate the rotor enough so that after inserted, the rotor is in the correct location.
Tighten the distributor hold-down fastener just enough so that it is snug. The distributor housing will need to be turned so that the vacuum canister is also pointed in the same direction as the old canister before it was removed. Both the distributor rotor and the vacuum canister need to be positioned in the same way as the old ones were, so that the timing will be close enough to the original to get the engine started. Mixed and matched rotors and vacuum canisters can prevent the engine from starting, thus eliminating the chance to correct the timing.
Place the distributor cap onto the distributor. Connect the spark plug wires onto the distributor cap in the correct order. Spark plug wires should be marked prior to removing an old distributor so that when a new distributor is installed, the wires can be reconnected easily and in the correct order. Starting with the spark plug wire from the number one cylinder, begin to replace the wires one at a time going from cylinder one to cylinder eight.
Connect the vacuum hose to the vacuum canister of the HEI distributor. You can connect a tachometer to the adapter located on the side of the HEI distributor cap. Start the engine and check the timing to get the new HEI distributor tuned properly. The new HEI distributor will let a factory engine burn more fuel. The timing of the spark is important to get right, and the timing should be adjusted each time the demand for power is increased. After the timing has been adjusted, tighten the HEI distributor hold-down fastener completely to finish the job.