If you want to add a personal touch to your truck, you can try putting some LED lights in it. You can buy a kit with the parts you need to hook up your LED light bar, which makes this one of the easiest customizations to perform. If you follow the right procedure, you will be able to safely wire your LED lights and position them so that you can easily switch them on and off when you are driving.
Place the bar of LED lights that came with the kit that you purchased on the spot in your truck where you want to attach and display them.
Stick one of the self-tapping screws that came with the LED kit into the bracket on one end of the LED bar and screw it into the surface with a drill and screwdriver attachment. Attach the other end to the surface with another self-tapping screw.
Drill a hole through the firewall of the truck so that you can reach the battery with your wires. In some cases you can run your wires alongside the truck's wiring harness. If not, drill a hole anywhere on the driver's side under the dash. Make sure that the other side of the firewall in the engine compartment is also an open surface, so you do not to drill into anything. Use 1/8 inch to a quarter 1/4 inch drill bit.
Run your negative wire (which is usually black) though the hole you made. If the wire is bare at the end, attach a loop connector. Stick the bare end of the wire into a loop connector and use a pair of electrical crimping pliers to squeeze the connecting piece onto the wire. If the wire already has a connector at the end, remove the nut from the negative battery post cable with a wrench or socket (most common sizes are 1/2 inch or 10 mm).
Slide the negative wire of the LED bar over the bolt of the negative battery cable. Replace the nut and tighten it down with the wrench or socket.
Run the positive wire from the LED bar to the on/off switch on your dashboard either with a self tapping screw or a double-sided adhesive pad. Be sure to place the switch in a convenient location within arm's reach for safe operation while driving. The switch will have two metal posts on the back. These are also called the "male" end in electrical terminology.
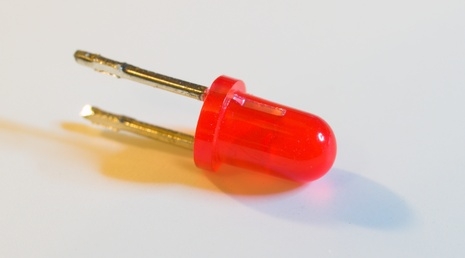
Attach the positive wire to either of the posts on the switch. If the wire is bare, connect a "female" connector to both ends of the wire. Connect the male and female ends together. The LED kit should have a second red wire, if not already pre-attached to the red wire coming from the light bar. Repeat the same steps to attach the wire to the other post on the switch.
Run the rest of the second red wire through the firewall, along with the negative wire. Attach the other end of the red wire to the positive side of your truck battery in the exact same way as you did the negative side.