The thought process behind installing any brand of thermal-acoustic barrier into the cab of a classic truck is to stay cool and quiet, or in cold climates, stay warm. The more vintage a truck is, the more likely its manufacturer didn't want to raise its MSRP (manufacturer's suggested retail price) by paying attention to creature comforts. A few pennies saved on each of a million units produced add up to a lot of money.
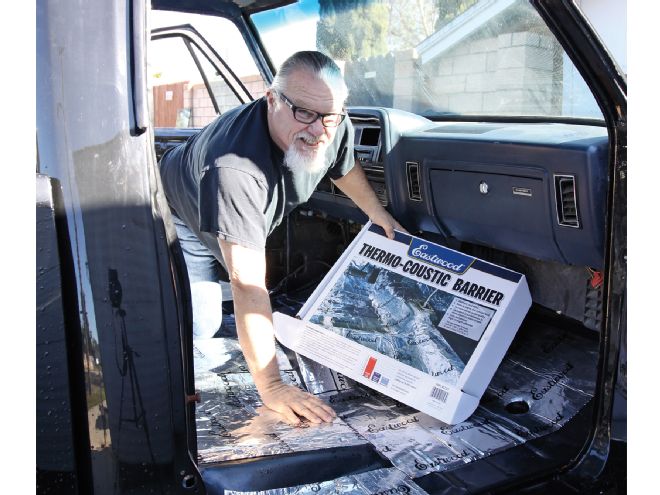
There are more than just a few good reasons to install Eastwood's Thermo-Coustic sound-deadener material into the cab of one's truck. Right off the top there's Eastwood's claim the product "banishes road noise, floor pan vibration, and exhaust heat from your classic machine," but what are the other advantages one will enjoy? In addition to knocking sound levels down considerably, any good sound-control mat with a heavy butyl-rubber membrane such as Eastwood's works great to plug up medium to large sized pinholes. I'm talking about an easy weekend fix for the cab floor of a good old work truck with a rusty floor, or any pickup where one wants to make sure dust and dirt isn't seeping in.
On the flipside, for a higher-dollar customized classic truck with air-conditioning and a good sound system, either feature will not have to work as hard to deliver better results – you'll maintain colder air and hear clearer sound. But it isn't the butyl-rubber membrane in a sound-control mat that helps to reduce engine and exhaust heat. It's true that Eastwood's butyl-rubber membrane is rated to a service temperature of 140-degrees Fahrenheit, but it's the mil thickness of the aluminum facing that determines how effective any brand of sound-control mat will be at resisting heat intrusion.
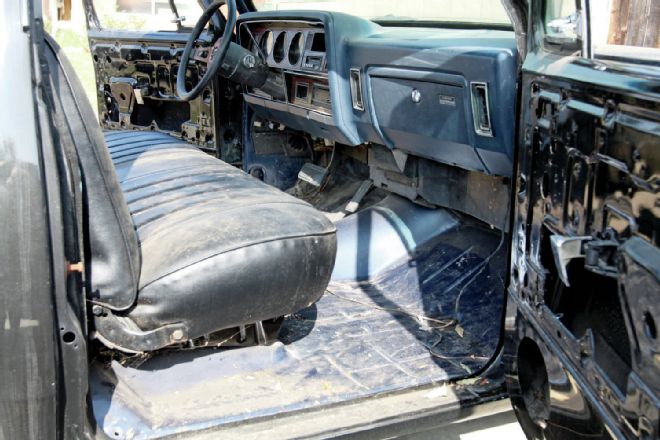
1. Carefully strip the carpeting and padding out as it will be needed later to use as a template, especially the tunnel.

2. Discard: It's not unusual to find wiring remnants from old stereo and CB radios under the carpet. Determine what factory wiring needs to stay and what doesn't.
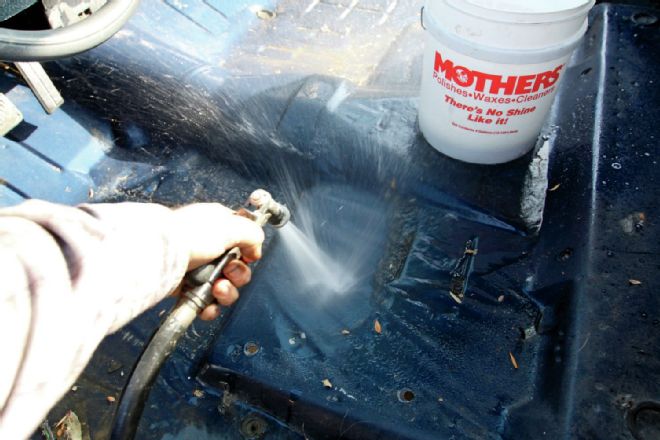
3. Nothing works better to clean out (soak) 30 years of dirt from an old pickup cab than high-pressure water from a garden hose.
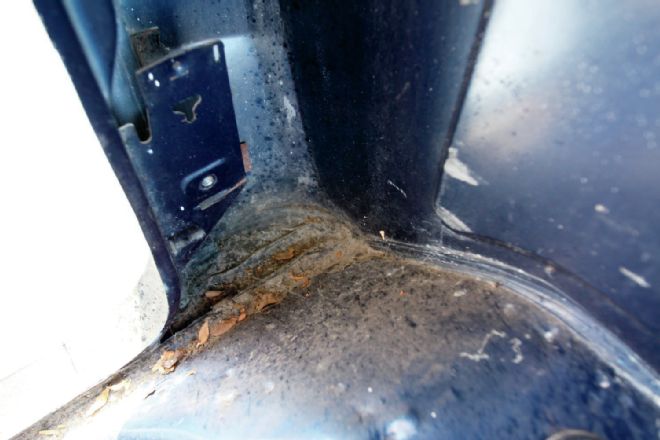
4. Whether it's a Ford, Chevy, or Dodge, cab corners are always prone to rust. Check to make sure drain holes are clear. Do not obstruct drain holes with Thermo-Coustic mat.
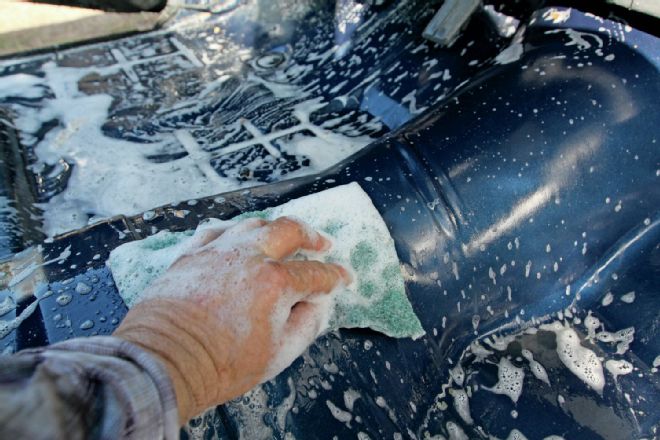
5. I used hot soapy water (Mothers California Gold) with a coarse (green) 3M pad to scrub and prep the cab floor for paint. Follow with a heavy flush of water and dry with compressed air.
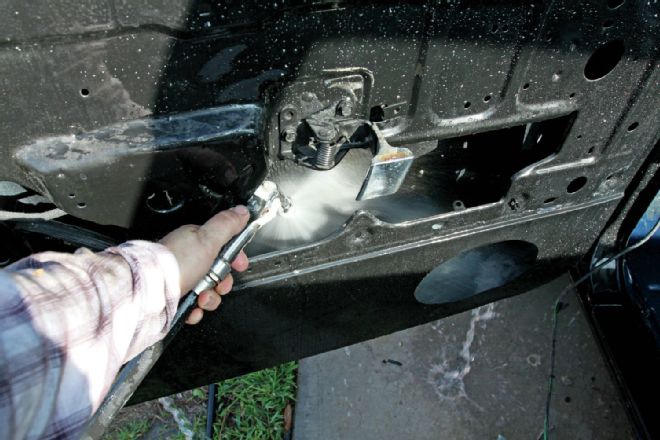
6. Flush the inside of the doors with water and blow dry. Notice if drain holes are draining.
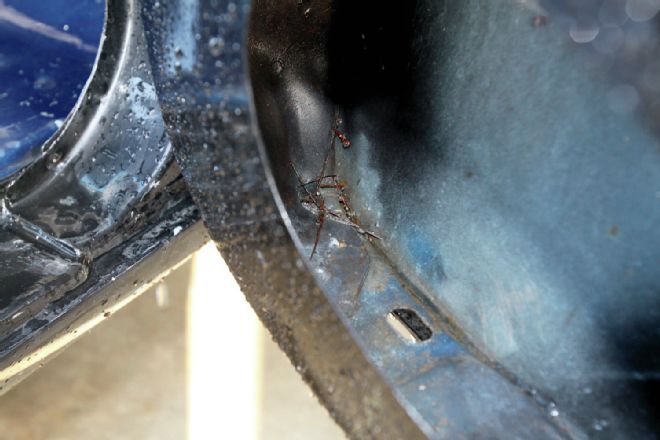
7. A cause of future rust: Notice the pile of MIG wire? It must have been the door welder's first day on the job. Note drain hole.
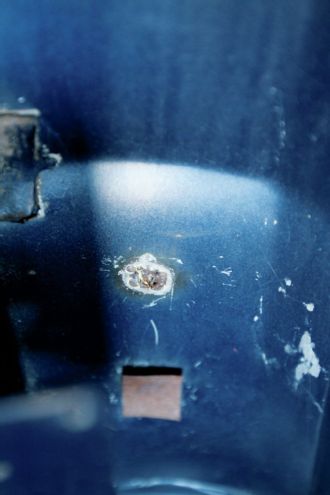
8. More bare metal that should be treated with Eastwood rust encapsulator before covering with Eastwood Thermo-Coustic.
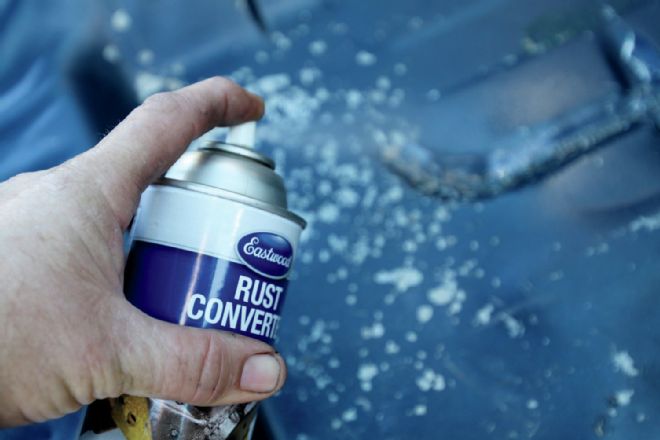
9. The cab floor was covered with light rust and thin paint. I sprayed Eastwood Rust Converter on all of the lightly rusted areas before insulating.
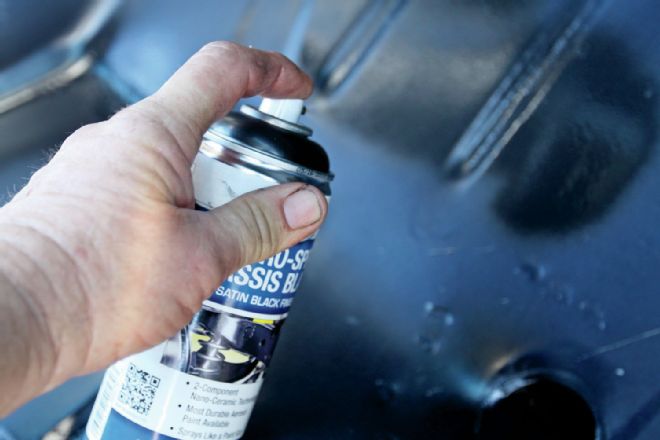
10. On the areas where the paint had worn off I sprayed a heavy coating of Eastwood Aero-Spray 2K chassis black. Eastwood's Aero-Spray 2K paints are a true two-part catalyzed finish that dries fast and hard.
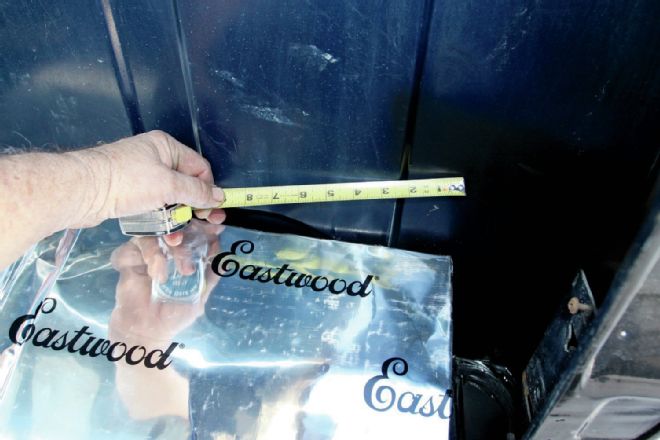
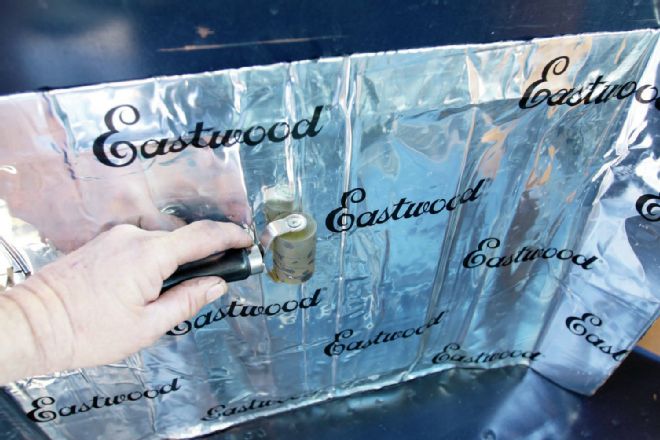
11. The back wall of the cab is the easiest place to start, and best for practicing before covering more complex areas. I used a measuring tape to determine how much area one sheet would cover.
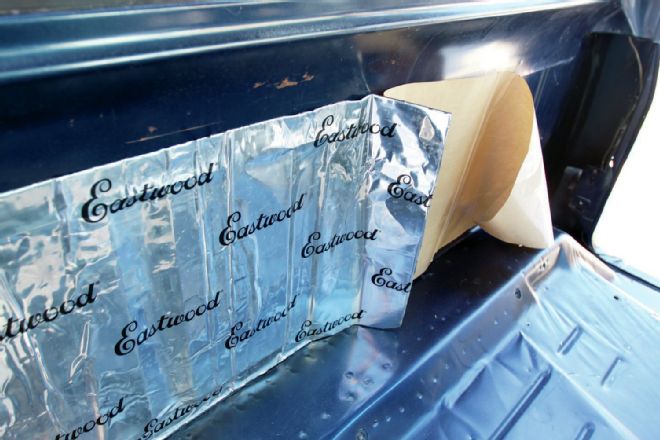
12. I removed (exposed) just a small portion of the brown paper backing to tack the Thermo-Coustic sound-control mat into place.
The installation of Eastwood Thermo-Coustic sound-control mat into the cab of my 1986 Dodge is the sixth time I've done an installation of this sort. I've worked with sound-control mat that uses a much thinner aluminum facing, and while it was easier to form into place, I didn't like having my knees break through and get covered with tar-like butyl. I've also used the most recognized brand and I have nothing but good to say about it, but one might add a price comparison into the mix to help make their decision. In all fairness I believe it would take a serious type product comparison a la Consumer Reportscomplete with toe-to-toe data generated to document the differences between brands.
In the past I've used several different philosophies to install butyl-backed aluminum-faced sound deadener into my trucks. By nature I'm real picky about how something appears in my pickup even if it is going to be concealed from sight. I've spent up to two weeks custom-fitting sound-control mat to appear as cosmetically correct as the best carpeting install. One might say I was the victim of too much potty training as a child, but that's how I like things. For those of you who like as clean an install as possible I can tell you using the old carpeting or floor mat as a template will really help. In the case of my Dodge, it came back from the paint shop without any covering on the floor, so I didn't have the option of a template. I'm guessing it was removed to keep the dirt out of the paint in the doorjambs.
This time around I figured since I'm starting to get my chops at this sort of thing I should be building up a little bit of speed, so I devised a (theoretical) method to knock out an install in one day's time. I ordered two packets of Eastwood's largest kit, and it took only one kit to do the entire floor and rear cab wall of my Dodge. I believe the surface area of earlier truck cabs are a little bit smaller, so one kit should easily handle trucks from an earlier vintage. The installation of sound-control mat into the innards of one's doors can be handled by fully covering, or placing vertical strips to break up sound harmonics created by vibration. I prefer the fully covered route.
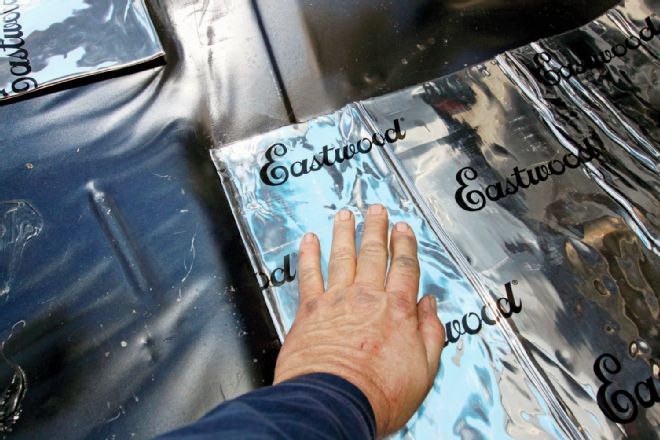
13. With the mat tacked into place I peeled the rest of the brown paper backing off and pushed (pressed) the sound control mat onto the cab wall. After pressing by hand I used a Dynamat roller to press the mat as firm as possible.
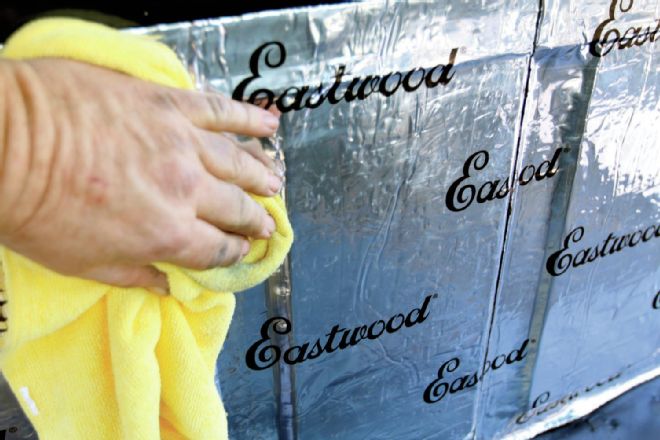
14. The final touch to stick the sound-control mat to the cab wall as tight as possible was to use a Mothers microfiber towel … no, not my mom's towel.
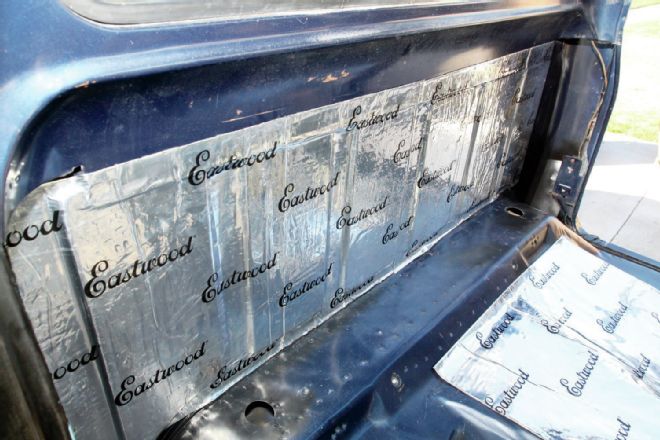
15. Notice the Eastwood Thermo-Coustic sound-control mat adheres nice and tight to the surface it is applied to. Also notice the sound level inside the cab has also begun to drop.
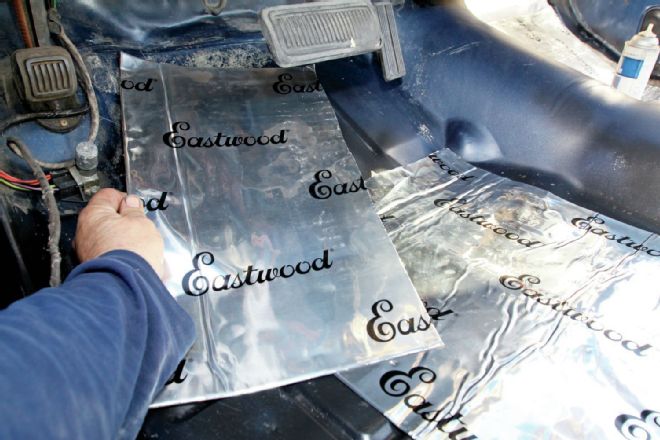
16. To get a feel for how you are going to place the sound-control mat and how many sheets it will require, lay the sheets into place with the brown paper backing still on.
17. With the sound-control mat in its exact place as determined, for the last step fold the area to be used as a tack strip forward. Peel the brown paper backing away.
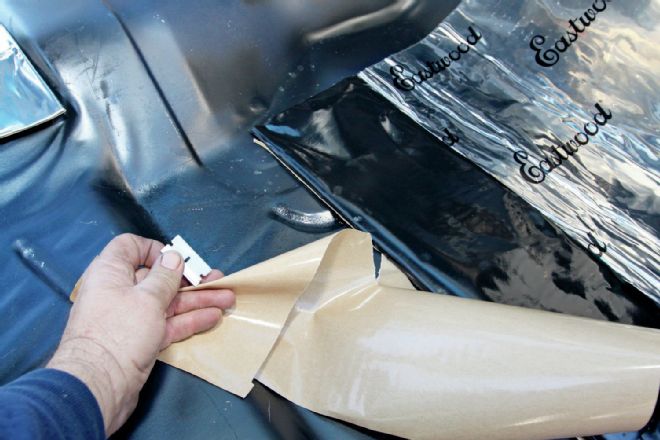
18. Be careful not to move the sound-control mat out of its place and cut the brown paper backing away.
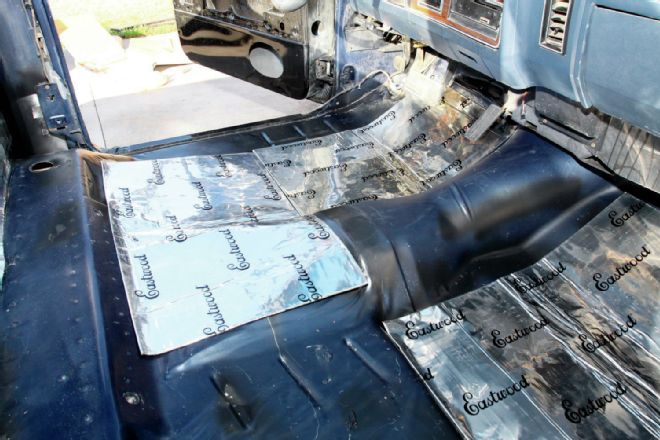
19. Fold the tack strip portion back into place and press it firmly to adhere. Next, a little area at a time, peel the brown paper backing away and press the sound-control mat into place. Repeat until the entire mat is adhered to the floor.
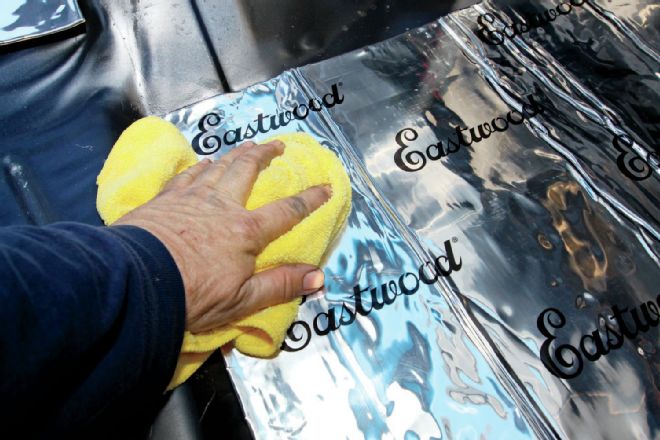
20. Follow up with a Dynamat roller and towel to complete the installation. The idea is to make the sound-control mat conform to the floor as best as possible.

21. To locate holes and openings such as seat mounts and cab mounts that shouldn't be covered with mat, press with your fingers or a tool. This is a cab mount access hole.
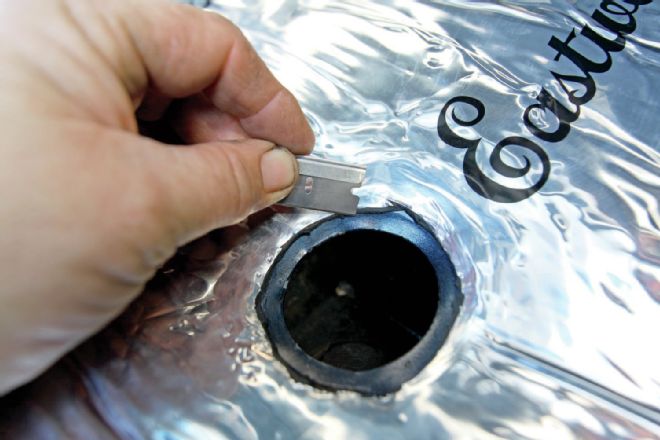
22. Next I used a single-edge razor blade to cut the excess away. In the future, if you ever have to access the cab mount bolts you'll be glad you took the time to do this.
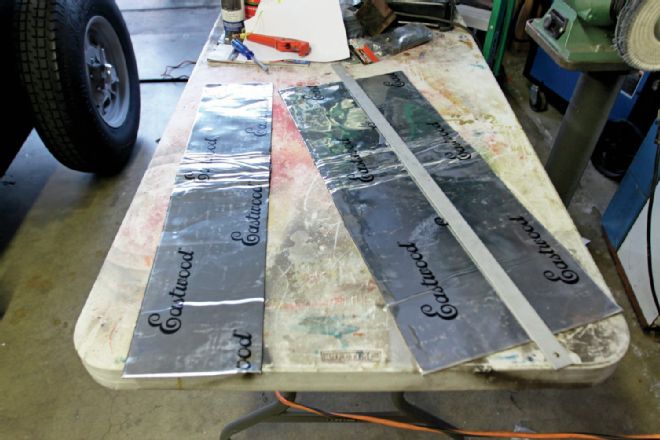
23. Using a table or large flat surface as a cutting board, along with a good straight-edge, makes it easy to produce perfectly formed cuts.
24. I could have used one sheet of mat to cover the driver side floor, but cutting the mat in two produced much cleaner wrinkle-free results.