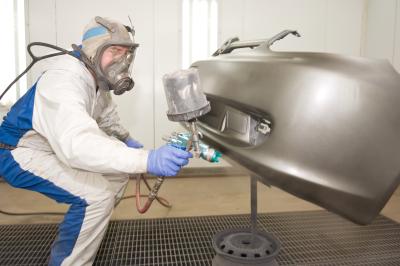
Car bodies are the pieces that make up the exterior of your car. They can be made of vinyl resin, polyurethane or fiberglass. If you are building your own car or making upgrades to your current one, you can buy a body kit of fiberglass pieces that can be fitted together to form the car body. Fiberglass is a durable material made from a mixture of glass fibers hardened with resin. There is a very specific process involved with preparing and painting the fiberglass pieces before attaching them to your car, but you can easily do it yourself with care and preparation.
Arrange the body pieces on the car in the position they will be in when installed then apply gel coat to hold them together. Leave the car out in the sun to allow the body kit to take shape for at least three days or up to one week.
Use a cut-off wheel to tailor the pieces to fit your car exactly and trim away any unwanted pieces.
Apply a releasing solution to all of the pieces which will allow you to remove the kit from your car. You will need to clean each piece with degreaser and a cloth to remove the releasing solution.
Use a sander on the body kit, starting with 80-grit sandpaper and then moving up to 180-grit. Do not sand a deep layer off the body kit, just enough to get a very smooth finish.
Spray on a layer of urethane primer over the sanded fiberglass pieces and let the primer set until all the pieces are dry.
Sand all of the pieces with 180-grit sandpaper. Wipe off any dust formed while sanding.
Apply paint in the color of your choice with a spray gun. You may have to apply more than one coat to achieve the desired color.
Wait for the paint to dry for several hours before moving or working with the body kit.