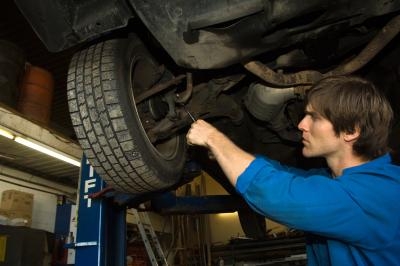
Produced by General Motors, the 1965 Chevrolet Stepside pickup truck was a 3/4 ton truck with a distinct aluminum grill at the front of it's eight-foot long body. Beneath the hood was a 283-cubic inch, V-8 engine that provided 160 horsepower at 4,000 rpm. The truck had a three-speed transmission as well, with the choice of either manual or automatic. Restoring a 1965 Chevy Stepside truck can be a challenging process, but with the right tools and patience, anyone can successfully accomplish this task.
Purchase handbooks and subscribe to magazines concentrating on the restoration process of classic trucks, with a concentration of Chevrolet models from 1965. Join classic Chevrolet enthusiast groups in your area to obtain advice and get help from fellow enthusiasts. In fact, the more knowledge you acquire concerning restoring these classic Chevy trucks, the easier it will be for you to successfully restore one.
Organize a work space that can accommodate the scope of your restoration project. A disassembled Chevy Stepside will require three times more space than it did while assembled. Keep in mind that you will also require space for tools, storage containers and space in which to work. You will also need access to electrical outlets and additional lighting. The goal is to keep your work space as organized as possible to make the restoration process easier. Secure a tarp onto the ground, using it to place parts, accessories and components. Organize a system of labeled containers to store small pieces, such as nuts and bolts.
Remove the tailgate, hood, bumpers, front grill, and doors. Disconnect and remove the headlights and taillights. Raise the Chevy with a jack, then secure with jack stands by placing them beneath the frame. Remove the wheels from their assemblies, and use a ratchet and socket set to continue to the disassembly of the truck. Excessive rust can make this process difficult, but grease and a rubber mallet can be very helpful in removing stubborn mechanisms. Unbolt and remove the axles from the frame. Disconnect the engine and other components within the engine well. Use a hoist to remove the engine and transmission. Place these parts onto the tarp. Use the labeled containers to store small pieces.
Disassemble the truck's interior. Remove the plastic console, along with all components and electrically powered controls. Remove the seats and set aside. Pull up the interior carpeting and discard. Remove the front and rear fenders. Use a Chevrolet specific kit to re-upholster the seats.
Survey all components, parts and accessories that you have removed from both the exterior and interior of your Chevy. All viable pieces should be cleaned and restored, while the damaged pieces should be discarded and replaced. Any metal pieces showing signs of erosion or excessive rust should be replaced. Replacement parts can be obtained through Chevrolet dealers and automotive merchants who specialize in restorations.
Examine the body of the truck. Inspect the main body, hood, tailgates, floorboards, fenders and doors. Check for scratches, dents, holes and rust erosion. Use a MIG welder to repair these damaged sections. Solder healthy metal on top of these diseased sections. Then ensure that the panels are aligned, the body is straight and the repaired areas are smooth. Purchase replacement doors, fenders and hood if necessary.
Use a power sander to sand the exterior of the truck until smooth and even. Attach the fenders. Prime the body. Allow the primer to dry, then paint the pickup.
Restore parts such as the engine, transmission, radiator, alternator, and carburetor. Inspect the axle for damage and replace if necessary. Examine the condition of the driveshaft, starter, and brake systems. Replace components as necessary. Hoist the engine's components and lower them back into the vehicle's engine well. Install the engine and complementary parts. The installation of these components will take three times the amount of time than disassembly. Take your time to prevent damaging recently restored or replaced parts.
Ensure the viability of all electrical components, replacing any damaged wiring. Rewire and install the headlights and taillights. Install the brake systems along the wheel assemblies. Attach the front and rear bumpers to the Chevy's frame, then secure the windshield in place. Restore the mirrors and windows, then attach. Use a kit to re-chrome any damaged trim of the exterior. Attach new wheels. Remove the jack stands, then lower the truck to the ground. Secure the wheels to the frame.
Install the interior, starting with the installation of new carpet. Then install the re-upholstered seats. Maintain authenticity of the 1965 Chevy Stepside pickup by installing colors and materials true to factory settings. Install all interior components such as the door handles and panels, radio, console and controls. Ensure that all components are operational, then test drive your Chevy truck.