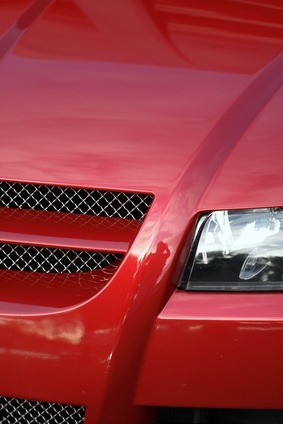
Bumpers are widely used on modern vehicles as a cosmetic addition. Accident impact is actually absorbed by reinforcement bars that are fitted behind the plastic coverings. Because of their close proximity to the ground, plastic bumpers can become scratched or chipped quite easily. Often, damage is relatively small and painting an entire bumper for one small piece of superficial damage can prove to be an expensive undertaking. However, it is entirely possible to paint an isolated section of any auto body panel and blend in the clear coat using a compatible blending thinner.
Take a random orbital sander and apply a P320-grit sanding pad. Establish a slow, controllable speed and sand out scratches and chips, making sure that abrasions are kept to a local area. For deep chips, apply a small bead of one-pack spot putty from a tube onto the edge of a plastic spreader and wipe it into the pitted surface by pressing down firmly. Leave to dry for ten minutes and sand to a flush finish using the P320-grit sanding disc.
Use an air blower to rid the working surface of dust. Take an ultra-fine grade sanding pad and dampen it with water. Place it over the sanded area and rub down the surrounding paintwork, extending beyond the repair by 10 to 12 inches in all directions. Dry the bumper with a clean piece of cloth and use the air blower to dispel water from fog light surrounds and moldings.
Take a roll of masking tape and isolate the entire area that has been rubbed down. Use masking paper to provide a shield against over-spray. Spot prime any areas where the paint has rubbed through to plastic and leave to dry for 15 minutes before lightly sanding with a piece of P800-grit paper.
Wipe the surface of the repair and the surrounding area with a tack cloth. Activate the base color in accordance with manufacturer recommendations and apply three coats over the repair, leaving a 10 minutes period between each coat to allow for curing. Keep the paint contained to the repair area and only flick outwards onto the surrounding area on the last coat so that the fresh color integrates seamlessly into the old color. Leave to cure for 10 minutes.
Wipe the surface with a tack cloth to remove base color over-spray from the surrounding area of the bumper. Activate the clear coat in accordance with manufacturer recommendations and apply a first coat that extends two inches beyond the base color. Leave to cure for 10 minutes and apply a second coat that extends a further two inches beyond the first coat of clear material. The second coat should leave a wet, shiny finish with clearly visible edges.
Empty the spray gun and add a quantity of blending thinners directly from the tin. Reduce air pressure to help contain over-spray and apply blending thinner over the clear coat edges. The thinner will dissolve the edge of the clear coat so that it adheres to the keyed surface of the bumper.
Leave the vehicle to dry overnight before removing the masking tape and paper. The blended repair will still be slightly visible. Apply cutting compound to the outside area of the blended repair and polish back to a shine with an electrical polishing machine.