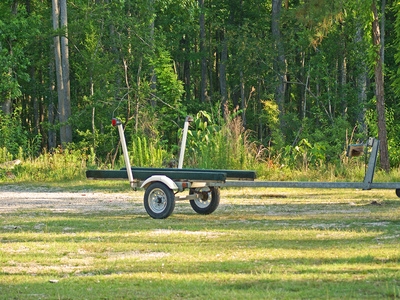
You can't always count on your local tire shop when you need to change your trailer tire. Depending on where you live, there might not be a tire shop for miles. Fortunately, people have been changing their own trailer tires ever since trailers were invented. Anyone can do this job just a couple of tools and a little upper body strength. So next time you need to change your trailer tire, save some money and do it yourself from home.
Put on your goggles.
Remove the air from the tire by placing the valve core tool into the valve stem hole and turning it to the left.
Pick up the slide bead breaker tool and notice that it works like a slide hammer. Much force is needed to break tire beads. One end has a spatula look and the other is the side that works like a hammer. Position the bead breaker so that the end that looks like a spatula is set where the tire meets the rim. With major force, slide the hammer down until the bead pops down. Break the back bead in the same manner.
Flip the tire over and install the first of your two tire spoons between the tire and the rim and pry back. Install your second tire spoon about 45 degrees to the right and pry back. Continue this process until both beads are off the rim.
Position your new trailer tire on top of the rim and pry it onto the rim in the same manner you took it off. It will help to use your foot to hold the tire in place as you move around the rim. Once you have the tire all the way on the rim, move on to the next step.
Inflate the tire with the air compressor using the inflation fitting and check the air pressure with the air pressure gauge.