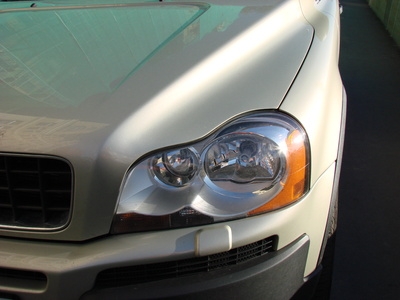
Part of the regular maintenance for any car should include checking and adjusting the aim of the headlights. The vibration from driving can knock the headlights out of alignment, and keeping them focused on the road is necessary for safe driving. Cars are designed to make headlight adjustment easy. There are two screws involved for each headlight, one on the top of each headlight mount and one on the side frame of the headlight, toward the center of the car.
Pull the vehicle up to a blank wall and turn the headlights on "Low." Leave enough room to be able to walk in front of the car.
Measure up from the ground to the center of the car's headlamps. Measure and mark the same height on the wall in front of each headlamp and use a level to draw a line between the two marks to connect them (the center line).
Adjust the low beams so the center of the low beam light is centered on the center-line drawn on the wall and coming straight out from the headlamp.Turn the top adjustment screw on the headlamp to move the beam up or down and the side screw to move the beam left or right. The adjustment screws are easily seen and accessible on the headlight mounting frame when the engine hood is open (some cars are designed for the screws to be accessed without opening the hood).
Mark the center of the low beam on the wall with a vertical line crossing the centerline.
Back the car up until it is 25 feet away from the wall and turn on the "High" beams.
Adjust the aim of the beam so that the center (the brightest point) of the beam is just below the center-line and about 12-inches in from the center of the low beams (toward the center of the car). Turn the top adjustment screw on the headlight mount to move the beam up and down and the side screw to move it right or left.