The Mazda 3 began its production run in 2004 as a compact sedan from the Mazda Motor Corporation. As with all vehicles, it comes with a number of lights such as tail lights, brake lights, headlights turn signal lights, etc. Over time, these light bulbs will burn out and need replacing. While you can certainly bring your Mazda back to the dealer or to a local garage to fix these recurring issues, it is easier and more cost-effective to do it yourself. While every light is unique, there are some steps that are standard to all.
Look up what model bulb you will need. You can find this information in your owner's manual or online at Mazda's website.
Inspect your car and determine how to access the bulb in question. For headlights and tail lights it is simply a matter of opening the hood or trunk and going behind the light to access the light assembly.
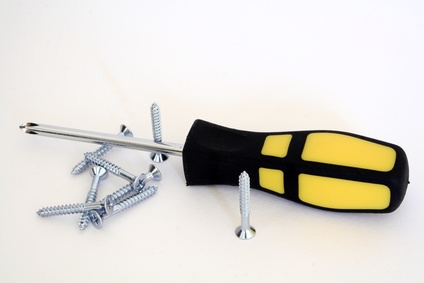
Remove any access panels. The turn signals on certain years may have an access panel that you will need to move in order to access the light assembly. A simple screwdriver is all you will need to remove these panels and others like them.
Unplug the electric cables. Each light assembly is powered by a cable that connects it to the Mazda 3's power source. Unplug these before attempting to remove the actual light bulb.
Remove the burned out bulb. Just like any other light bulb, you turn it to the left to loosen it and to the right to tighten it. If you are unable to locate the type of bulb in your owner's manual or online, take the bulb to an auto parts store and purchase a replacement now.
Insert the new bulb and reverse the above steps to reassemble the light housing.