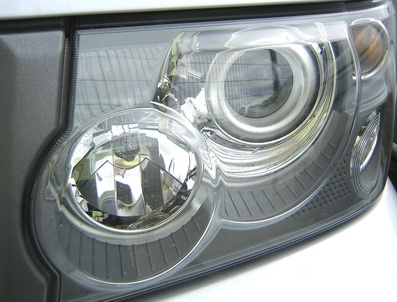
Uneven headlights make it difficult to see the road ahead. Most vehicles have the headlight beams adjusted adequately. If you have purchased and installed headlights, you may need to readjust the headlight beams yourself. Before beginning the adjustment process, find the adjustment screws or lever on the headlight's housing. To find them, open the hood of your vehicle and find at least two screws or a lever pertaining to the adjustment of the beams on each headlight.
Park the vehicle facing a wall or garage door. The front of vehicle should be about 25 feet away from the wall. Make sure the vehicle is also parked on a flat surface.
Turn the key in the ignition just enough to power on the headlights' high beams. Make note of how the beams cast on the wall. Both lights should be even and straight. You can use masking tape to mark the horizontal and vertical center line of the lights. The masking tape should be straight.
Turn off the headlights.
Open the hood of the car so you can access the headlight housing in front of the engine.
Loosen or tighten the adjustment screws around the headlight housing with a screwdriver to lower or raise the beams. The exact position and number of adjustment screws varies per car. Some cars will have four adjustment screws, some vehicles have only two. There should at least be a horizontal and vertical screw attached to a small spring.
Some vehicles use levers instead of screws. If the headlights have a lever, turn the lever with your hand.
Adjust the low-beam lights so that they hit two to four inches below the horizontal line created with the masking tape, and two to four inches to the right of the vertical line on the wall. Avoid centering the beams completely as this can "blind" approaching traffic.
Turn the headlights on low-beam setting and make note of any needed adjustments. Then turn off the headlights and readjust if necessary.