The dome light is an interior light bulb, located on the ceiling of the vehicle, that illuminates the vehicle cabin. The dome light has three different power options. Depending on the option the driver prefers, the dome light bulb may burn out quickly, for instance, if the driver has the dome light switched on all the time as opposed to using it intermittently when opening and closing the door or for reading purposes. Replacing the dome light requires minimal tools and can be done without bringing your vehicle in to a mechanic.
Turn the dome light to the "Off" position. In most vehicles, the "Off" position is the middle of the three options on the switch. Refer to your owner's manual for the exact location.
Remove the bulb lens cover. Depending on the vehicle, you may have to remove two screws holding the lens in place with a screwdriver. If no screws are present, pry the lens off with a flat head screwdriver. Place the screwdriver opposite the light switch and press in. The lens cover should pop off, giving you access to the bulb.
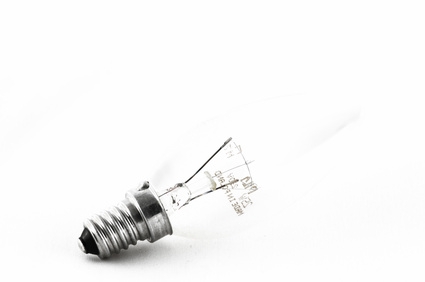
Unscrew the light bulb from the dome socket. Discard the old bulb. Screw a new bulb into the dome socket until the bulb is tight and secured.
Replace the lens cover then push on it to snap it in place or use the screwdriver to secure the screws.