You need not worry about blinding oncoming drivers while driving your Acura TL at night. Acura TL models feature low beams with Xenon High Intensity Discharge (HID) headlights, which provide you with exact beam patterns, giving you a better field of vision on the road. The low beams of your Acura TL also feature brighter, whiter lighting from the Xenon lights, which give you more clarity. Your Acura TL headlights also have halogen high beam bulbs, which provide you with the longest distances for visibility.
Open the hood of your Acura TL.
Slide the engine compartment covers apart on the left and right side.
Remove the bulkhead cover by pulling it straight up and a little to the left to avoid the hood latch handle.
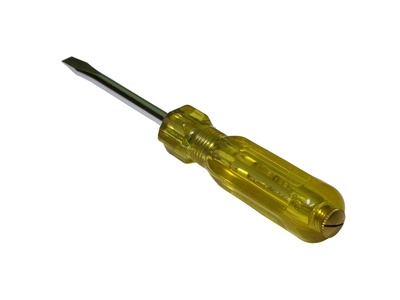
Use a flat head screwdriver to remove the three holding clips on the driver's side then pull the upper part of the air intake duct straight up if you need to replace the bulb on the driver's side.
Pull the engine coolant reserve tank out of its support brace if you need to change the bulb on the passenger's side.
Push on the tab then pull the electrical connector down to remove it from the halogen bulb.
Turn the halogen bulb 1/4 turn counterclockwise to remove it.
Place a new halogen bulb into the hole, handling it by its base, then turn it 1/4 turn clockwise. This will lock the bulb into place.
Push the electrical connector all the way onto the halogen bulb.
Turn your headlights on to ensure the new bulb works.
Place the upper part of the air intake duct firmly into position then replace the three holding clips if you replaced the halogen bulb on the driver's side.
Position the engine coolant reserve tank back into its brace if you replaced the bulb on the passenger's side.
Replace the left and right engine compartment covers. Verify that you have the washer fluid cap securely in place after you replace the right engine cover and make certain the tabs and pins are placed correctly.