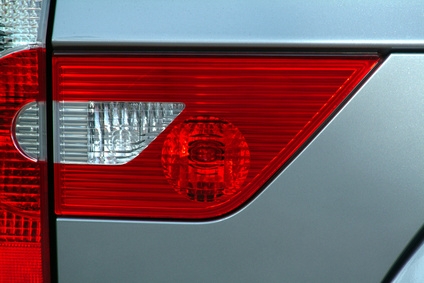
The Chevy TrailBlazer, a mid-sized SUV, has been on the market since 2002. No matter what year you drive, the directions on how to change the tail lights are the same. If your tail lights are no longer working, don't get a ticket or into an accident. You can perform this simple task yourself and you only need a few tools.
Open the liftgate.
Unscrew the two screws holding the tail light assembly with a Phillips head screwdriver. The screws are along the edge of the assembly closest to the vehicle.
Pull the entire assembly out of the car.
Detach the wiring harness from the assembly.
Remove the three screws holding the bulb socket assembly. Two screws are located between the top two bulbs and the third is at the base of the socket assembly.
Pull the burnt-out bulb straight out of the socket while holding the socket assembly.
Insert the new bulb into the socket until it clicks into place.
Reinstall the socket assembly and the tail light assembly by performing steps 2 through 5 in reverse order.