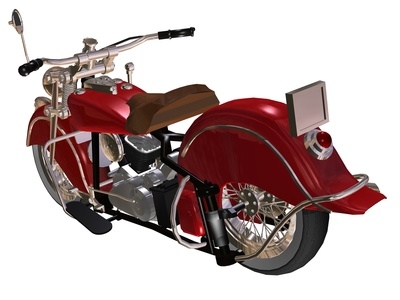
Indian motorcycles are known for their dependability, comfortable ride, and great looks. When cared for properly, your Indian motorcycle will last years upon years of smooth highway cruising; however, it is recommended that the engine oil of your bike every 600 to 1,000 miles, and even more frequently if ridden especially quickly or ridden frequently with a passenger. Keep your Indian running great by performing regular oil changes at home.
Set your Indian on its kickstand or center stand so it won't fall over while you are working. Set drain pan beneath the right side of the motorcycle.
Locate the oil drain tube on the right side of the motorcycle. The tube should be connected to a plug welded onto the frame. Use a flat head screwdriver to loosen the clamp that holds the tube onto this frame plug.
Position the drain pan beneath the oil drain tube and remove it from the frame plug. Allow the tube to drain until the bike is completely empty of oil. Replace the tube on the frame plug and tighten the tube clamp.
Remove the oil filler cap and pour in three quarts of 20W-50 V-Twin motorcycle engine oil into the oil bag. Replace the oil filler cap.
Locate the oil filter on the front left of the Indian's engine crankcase. Using an oil filter wrench, remove the oil filter and the old oil filter gasket. Lubricate the threads of the new oil filter with a small amount of engine oil and tighten the new oil filter onto the crank case 1/2 turn past tight.
Let the motorcycle idle for 15 minutes. Check the oil and add any, if necessary.