The oxygen sensor--also known as an O2 sensor--on your Hyundai collects data about the amount of fuel and oxygen present in your exhaust, then sends that information to the computer. In turn, the computer analyzes this data and outputs instructions for the ignition and fuel systems to work correctly. If a sensor goes out, then the engine won't run properly until it's fixed, which could result in poor fuel economy, poor idle and other related issues.
Raise the vehicle using the jack and set it on jack stands. Double-check that the vehicle is secure prior to crawling underneath it.
Look for the oxygen sensors on the exhaust. These will be 3- to 4-inch-long tubes that stick out perpendicular to the exhaust and have wiring coming out the back. Depending on the year of your Hyundai, you may have just one or multiple sensors. Unplug the wiring harness from the sensor using your hands.
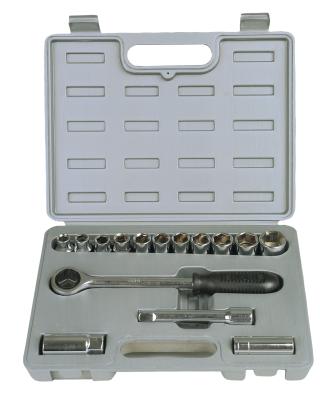
Install the oxygen sensor socket on the 3/8-inch ratchet and set it on the oxygen sensor such that the wiring on the sensor goes out of the slot on the side of the socket. Remove the old sensor and place it to the side.
Apply the anti-sieze compound using the applicator inside the bottle to the threads of the replacement oxygen sensor, making sure not to get it on the sensor itself. Then thread it into the bung on the exhaust using your hands, and tighten it in place using the ratchet and socket. Plug the wiring for the new sensor into the existing harness.
Repeat the process for any additional oxygen sensors that you want to replace.