Automotive lighting is in place to make our travels safer and more comfortable. But like everything else on today's automobile, these lights fail over time. There are a wide variety of bulbs in an automobile and replacing them is well within the skill level of the novice. However, there a few things to keep in mind when you do this repair.
Taillight and turnsignal bulbs are grouped by color, socket type, number of elements, and resistance.
To give an example, let's look at the 2157 N/A bulb. The part number ending in 57 indicates it is a dual element bulb. The prefix of 21 indicates it's a low-resistance, round-socket design. And the N/A indicates its's an amber bulb. The N/A means National Amber.
The most important thing to remember is to replace these bulbs with the same bulb type. If the original was a 2157 N/A bulb, that''s what has to go back in. An 1157 bulb is physically the same, but it has a much higher resistance value, and will not burn as bright. On some vehicles this will also cause the bulb indicator on the dash to show a bad bulb even though it's functioning.

When we get to the headlights, things are different. Sealed beam headlights on older vehicles are grouped according to light source, shape, and number of elements. A round high/low beam headlight won't physically fit in place of a rectangular low beam, and the socket will not plug on either. So, replacement is a snap. They are, however, available in halogen and nonhalogen design, and halogen lights are significantly brighter then nonhalogen. It's best to have both sides burn at the same brightness.
Newer vehicles use a plastic composite headlight lens assembly with a replaceable halogen element bulb. These are grouped according to socket design and element number, and only the right part number will work. Aftermarket they are available in a high-intensity zenon design that has a slight blue tint to it. These are very bright replacements for the factory models. As with the sealed beam headlights, they should be of the same brightness on both sides.
There is one concern, however. When replacing this type of headlight bulb, never touch the glass surface with your bare hand. The oils from your skin will damage the bulb, and cause premature failure.

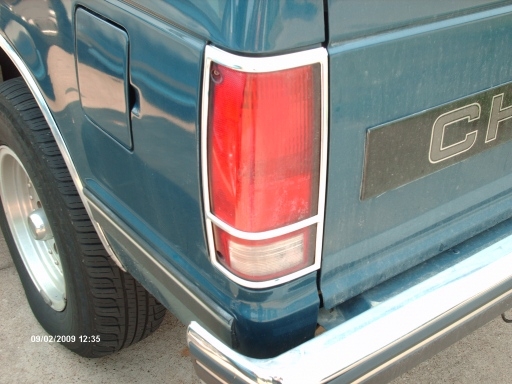
Taillight/turn signal replacement begins by removal of access panels and trim panels to gain access to the light assembly. Removal of the entire taillight assembly may be required to allow the socket to be twisted counterclockwise and removed from the assembly. The new bulb snaps into the socket, the socket is reinstalled into the assembly, and the assembly is reinstalled in the vehicle.
Headlight replacement is just as straightforward. Remove any trim/access panels, and remove or release any screws or clips attaching the headlight assembly. Unplug the socket from the bulb, then twist the retainer counterclockwise or unclip the the retainer. Remove the old bulb and reinstall in reverse order.
